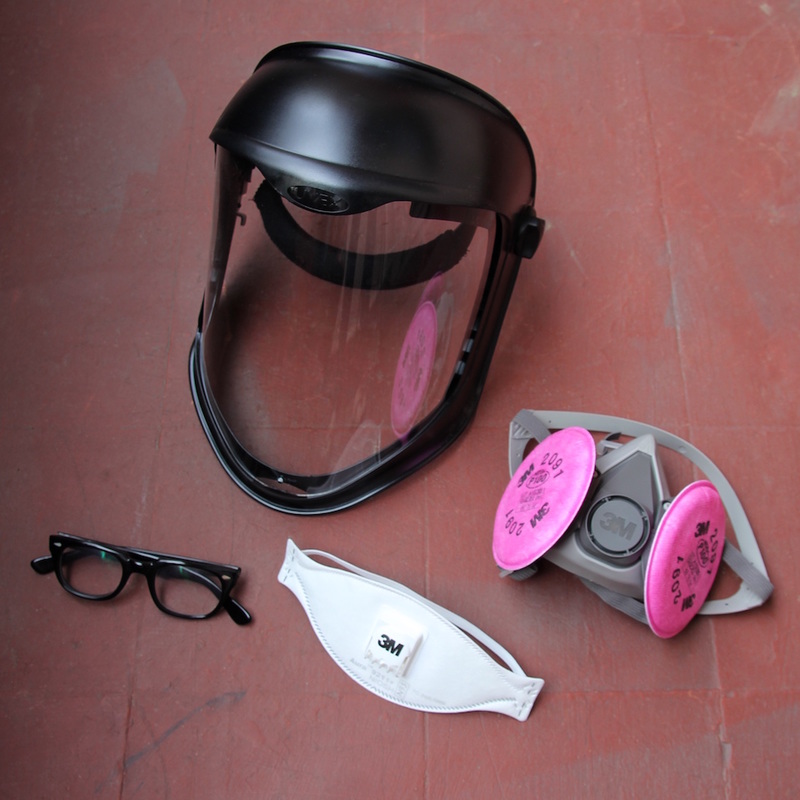
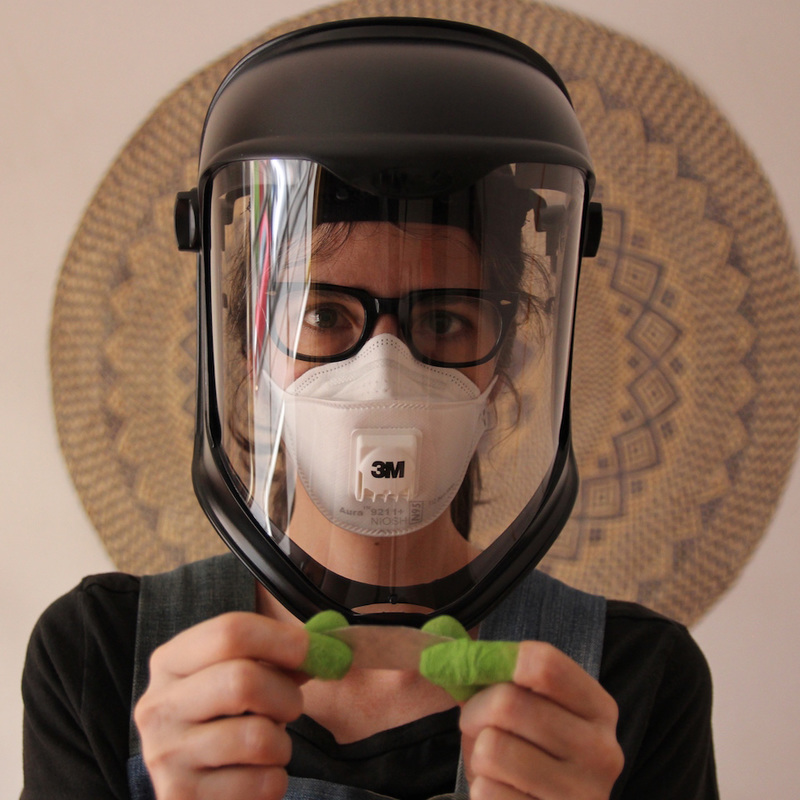
My protective studio gear has arrived. I don't care if I look like Darth Vader when I'm soldering. I want to be healthy jeweler when I'm 90.
 |  |
|
|
|
|
My protective studio gear has arrived. I don't care if I look like Darth Vader when I'm soldering. I want to be healthy jeweler when I'm 90.
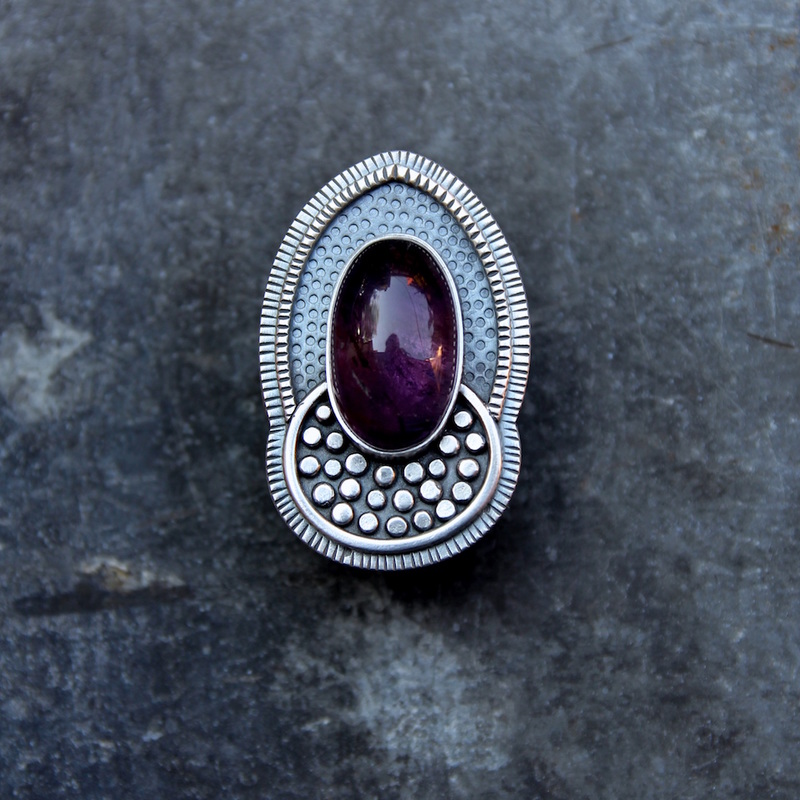
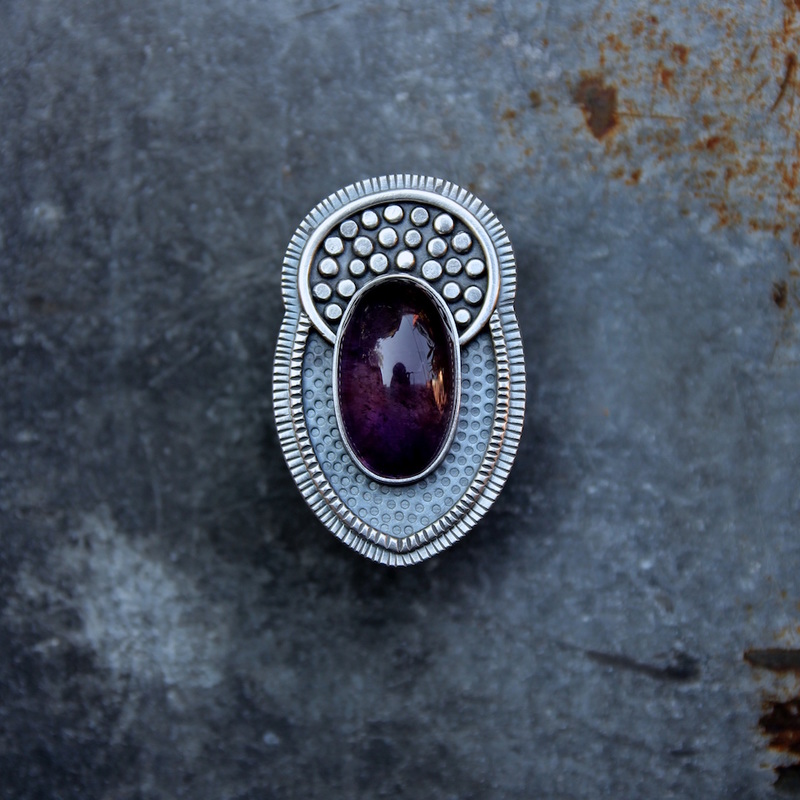
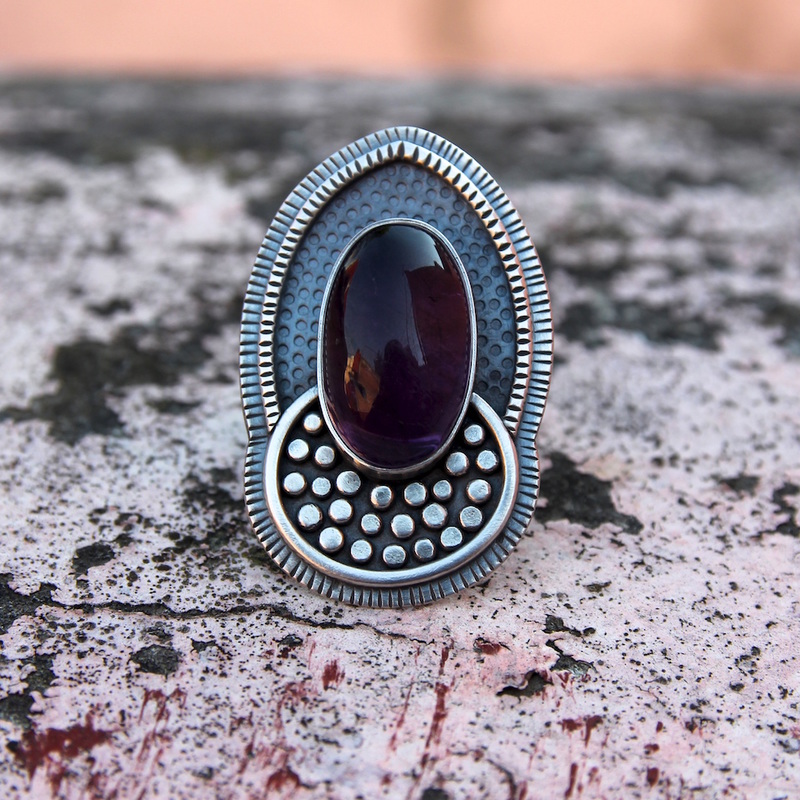
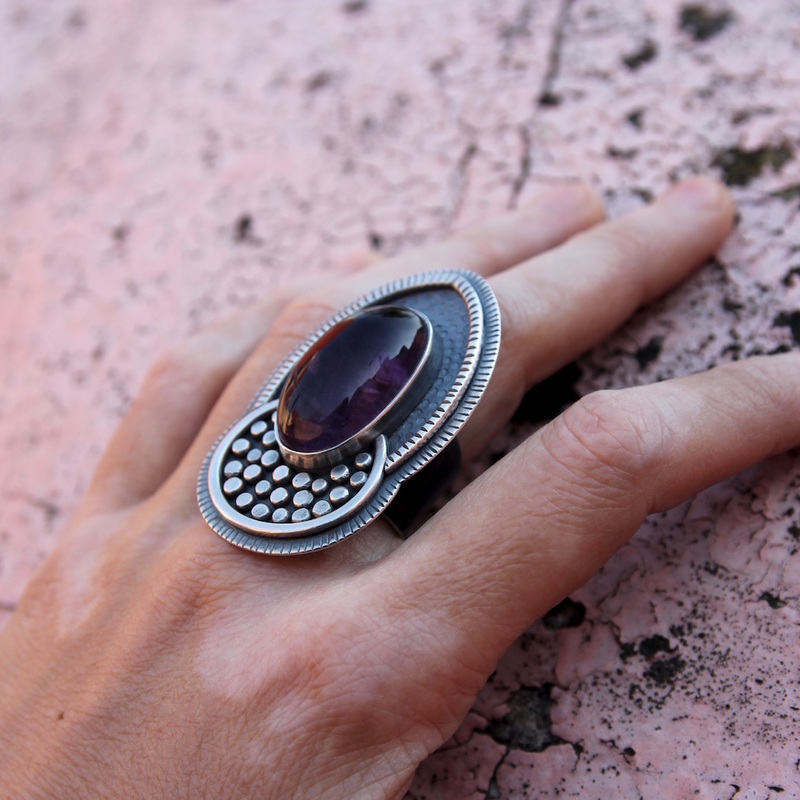
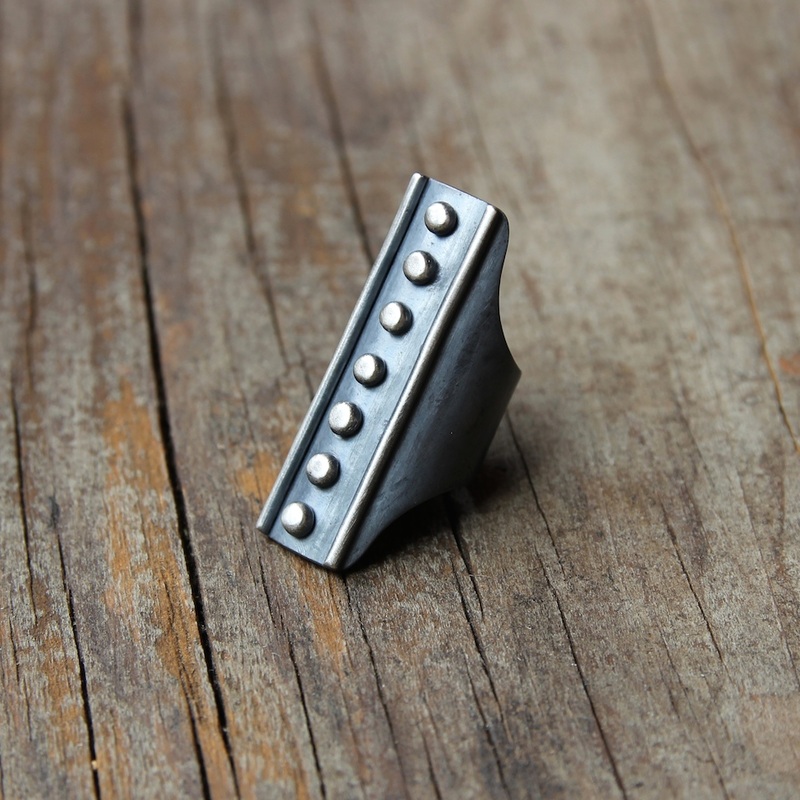
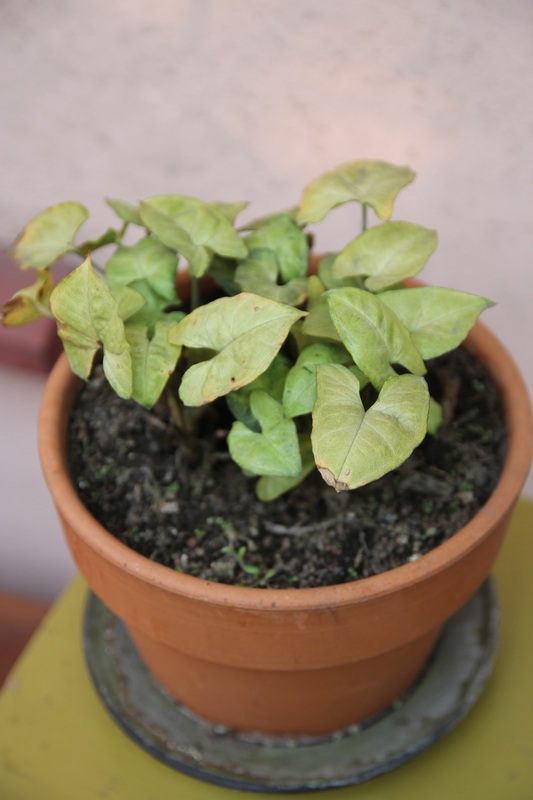
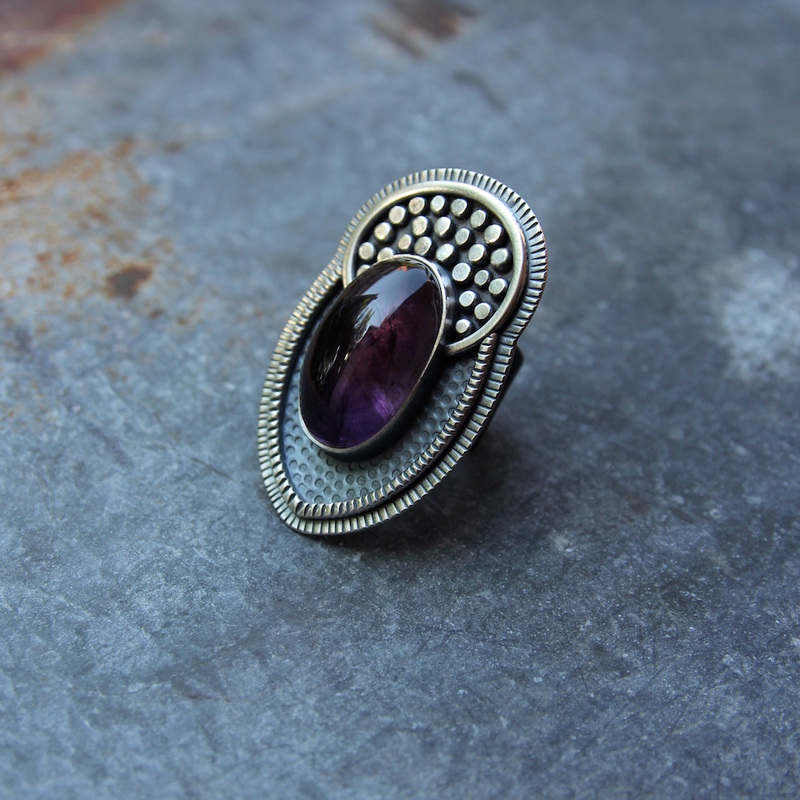
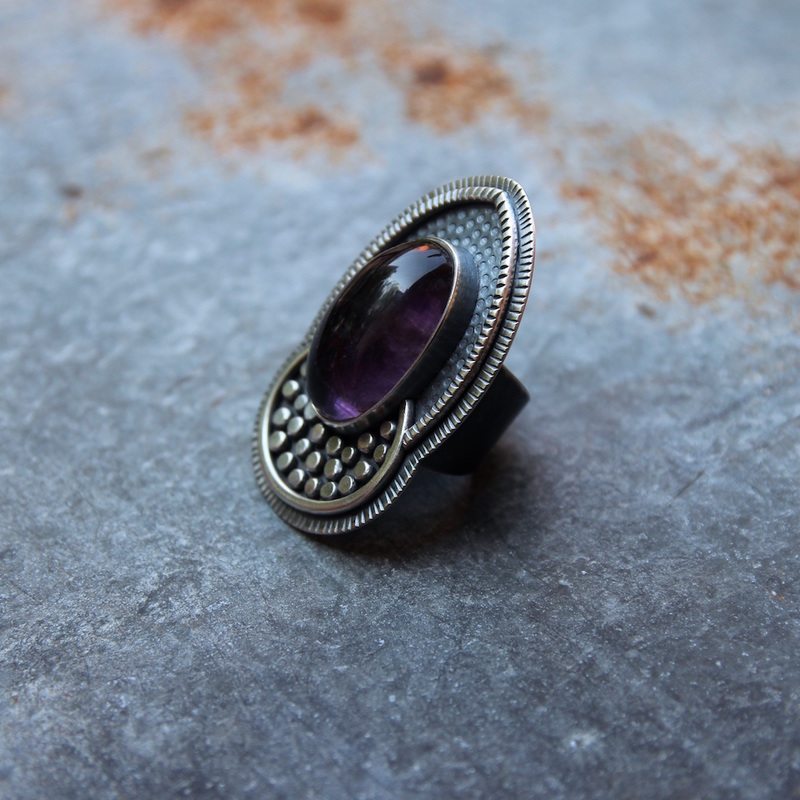
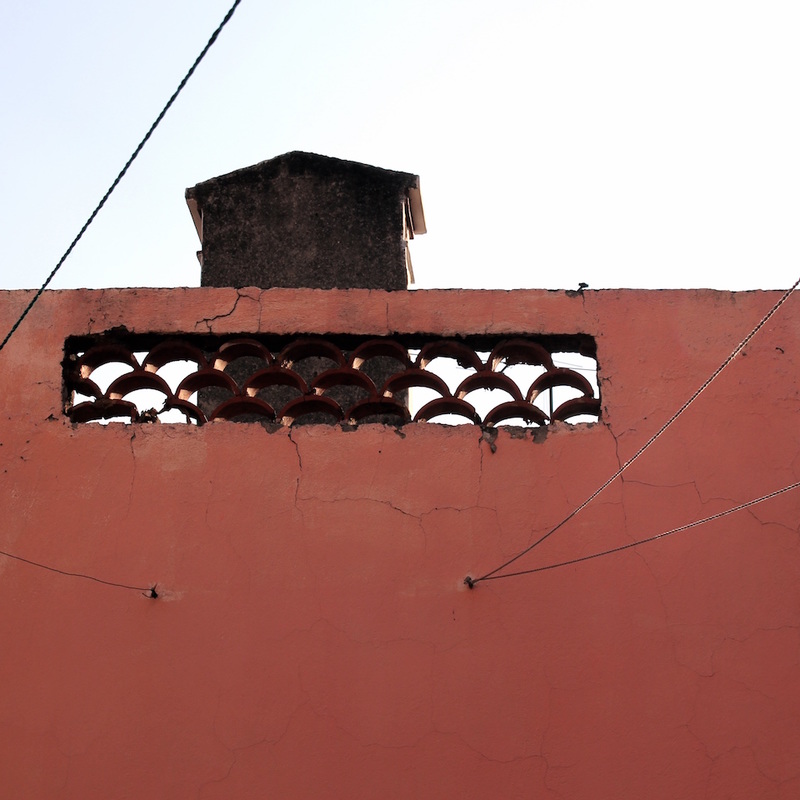
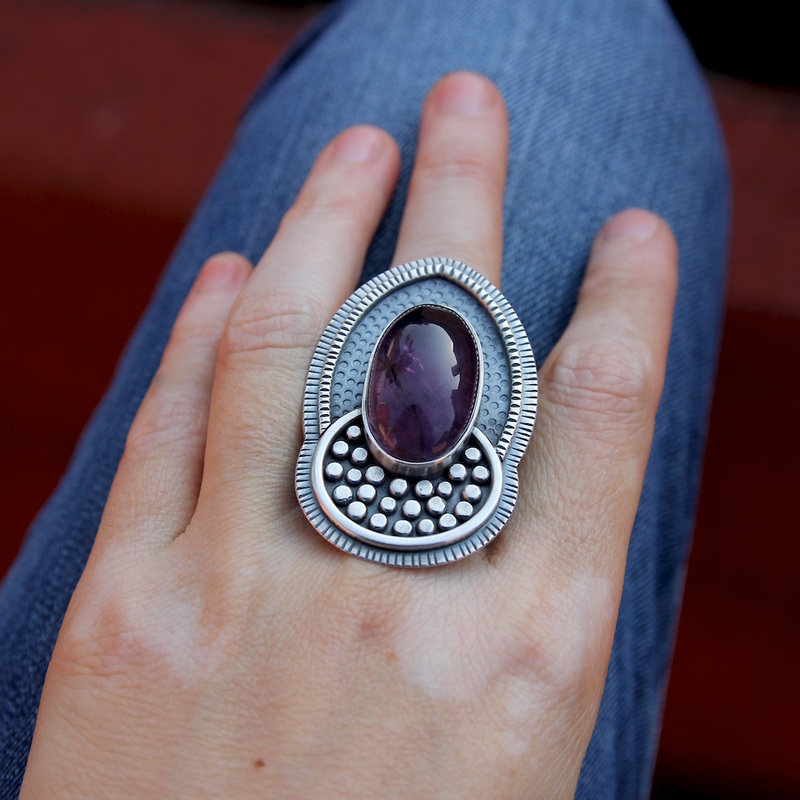
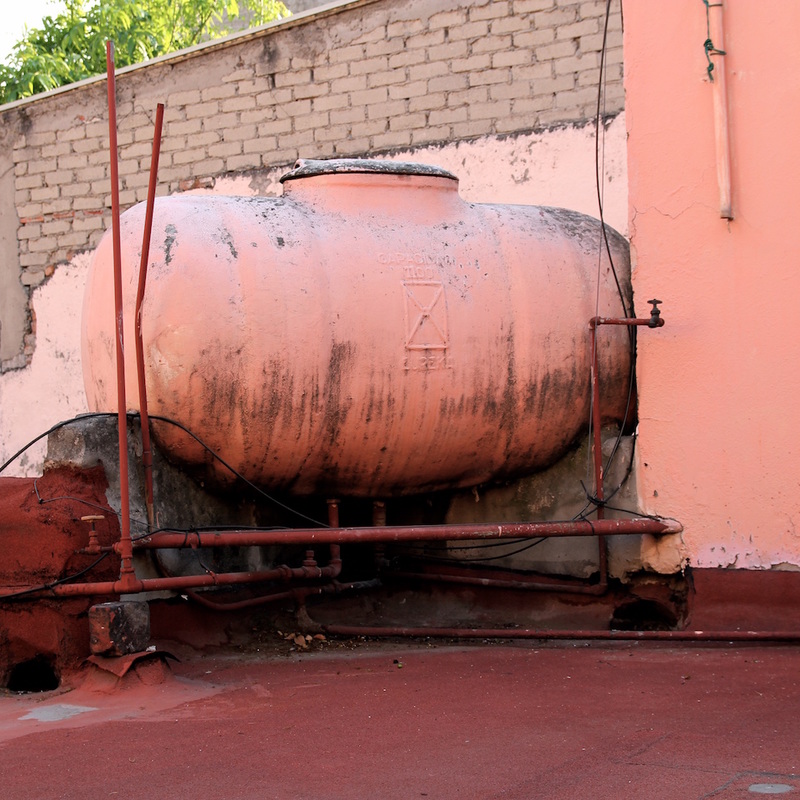
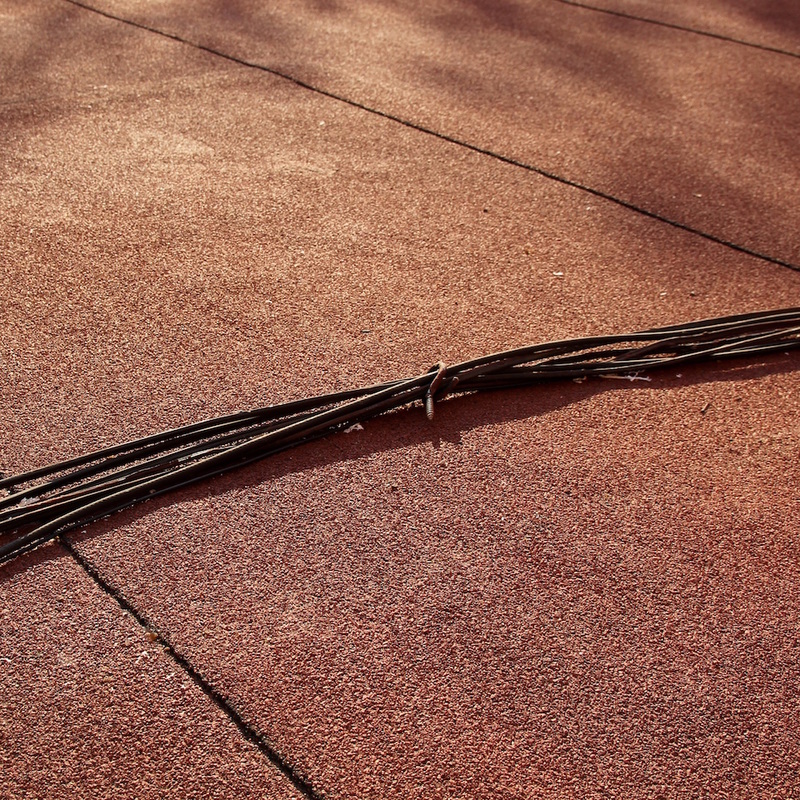
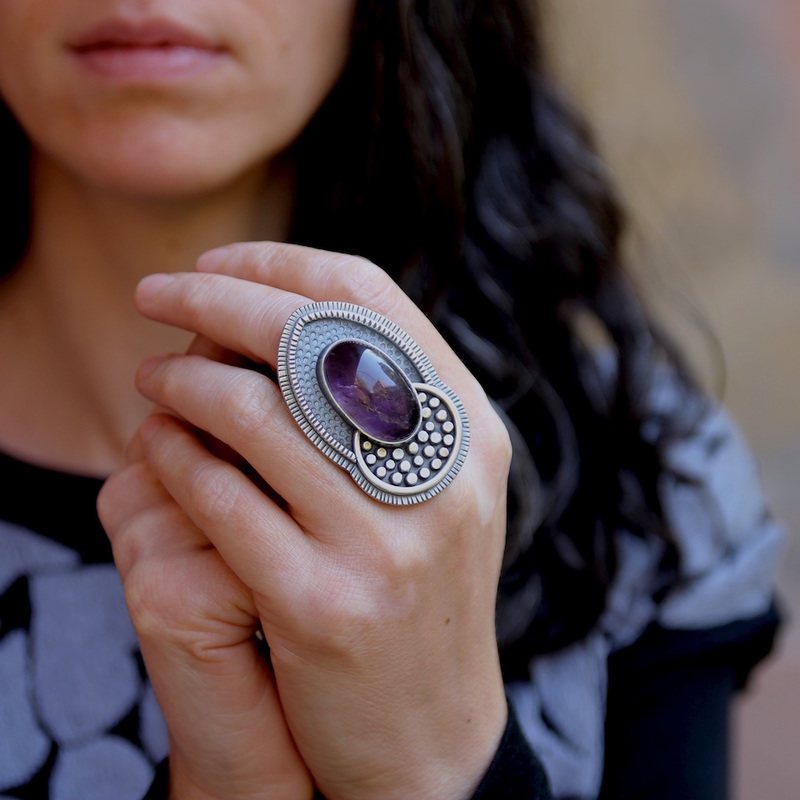
This week's talismans: unpolished jade, fossilized shark's tooth, quartz crystal, polished Orthocera fossil. 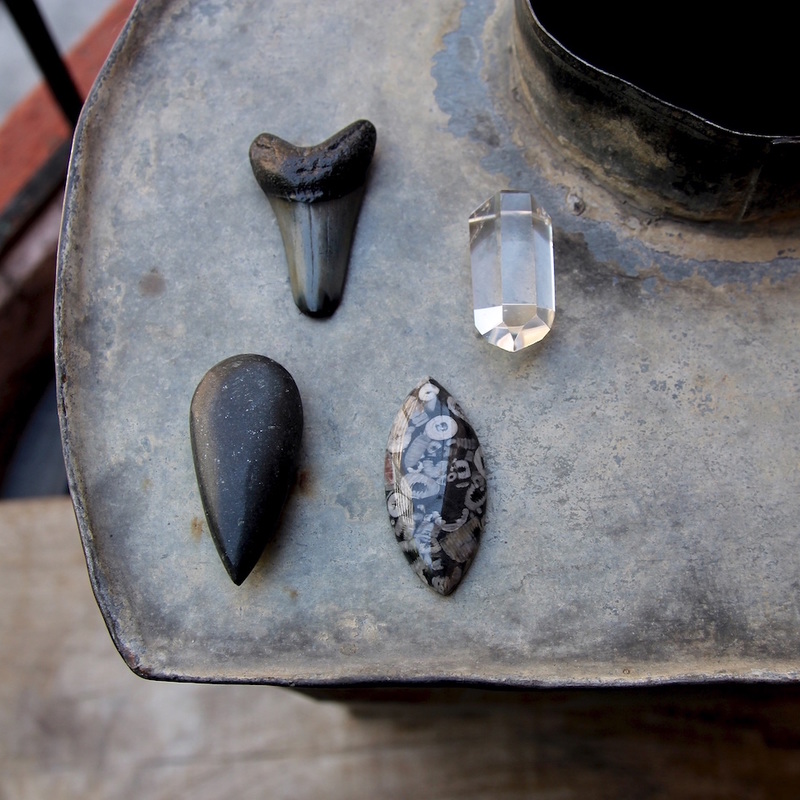 I went on my rooftop to take pictures of the ring I made today. After being inside all freezing morning, the sun felt warm on my bones. I sat for a long time on the floor, observing my surroundings. We live in a house from the 1940’s that has since seen few repairs. If I were to leave this place, I’d miss its character. Just like I missed Mexico when I lived in the States. The buildings here are handmade and soulful. They age with the people who inhabit them, and they hold stories in their structure. 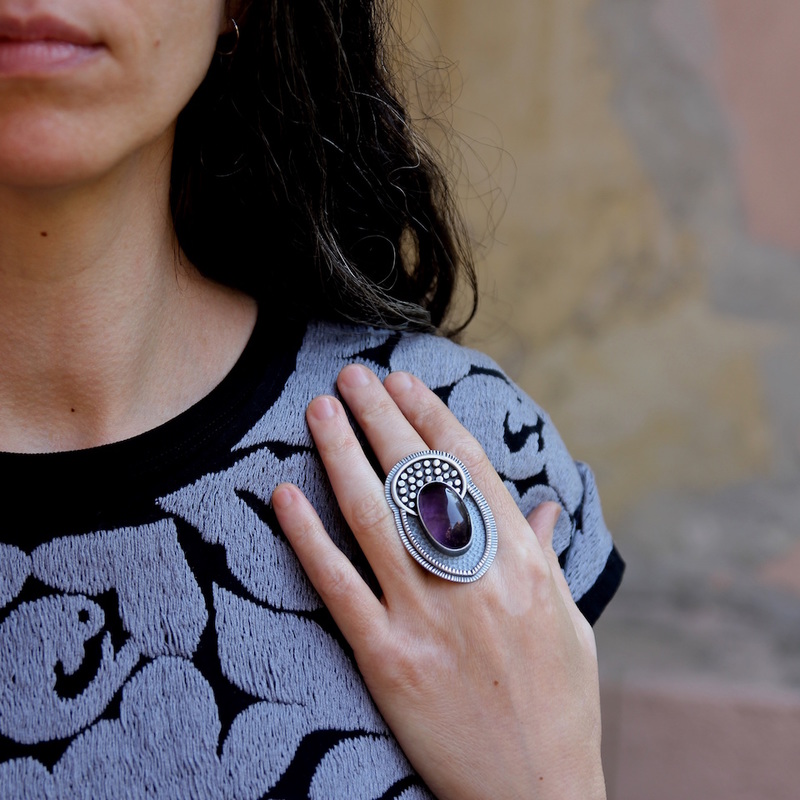 
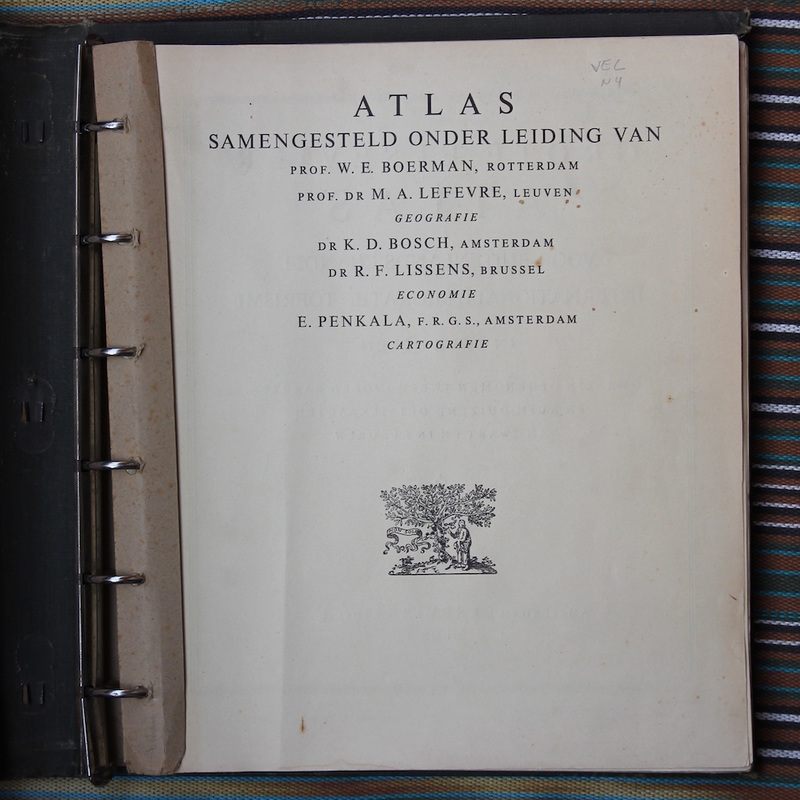
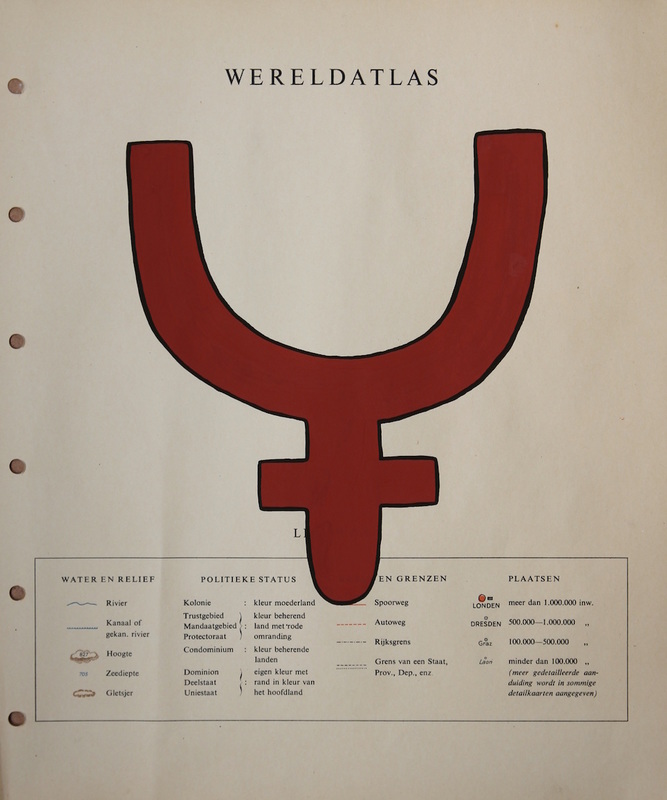
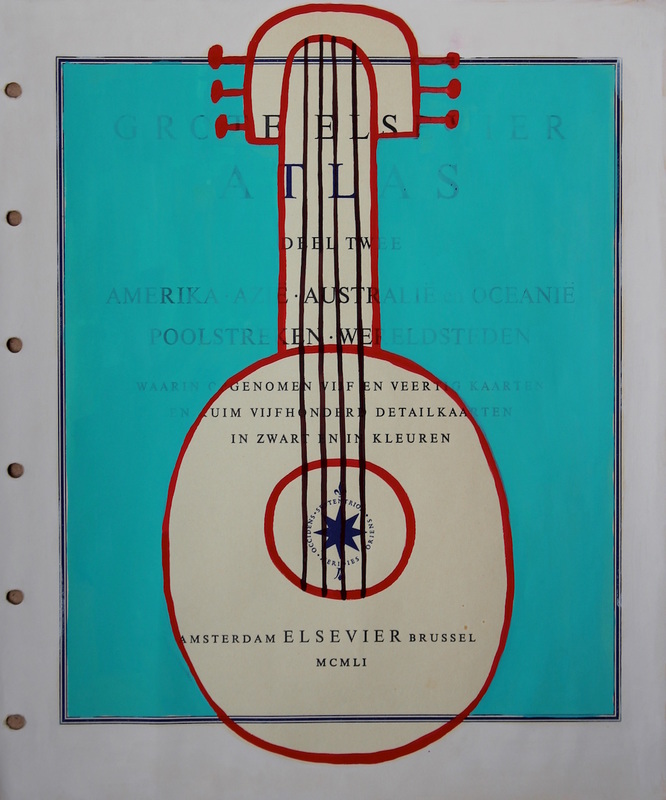
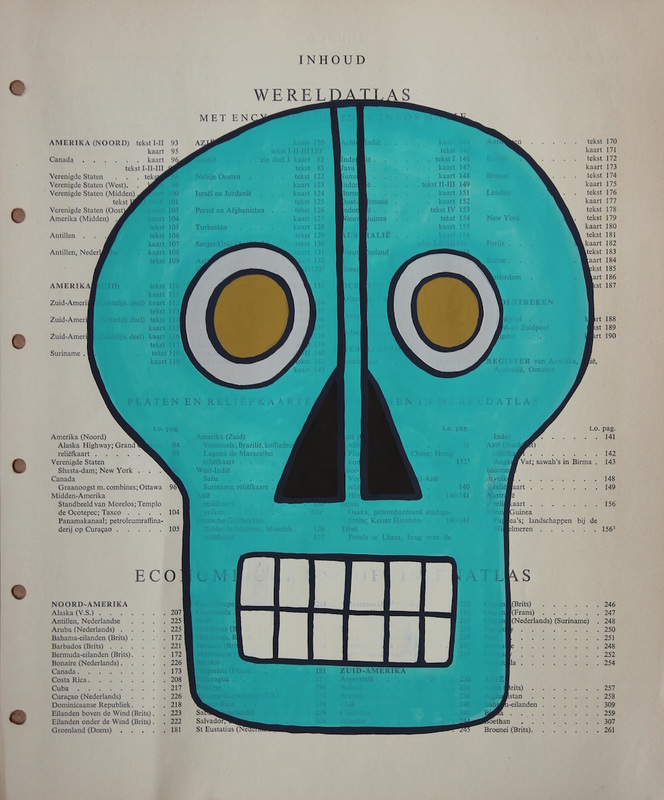
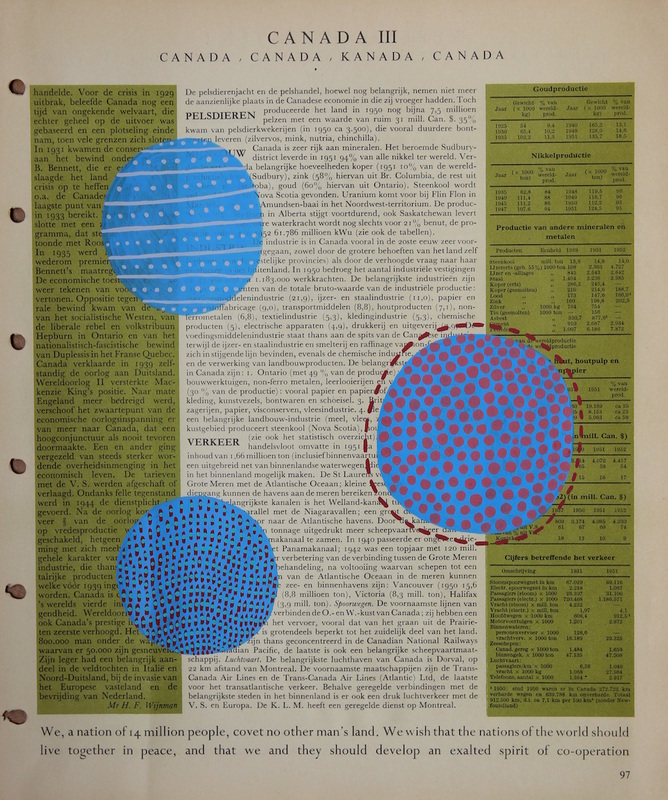
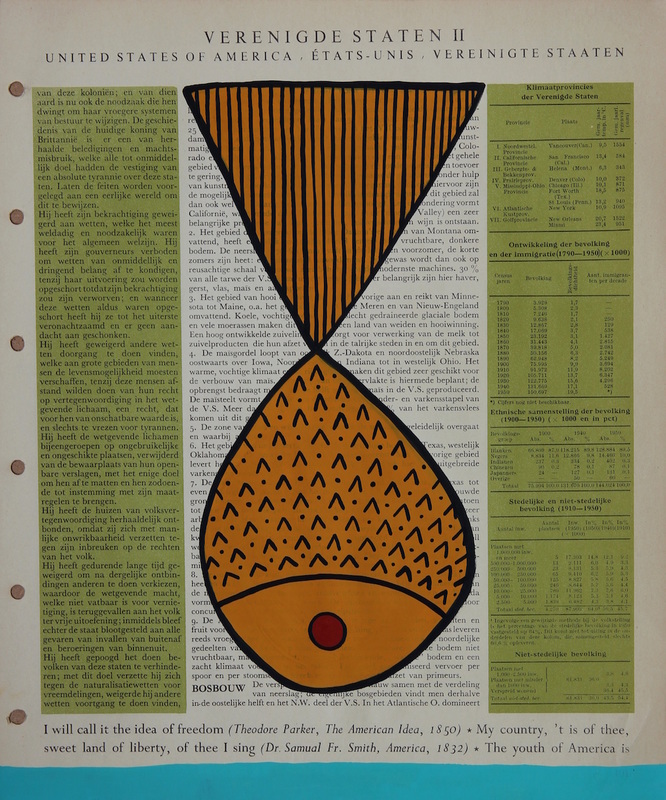
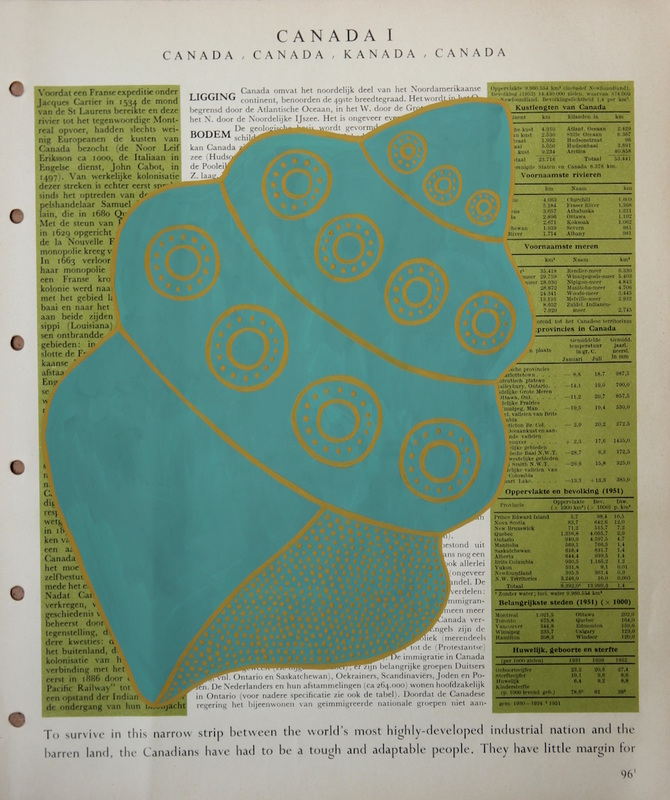
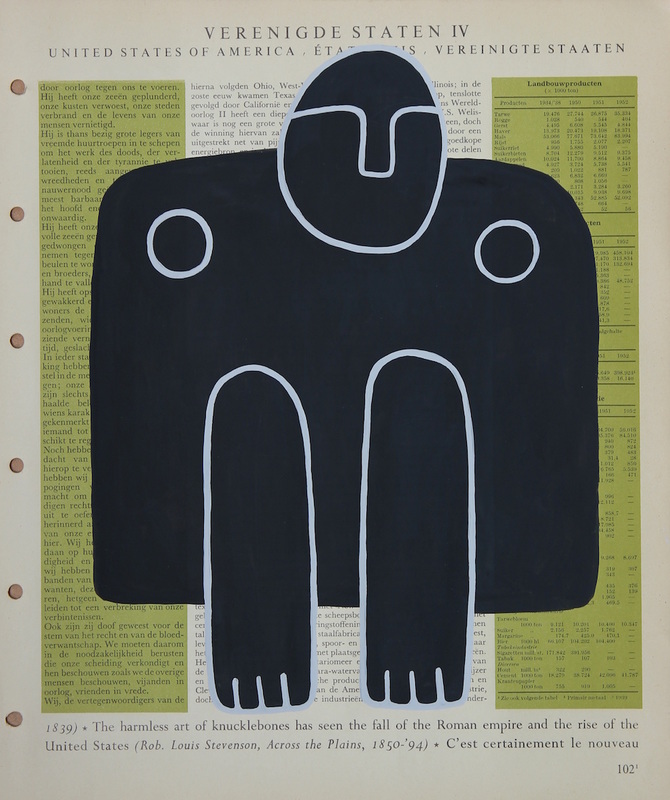
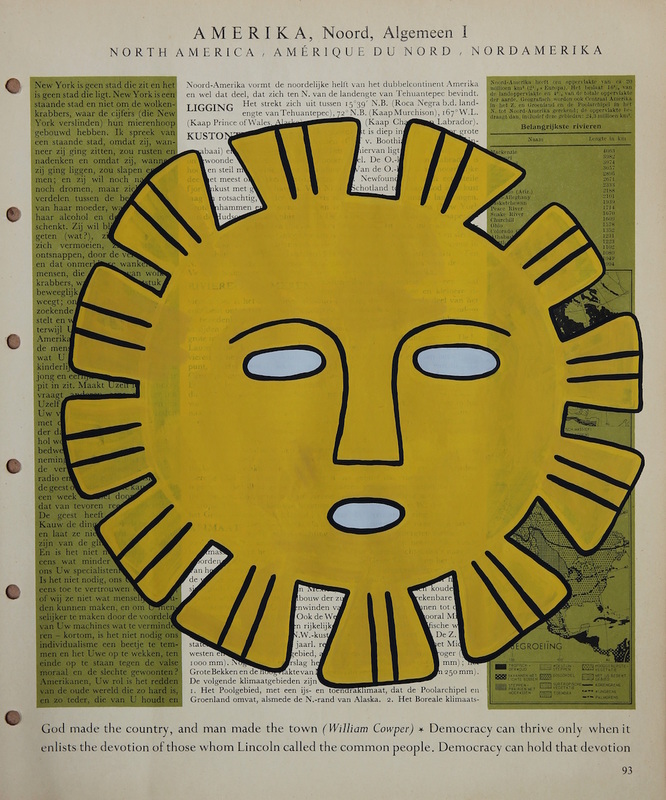
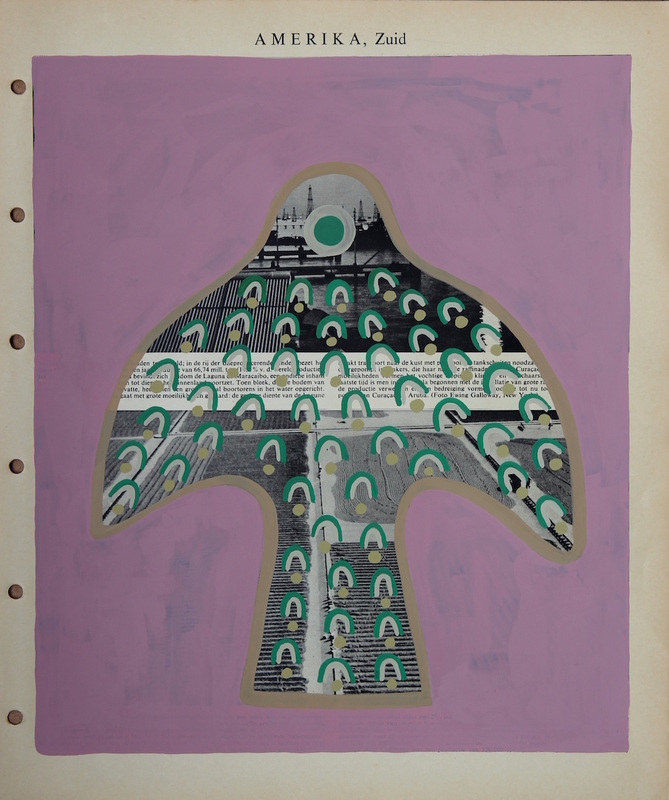
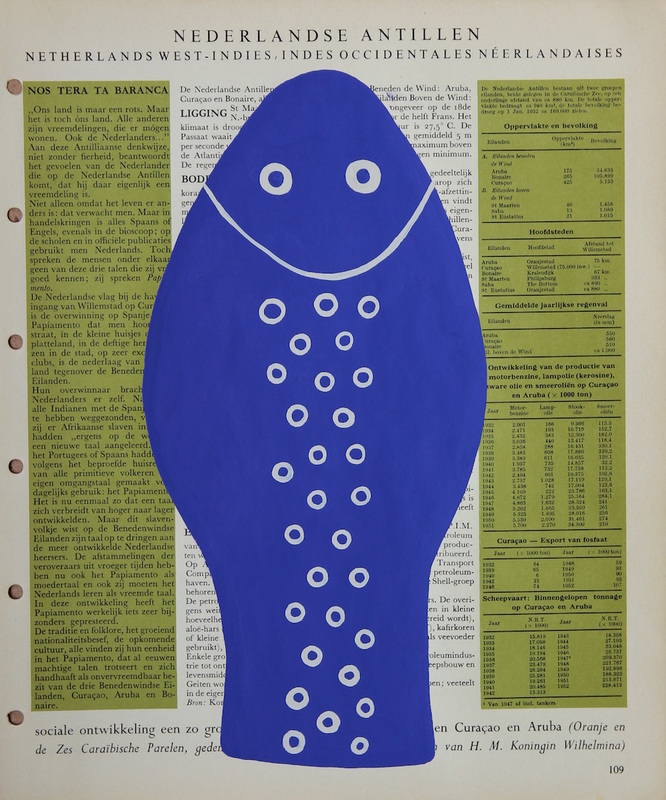
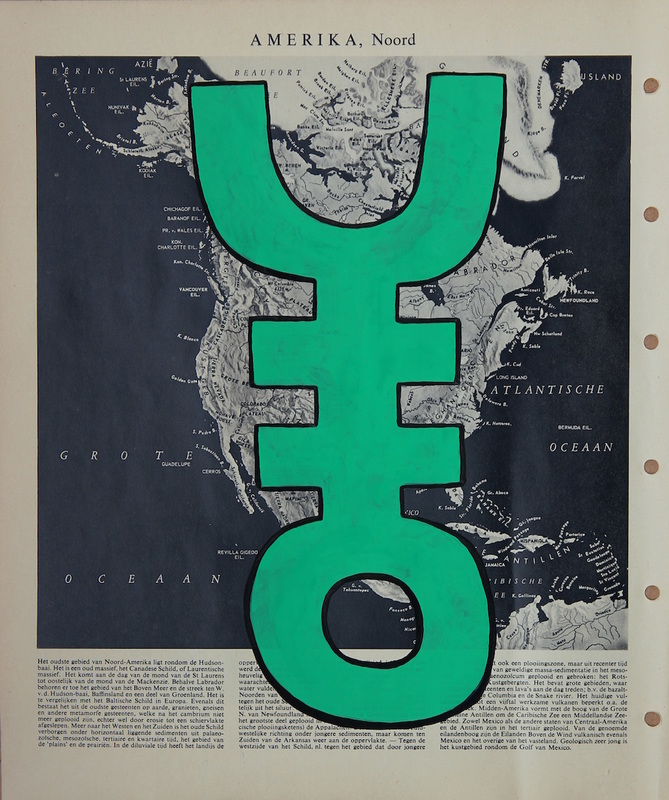
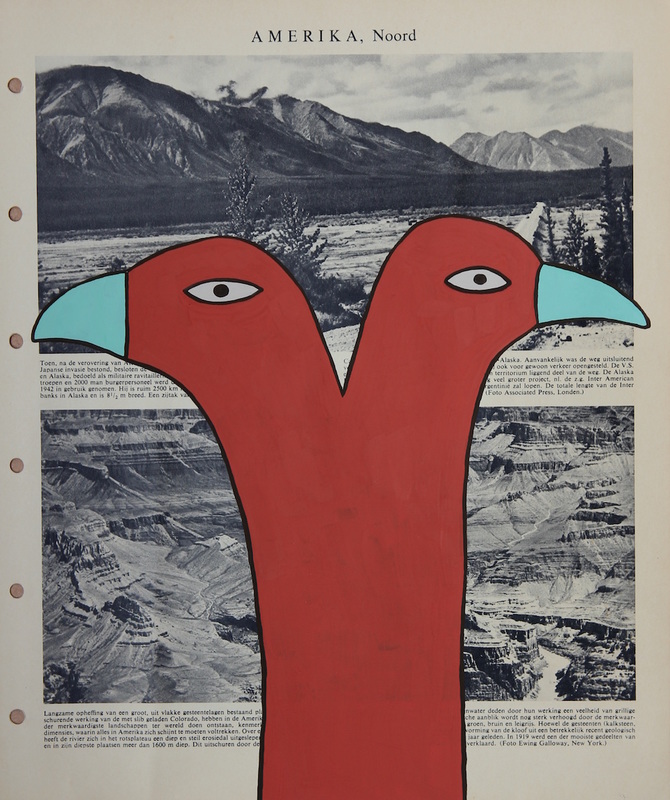
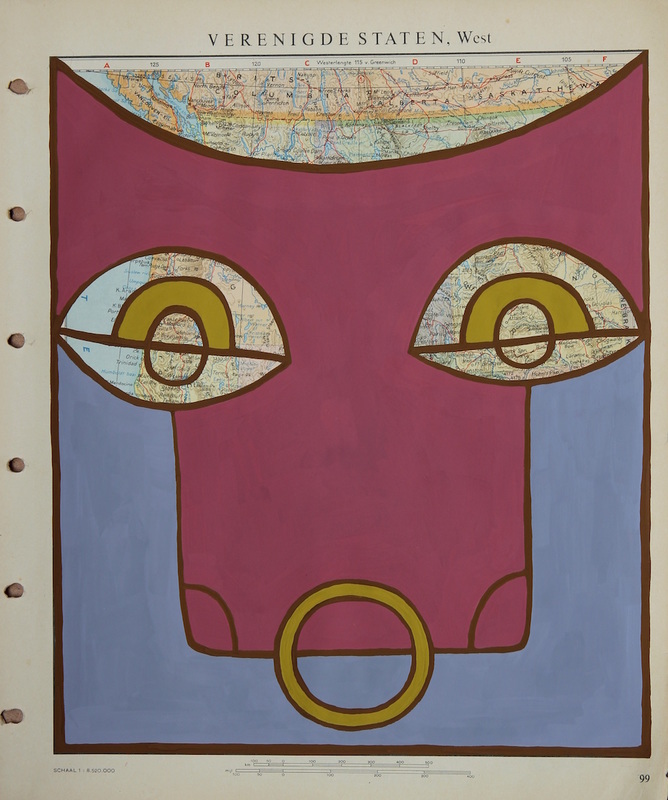
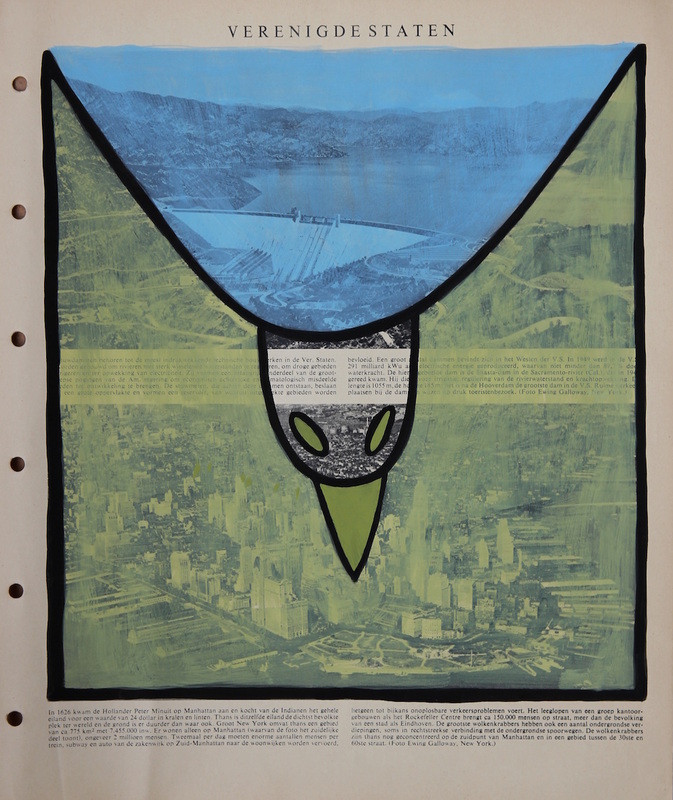
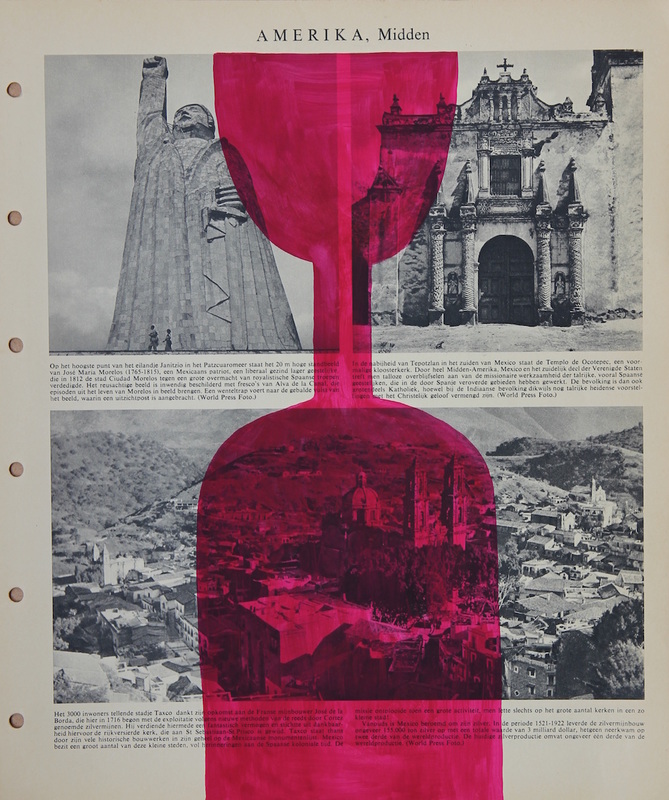
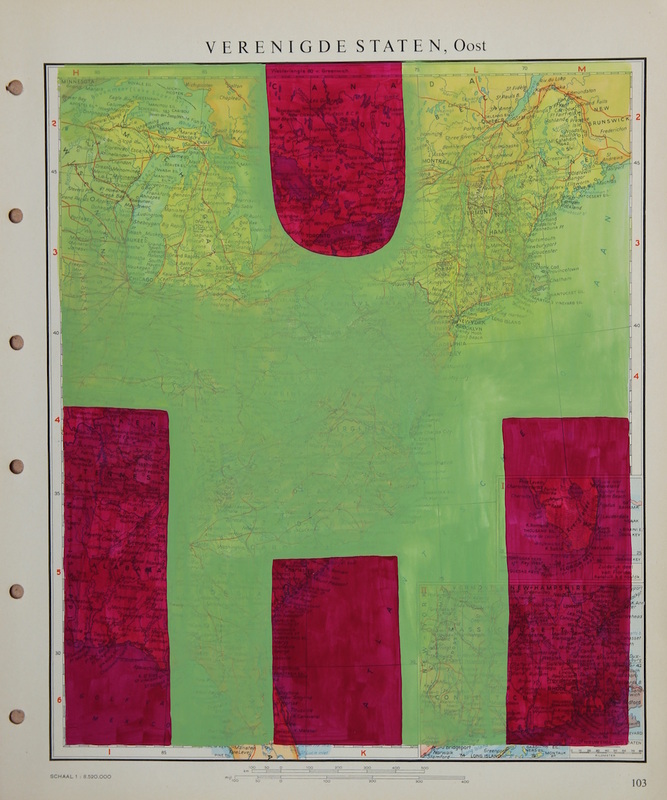
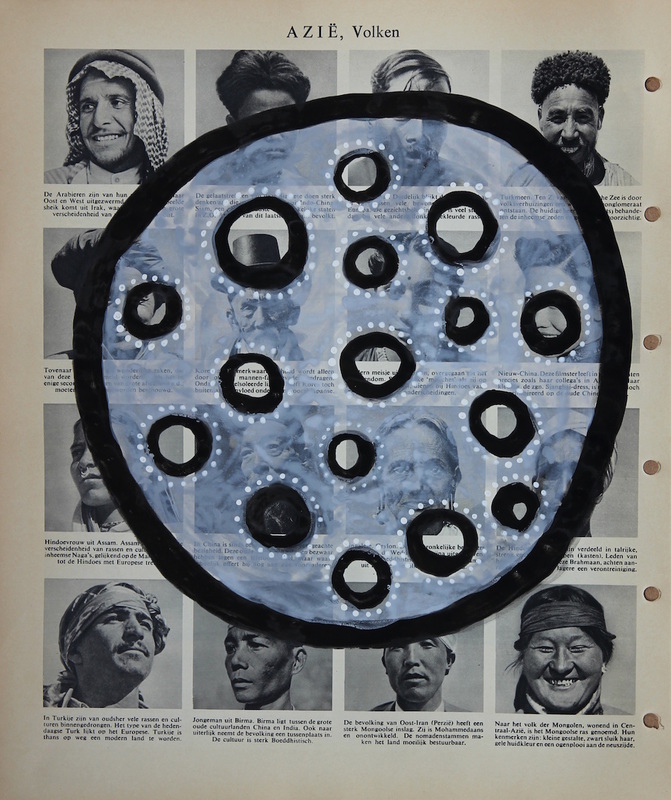
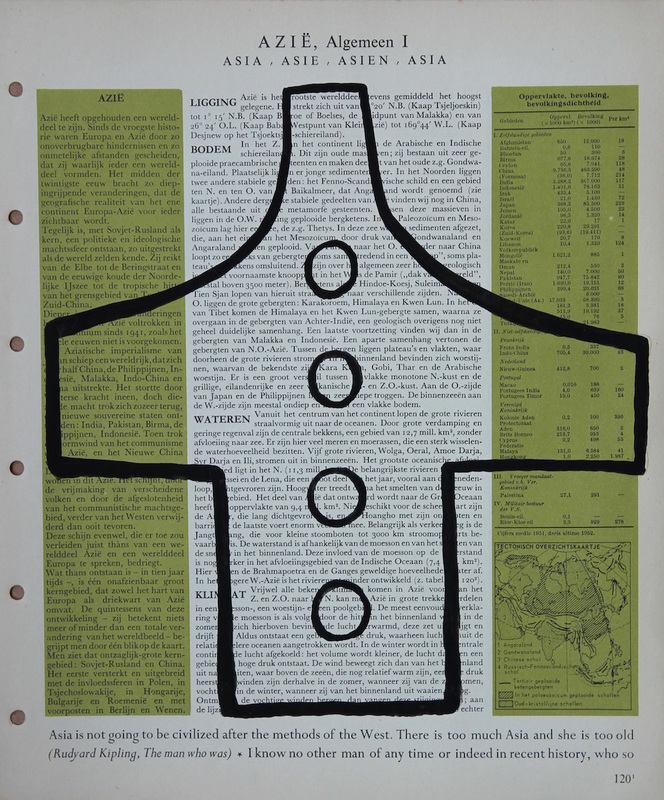
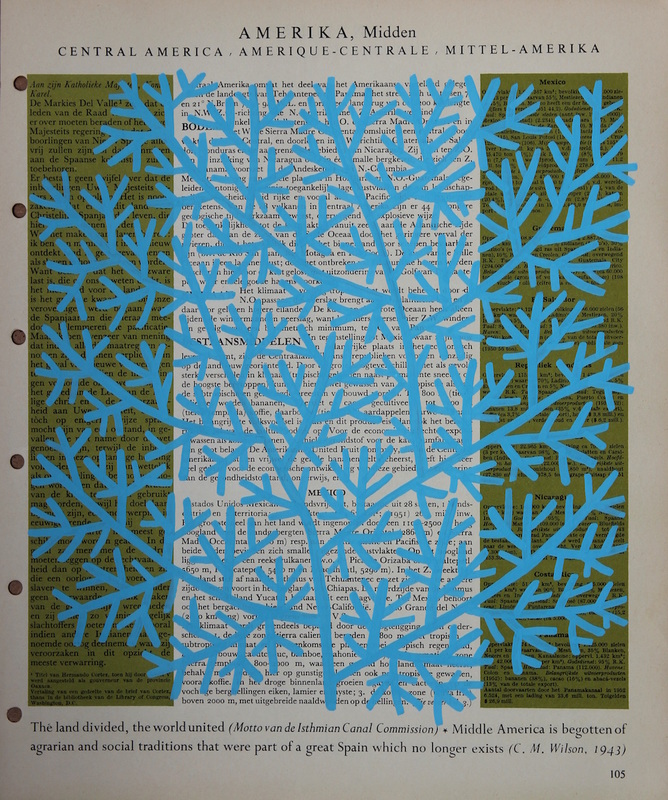
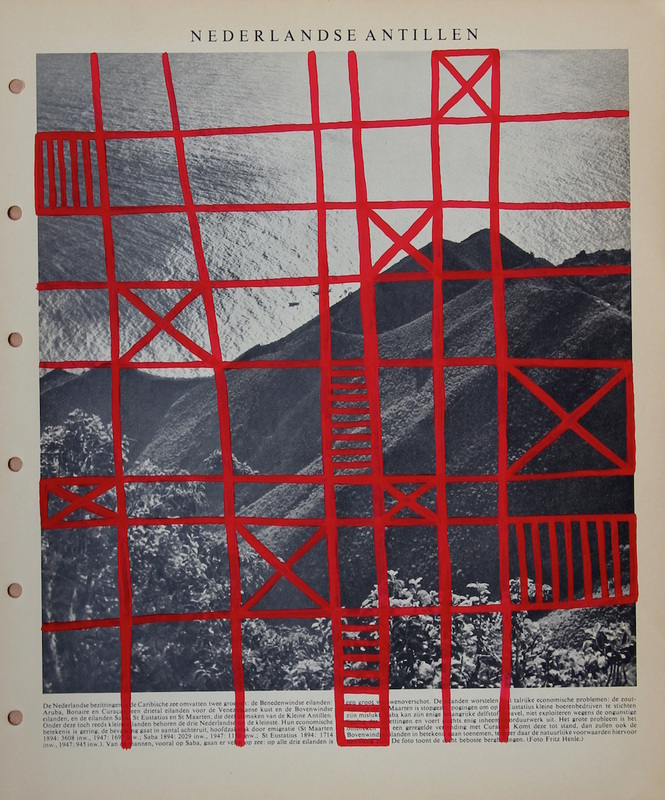
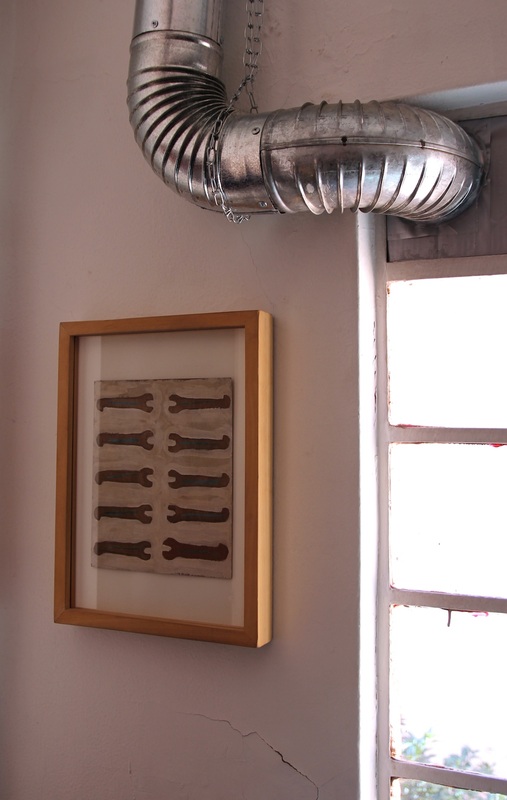
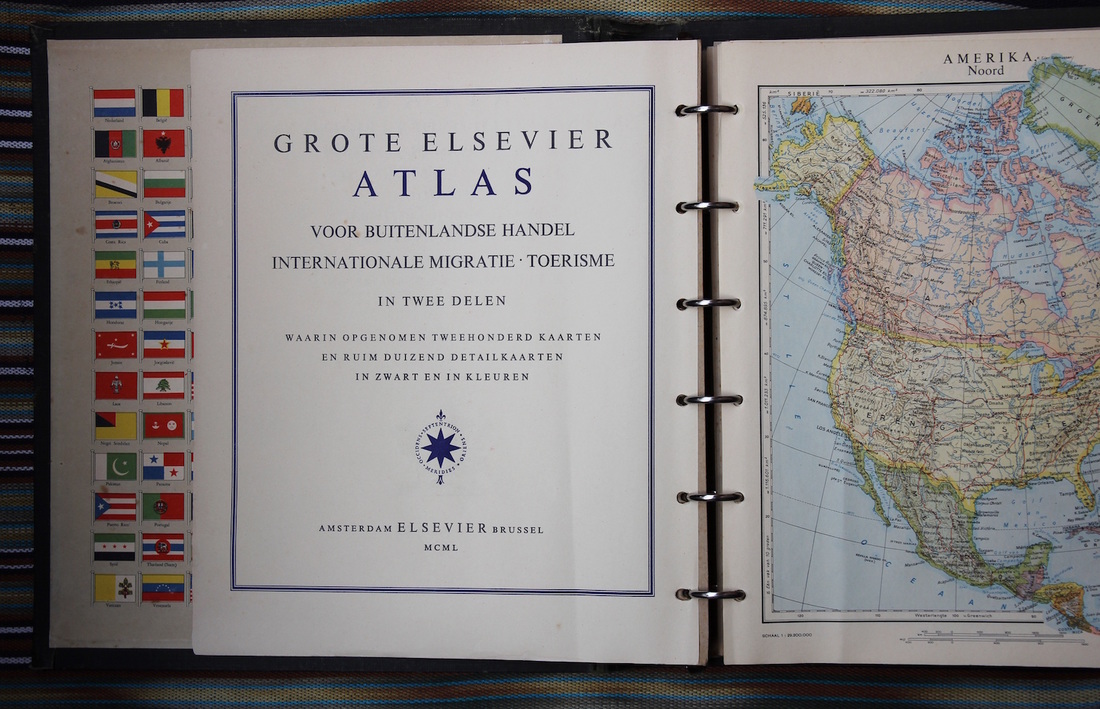
   I found an old Atlas in a used bookstore this Summer. I decided to use it as a canvas to paint on, because the paper was thick, and the pages could be easily removed from the metal binder. Projects like this remind me of how free I feel when I work with inexpensive materials and pre-existing elements. It’s the reason I love working with silver: when everything fails, I can always melt what I’m doing and start again. I can also work with whatever wire, sheet metal, or gemstone I have at hand, and let each object give me ideas. A blank canvas tends to paralyze me, but a surface that already has an image and a distinct graphic layout awakens my imagination, and adds an extra layer of interest to each piece. This is still a work in progress, as there are many pages left in my Atlas, but in the meantime, here are my first paintings. I made them with gouache, and was inspired by what was on each page. I hadn’t wanted to show them to you because I was being too self critical, but I shared them with my dear friend Iris, and she encouraged me to do so. I hope they inspire you.
 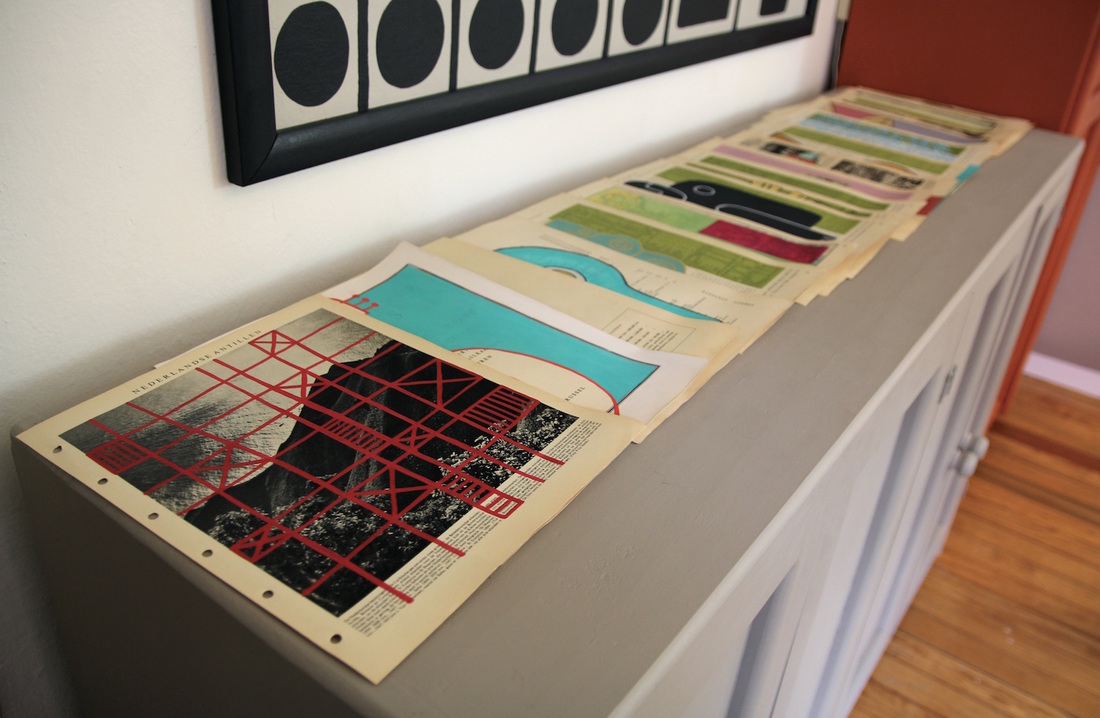
Each painting measures 12.20" by 13.77" (31 by 35 cm). 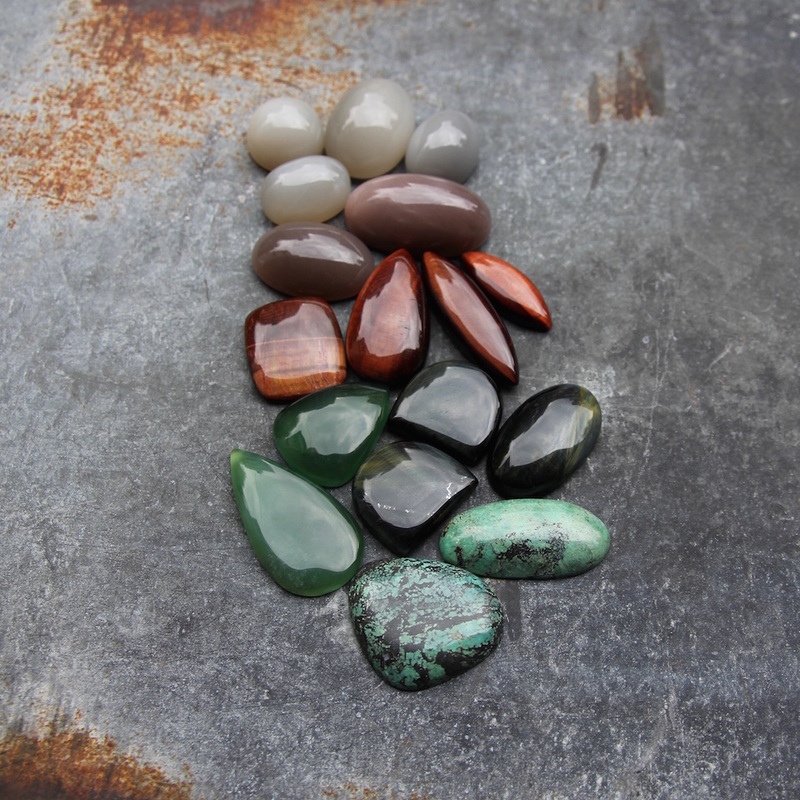 Moonstone, Bull's Eye, Jade, Hawk's Eye and Turquoise. Soon to be transformed... Many of you have asked me what is Metal Clay, so I took pictures to show you. As I shared in a previous post, Metal Clay is a modeling compound made of fine recycled silver mixed with an organic binder. Its putty-like consistency registers detailed textures and designs, as you saw in my latest pieces. Once dry, you can heat it for a few minutes with a torch until the organic binder burns away and you are left with pure silver. After the piece is fired, you can burnish it with a metallic brush and give it the patina you like. I have tried several brands, but my favorite is Art Clay Silver because it is easier to work with and shrinks less when fired. It is also the only one available in Mexico City (thank you, Iliana Carrillo for giving me a sample!). I finally found a way to transfer my more intricate drawings into metal. 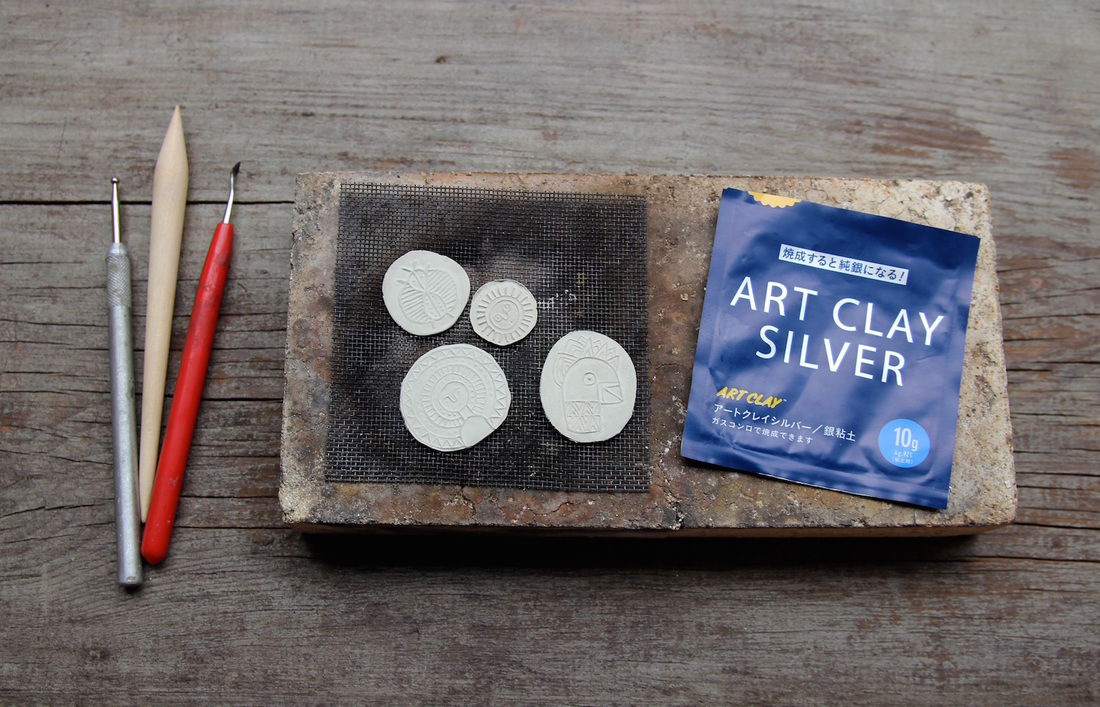 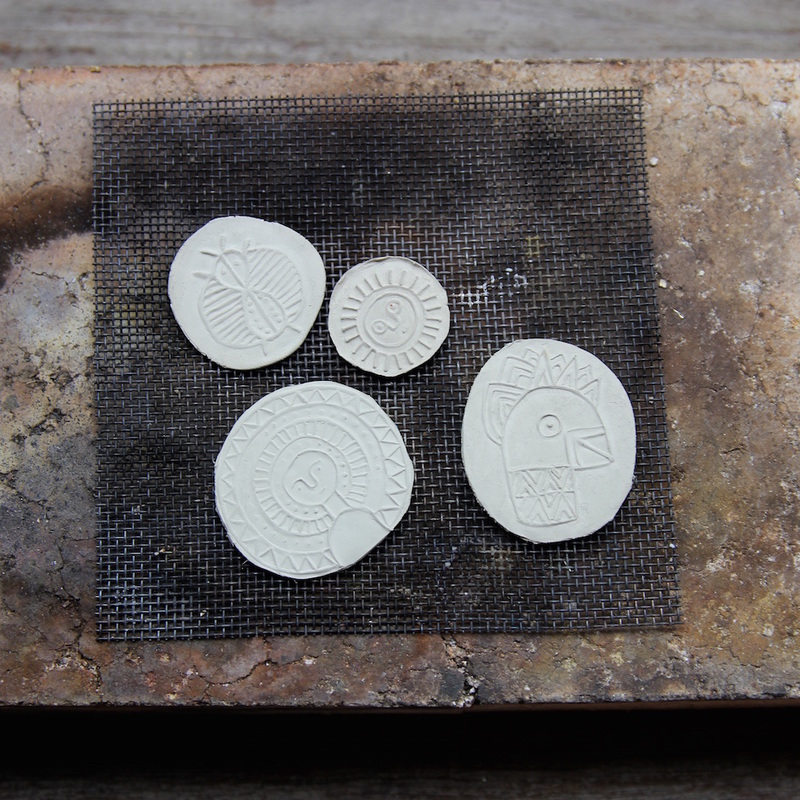 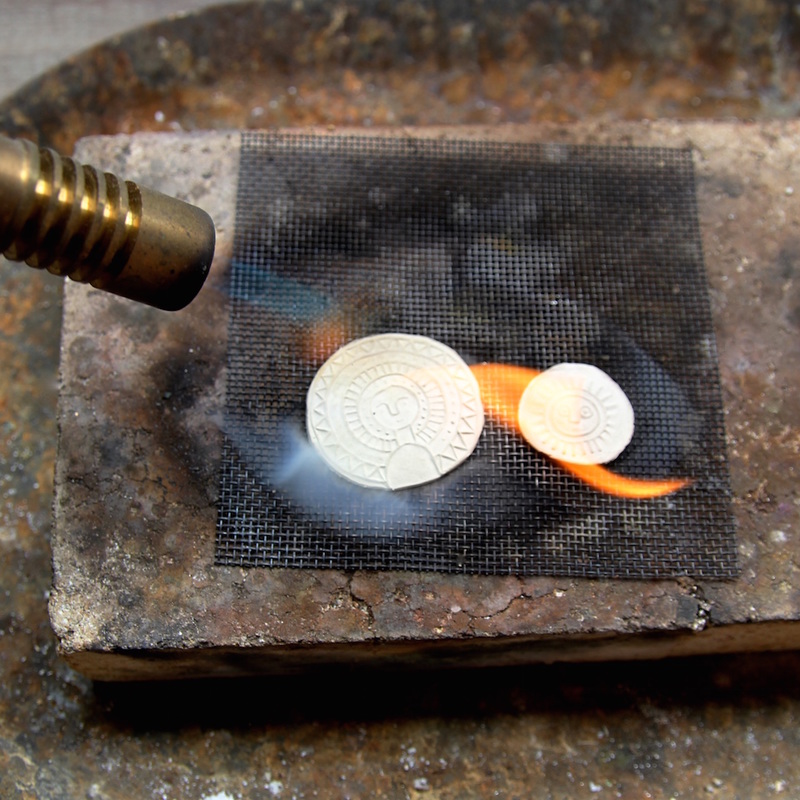 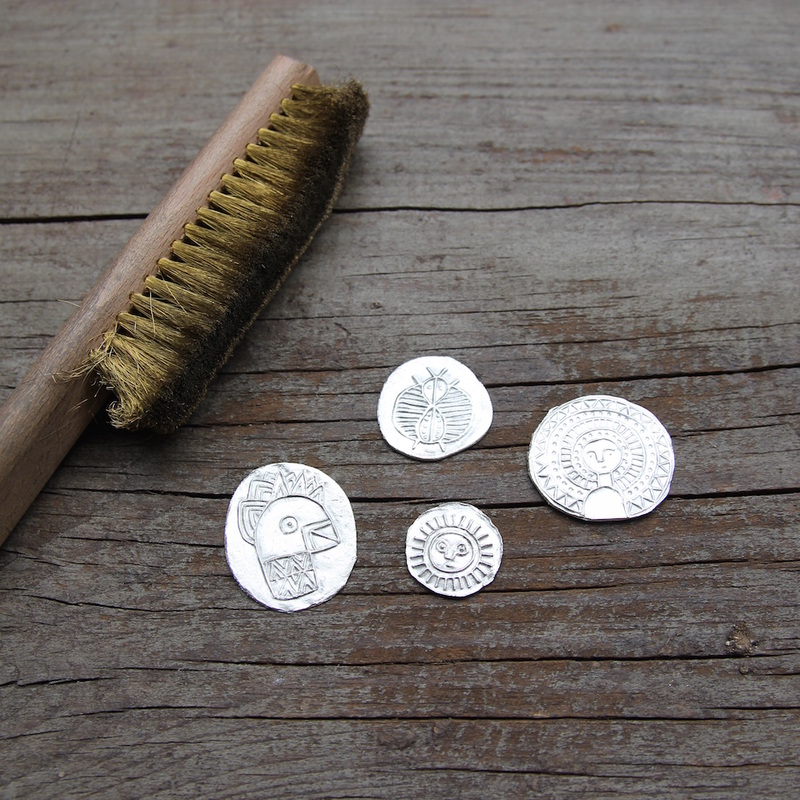 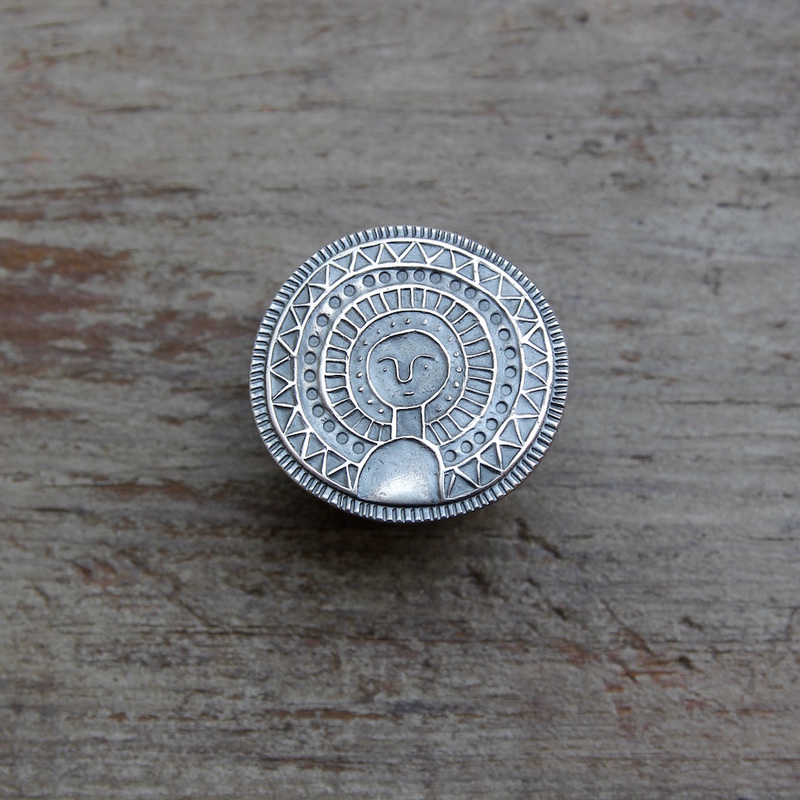 I would have liked to photograph the clay when it was moist, but I ran out of it before I took these pictures. Today my studio looked beautiful and sunny. I am so grateful to have such a large and happy space to create in. I took pictures to share it with you. 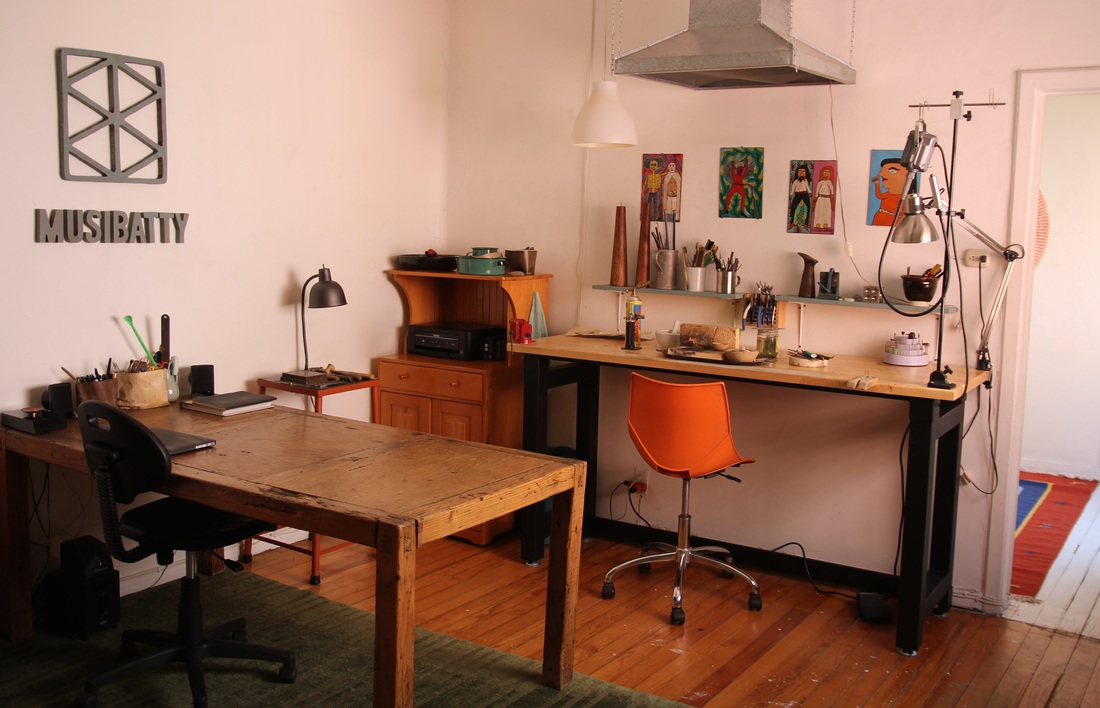 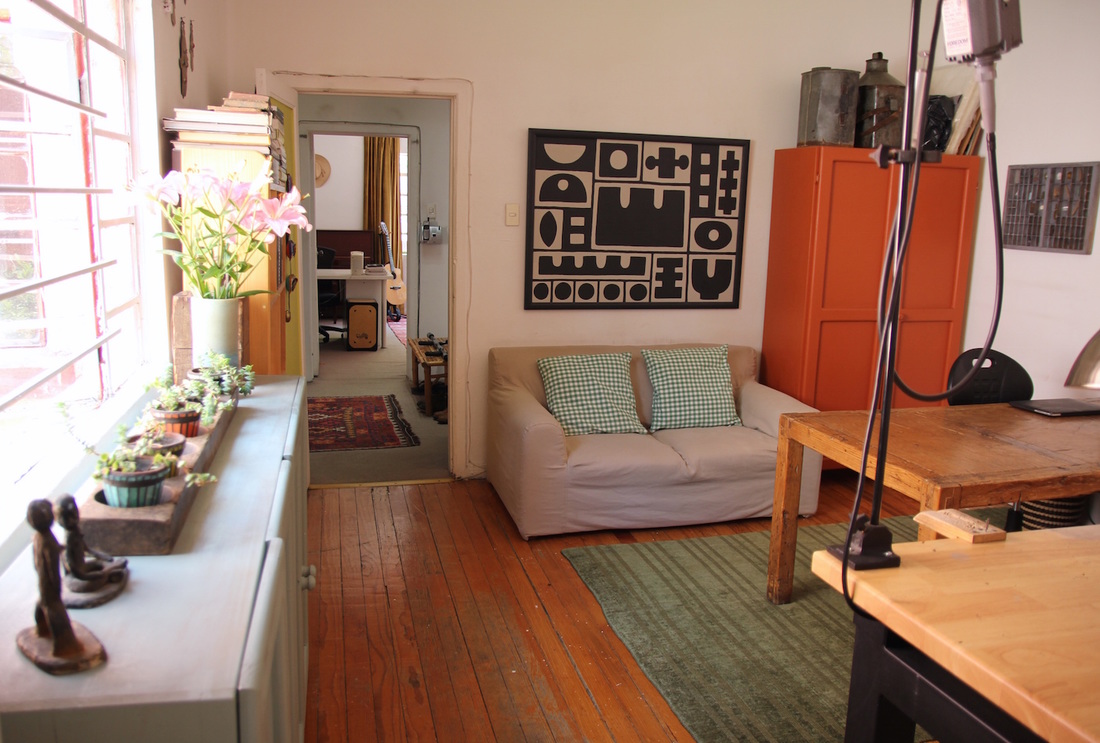 
A friend of mine came by my studio the other day and excitedly said, show me the machine you make your jewelry with! The machine? I asked, puzzled. You mean these? I replied, and showed her my hands. Her visit made me realize that in sharing my process, I have been guilty of the curse of knowledge. In their book, Made to Stick: Why Some Ideas Survive and Others Die, authors Chip and Dan Heath describe this curse by saying that the more you know about a specific subject, the harder it is to explain it to someone who knows nothing about it. Since I too enjoy learning how others do what they do, I decided to document each step of my jewelry making process for those of you who have never seen it before. My method for making a ring is simple and probably medieval, but I love how immediate it is, and how anyone who wants to learn to make jewelry can do it with simple tools and a small investment.
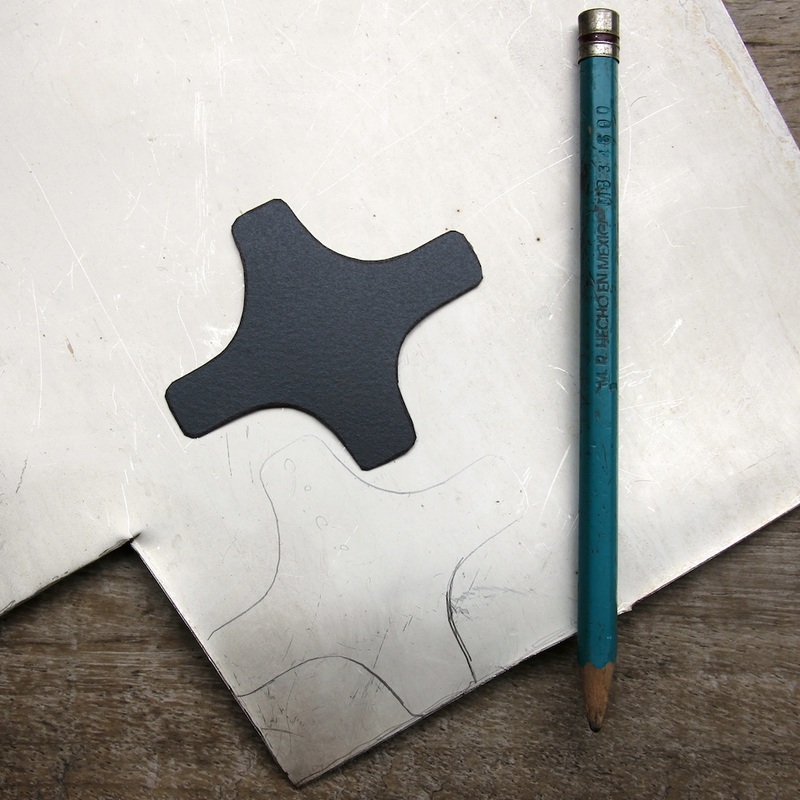
I begin by drawing the outline of a ring pattern I previously made on a sheet of 100% recycled sterling silver. To discourage toxic mining, I only use silver that is extracted from photographic proceses.
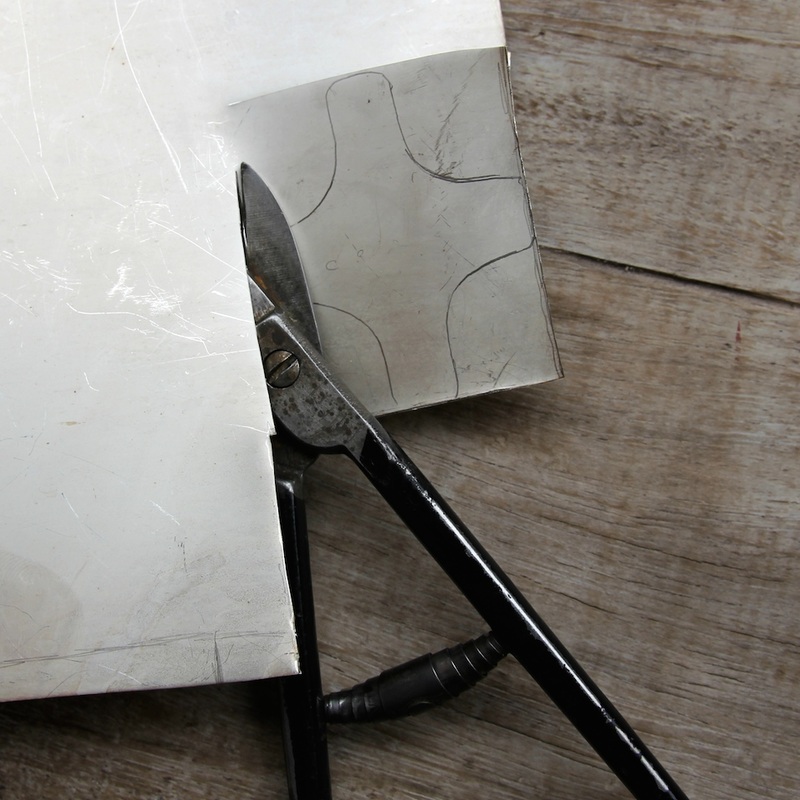
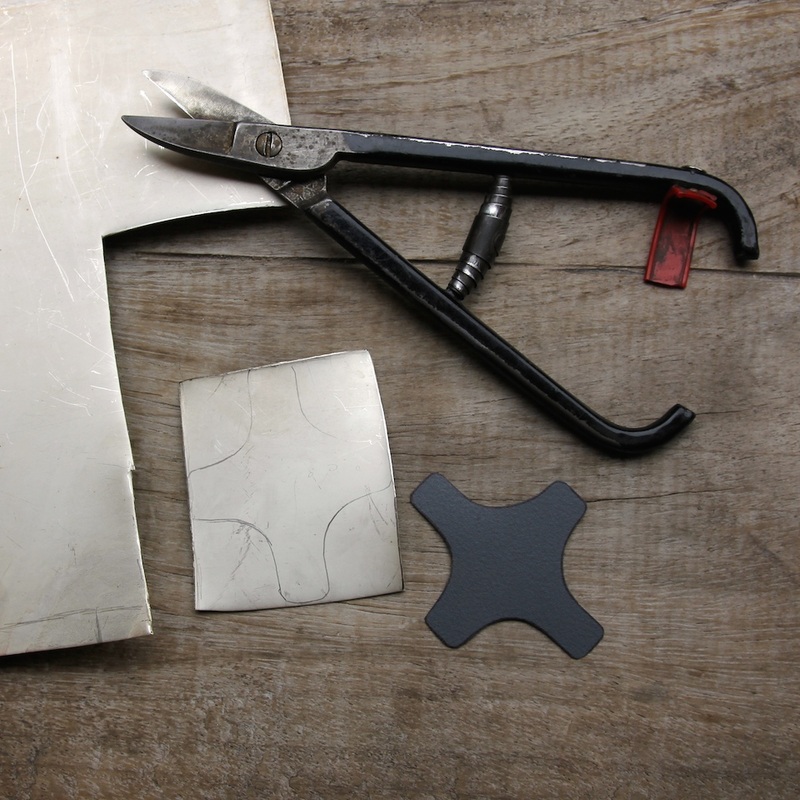
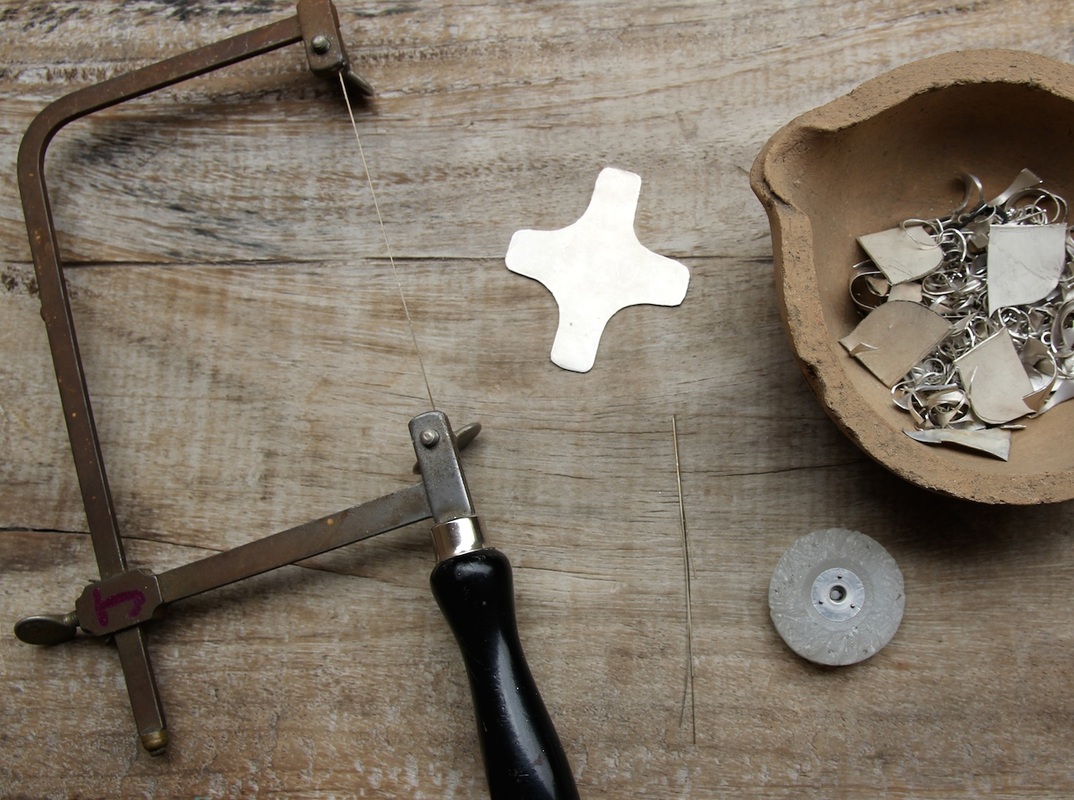
After I cut the basic outline with metal shears, I saw the final shape of the ring using a blade that is so thin, it usually breaks. You can see the delicate broken blades to the right of the adjustable saw frame. As I saw, I pass the blade through candle wax to ease cutting.
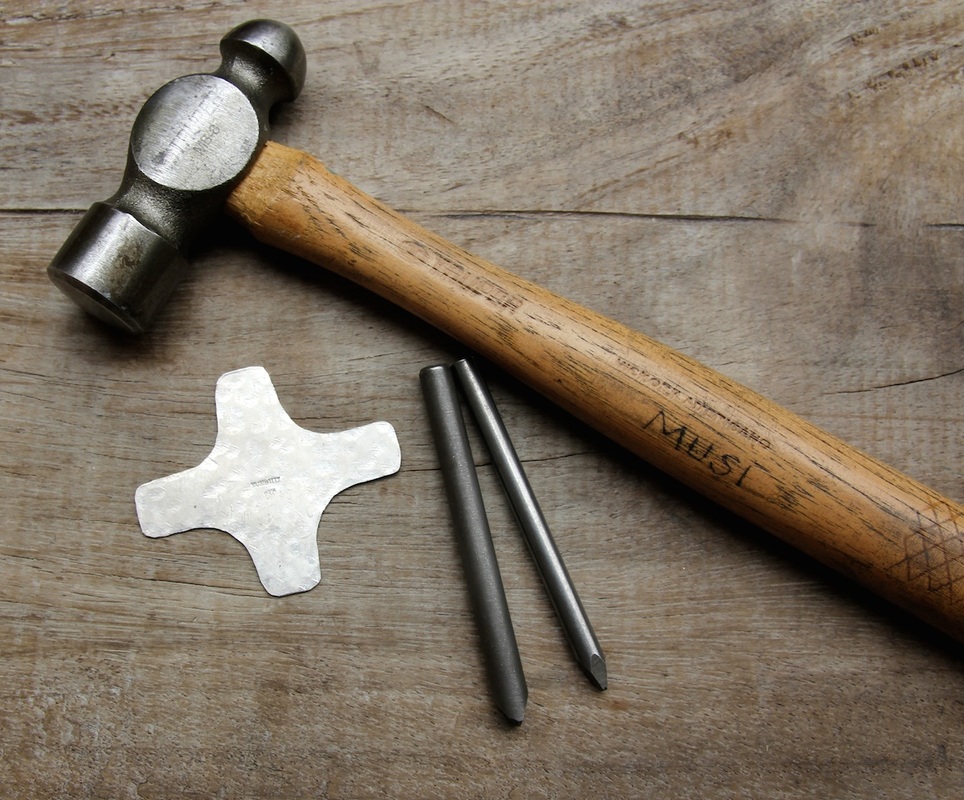
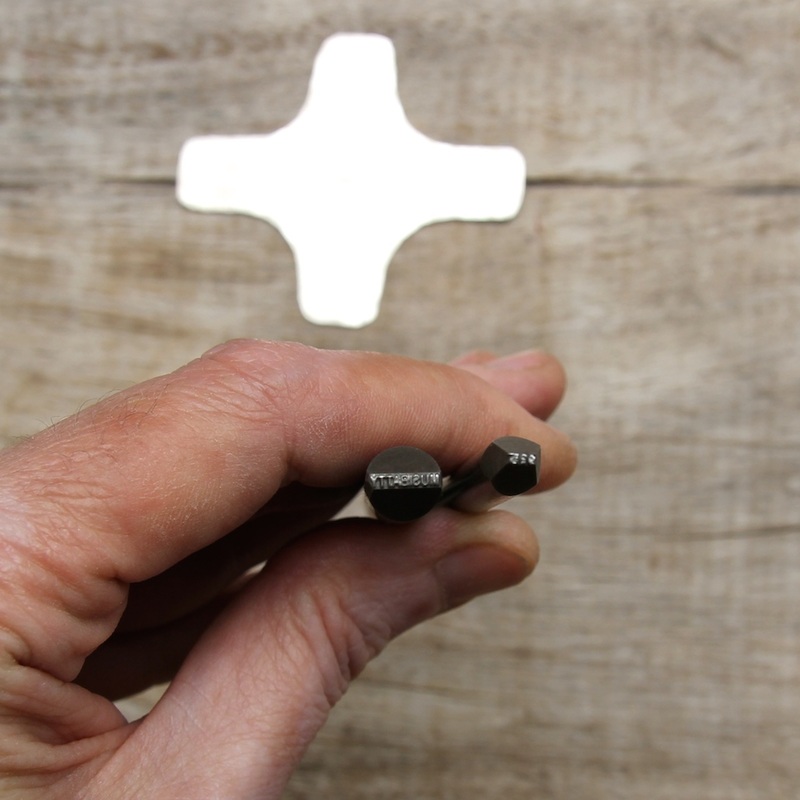
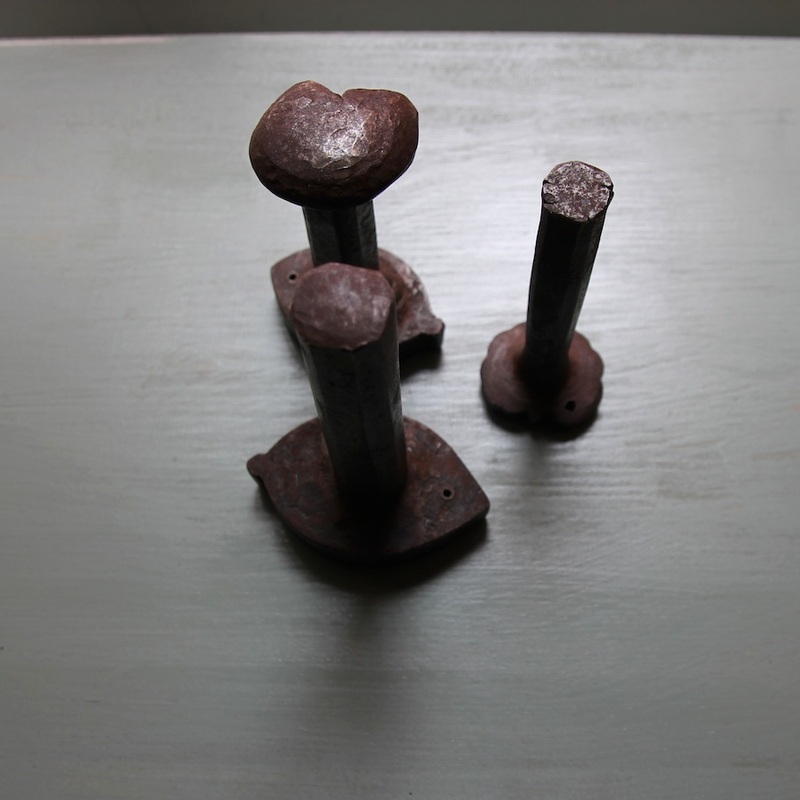
I use my hammer to give texture to the silver sheet, and to stamp my logo and sterling silver mark in the center, using custom steel punches.
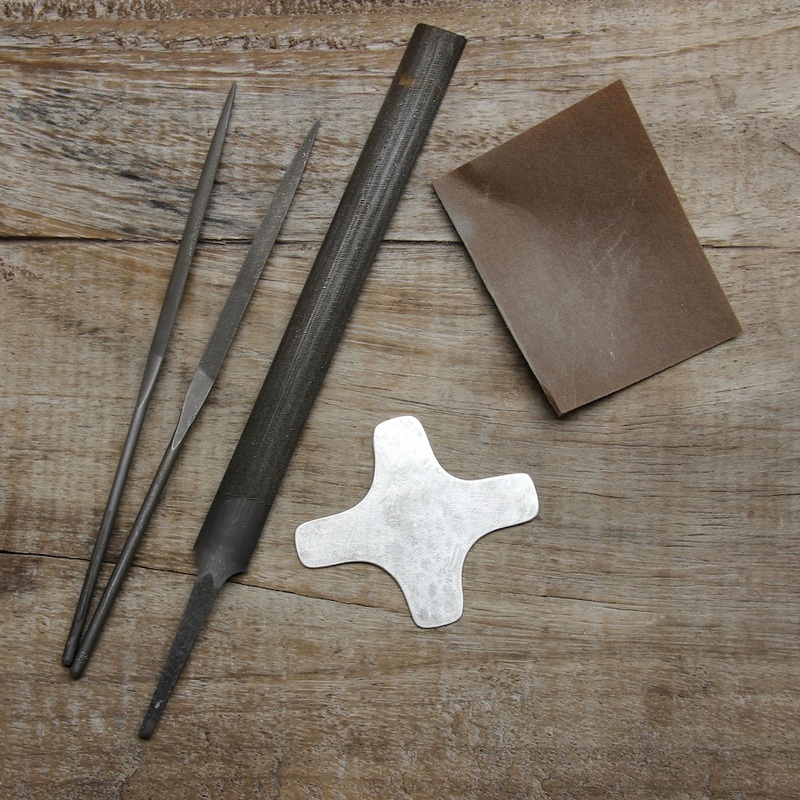
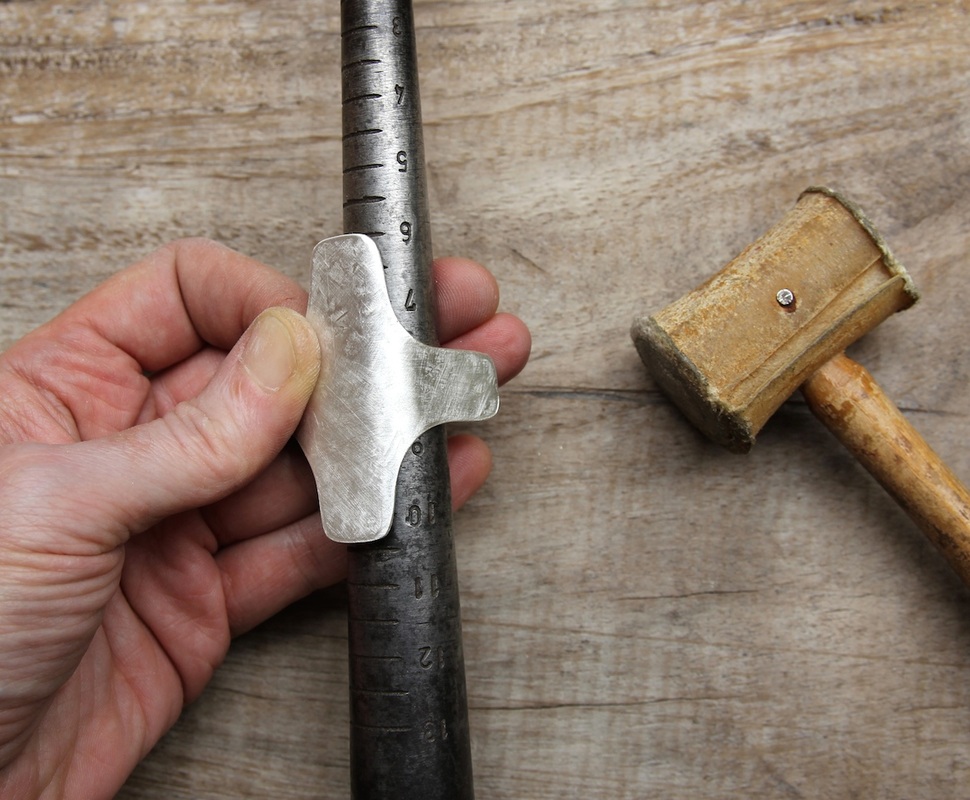
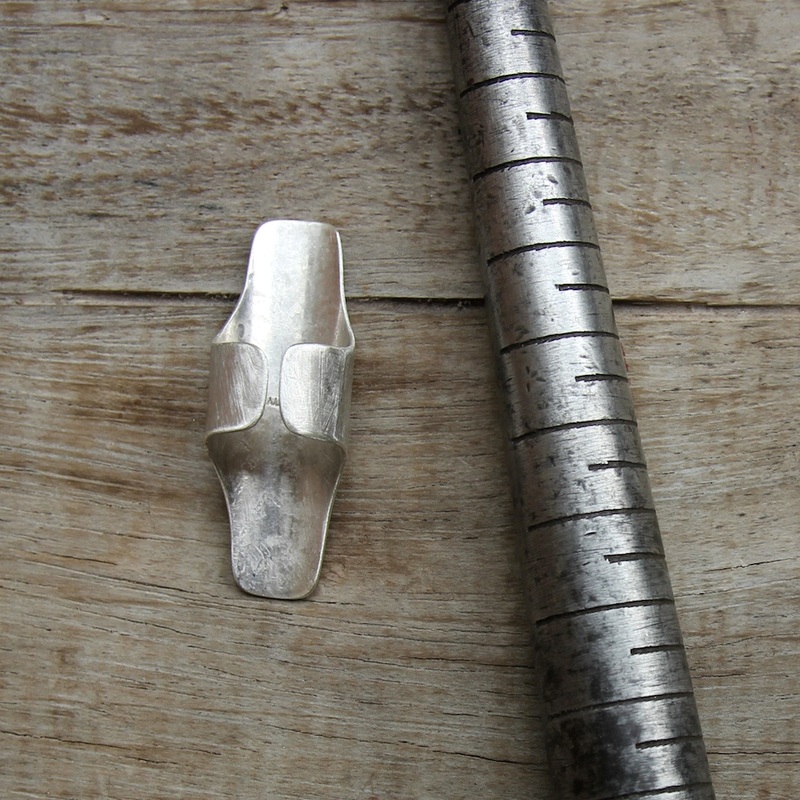
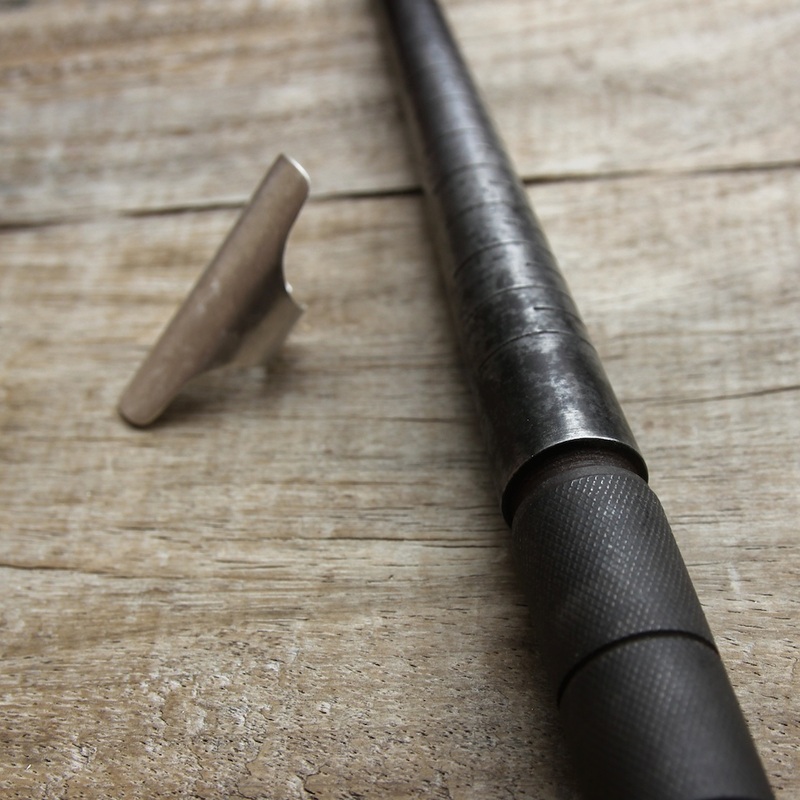
I smooth the rough edges of the cut-out ring using files and sand paper. I then re-heat it with my torch, to make it maleable enough to wrap around a cone-shaped metal tool, called a ring mandrel. I use a rawhide mallet to help me hammer and shape the ring without damaging its surface.
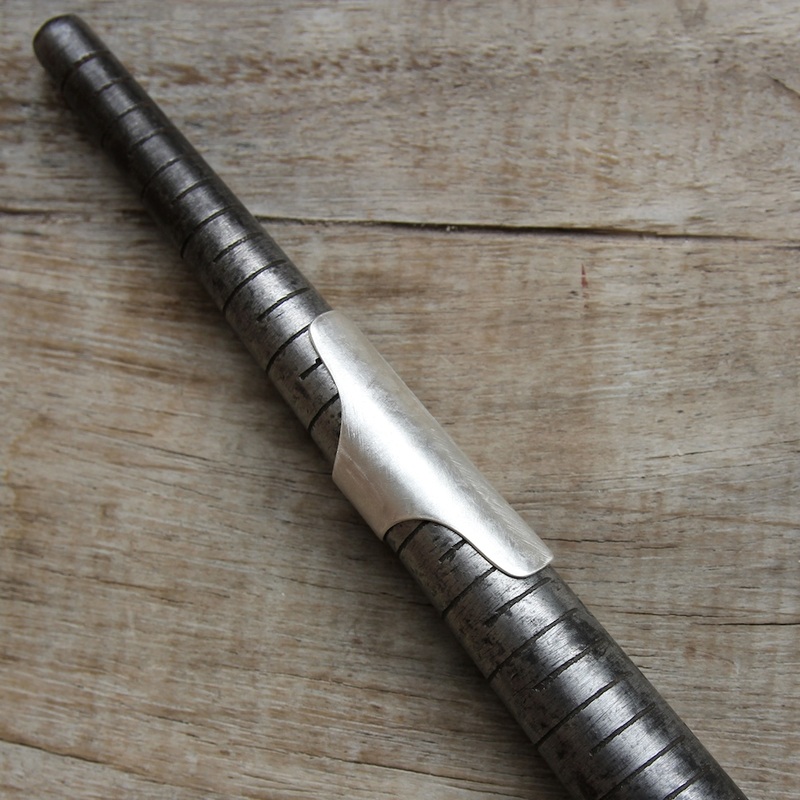
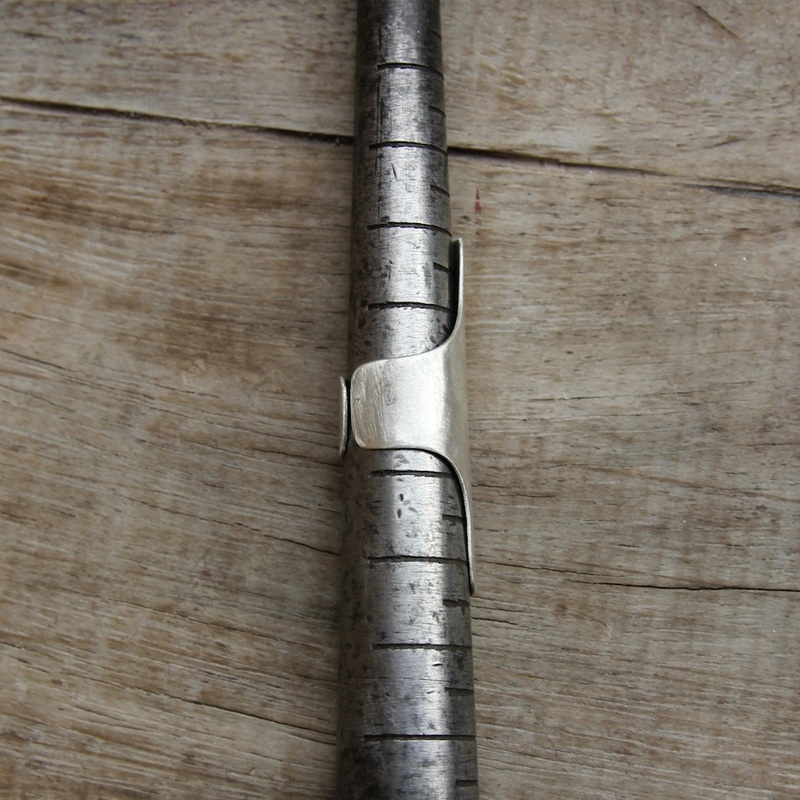
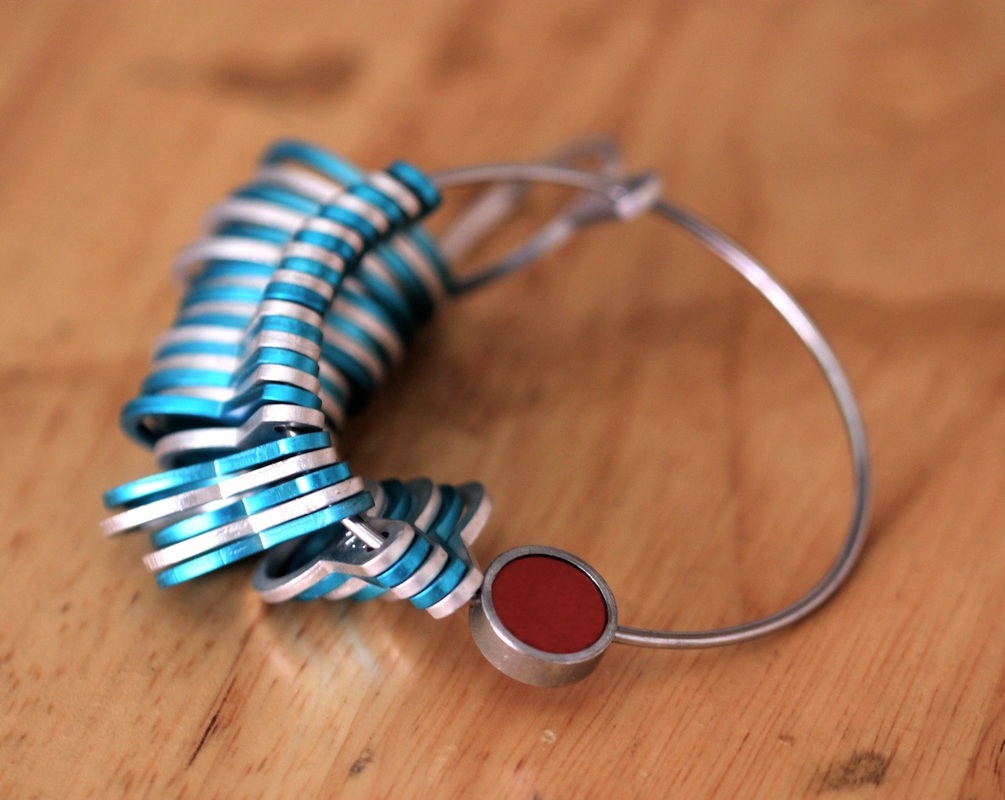
The ring mandrel has measurements that help me determine the ring size. Once the ring is fully formed, I continue to work on the design elements that will be soldered on the front of the ring.
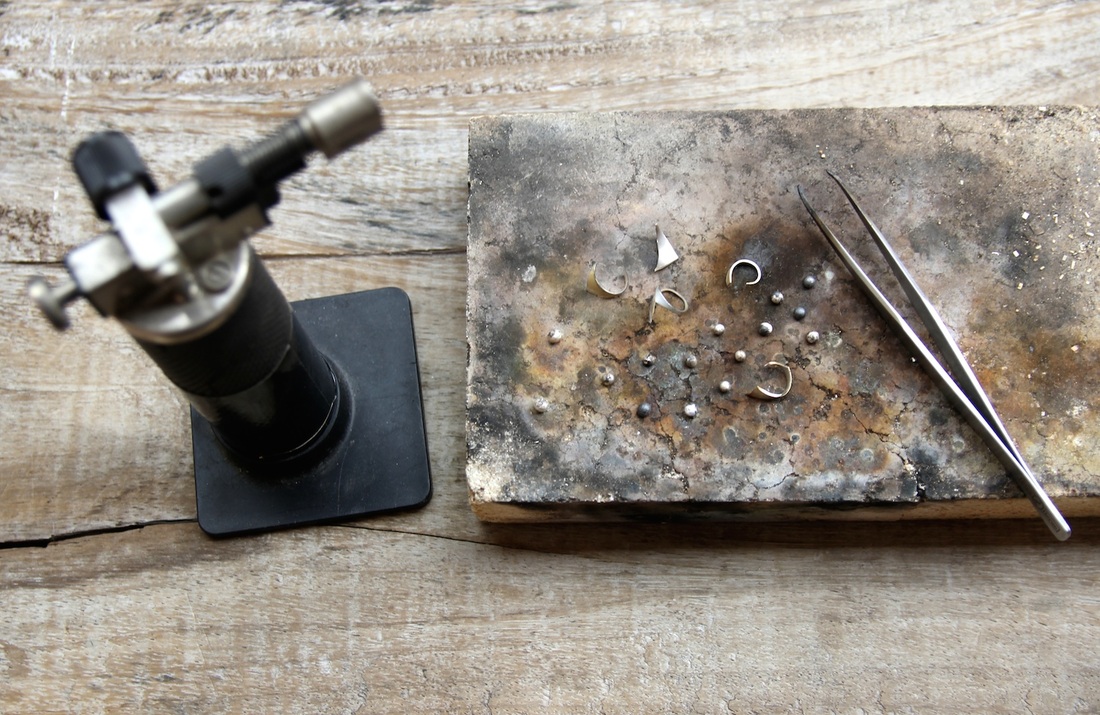
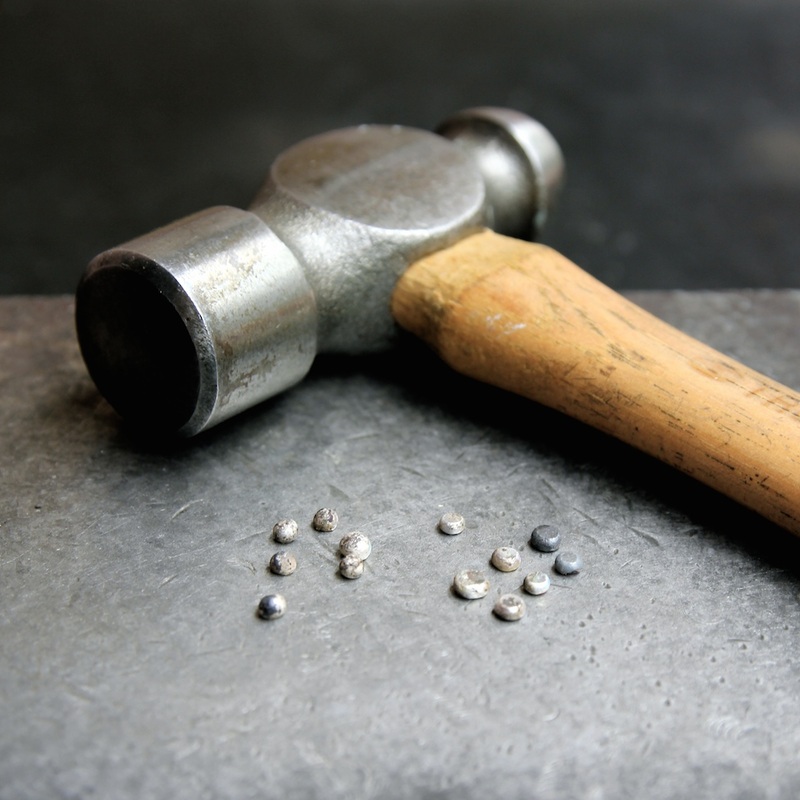
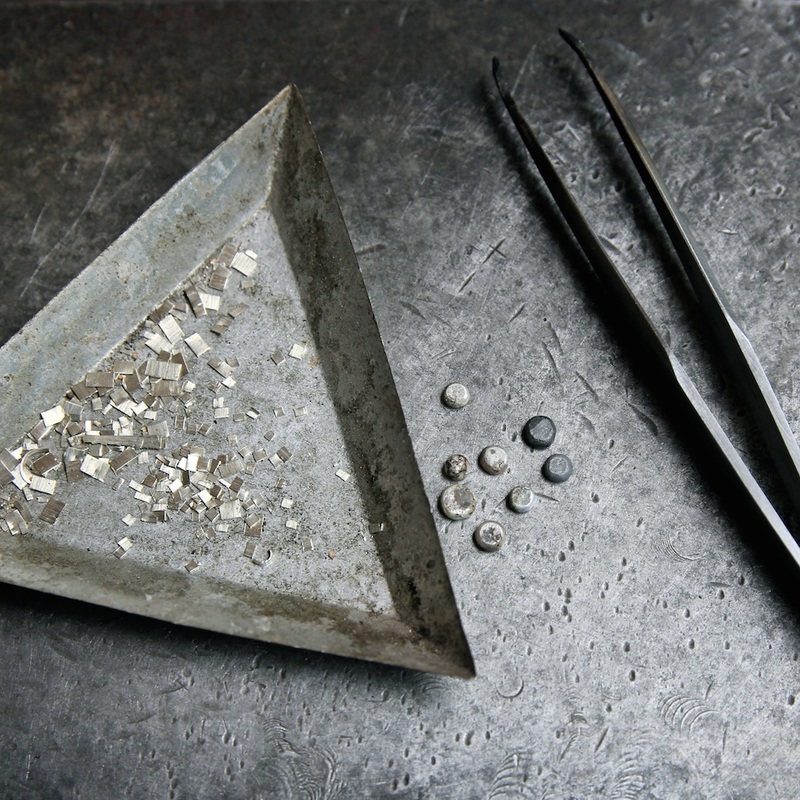
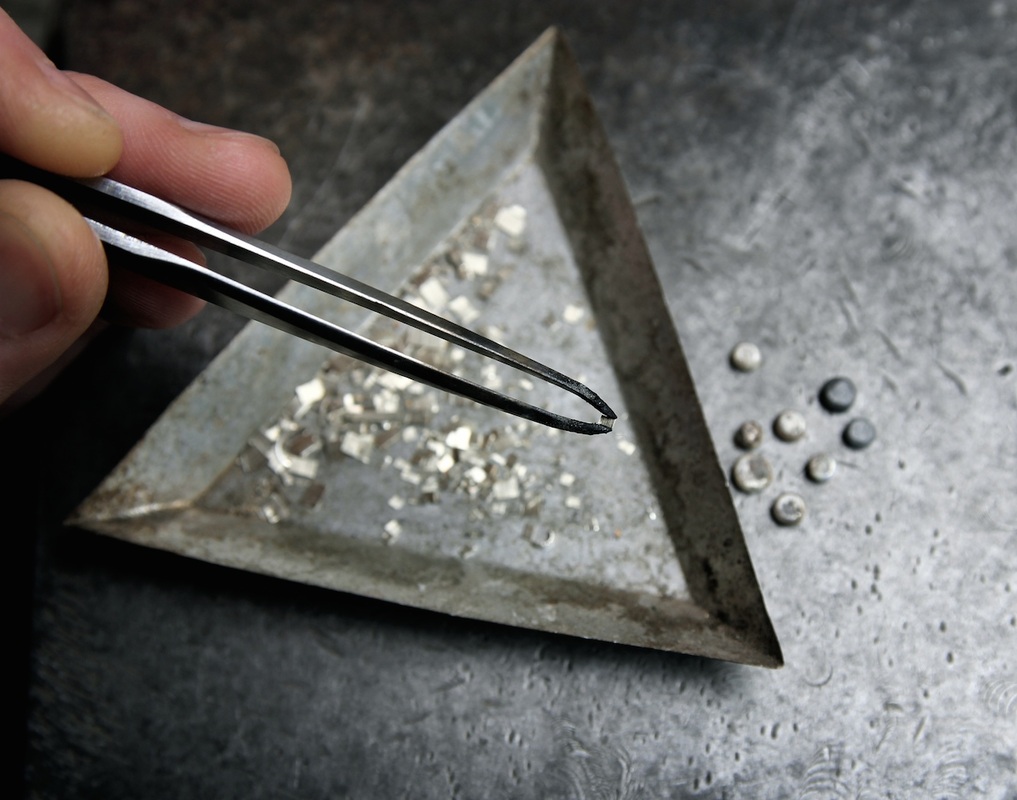
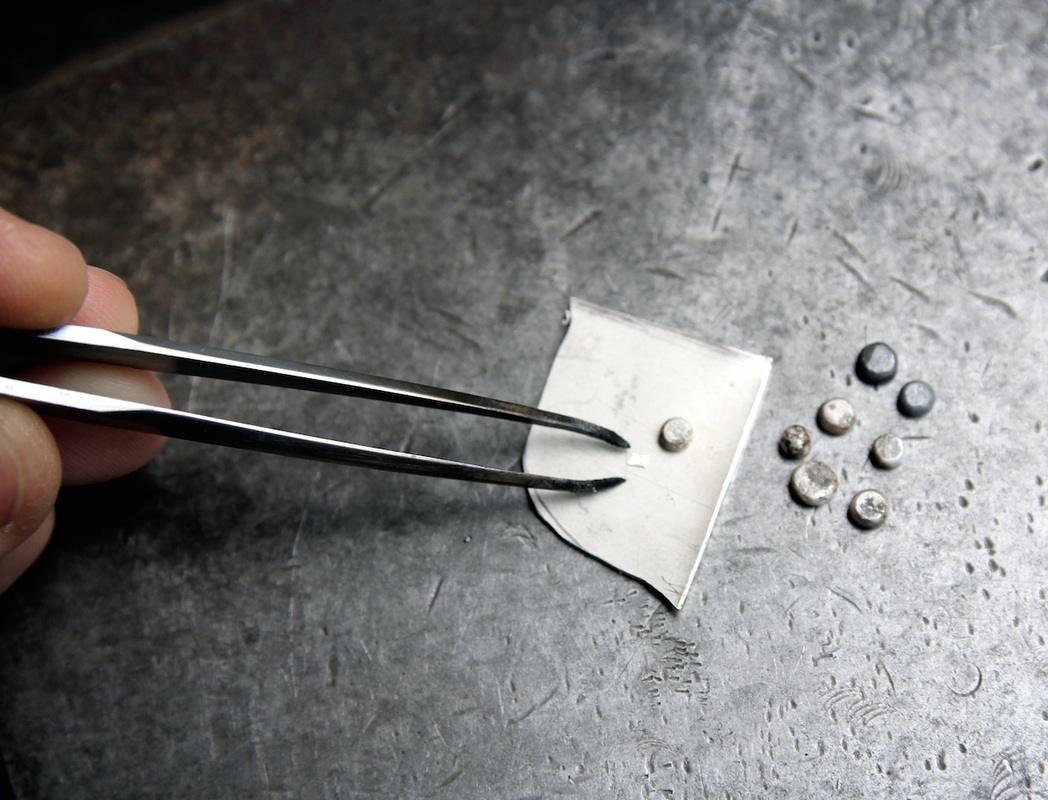
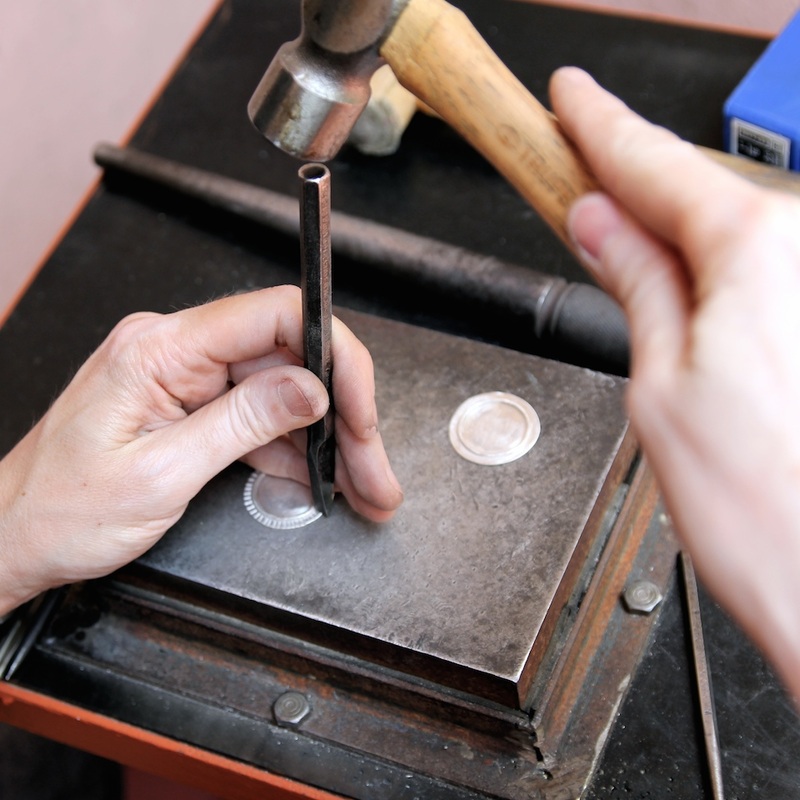
To heat silver, I use a small butane torch like the one used by Chefs to make crème brûlée. Sterling silver always fuses into a ball whenever you heat it long enough. I use scraps of sterling silver sheet to make small balls which I will then individually solder onto the ring band.
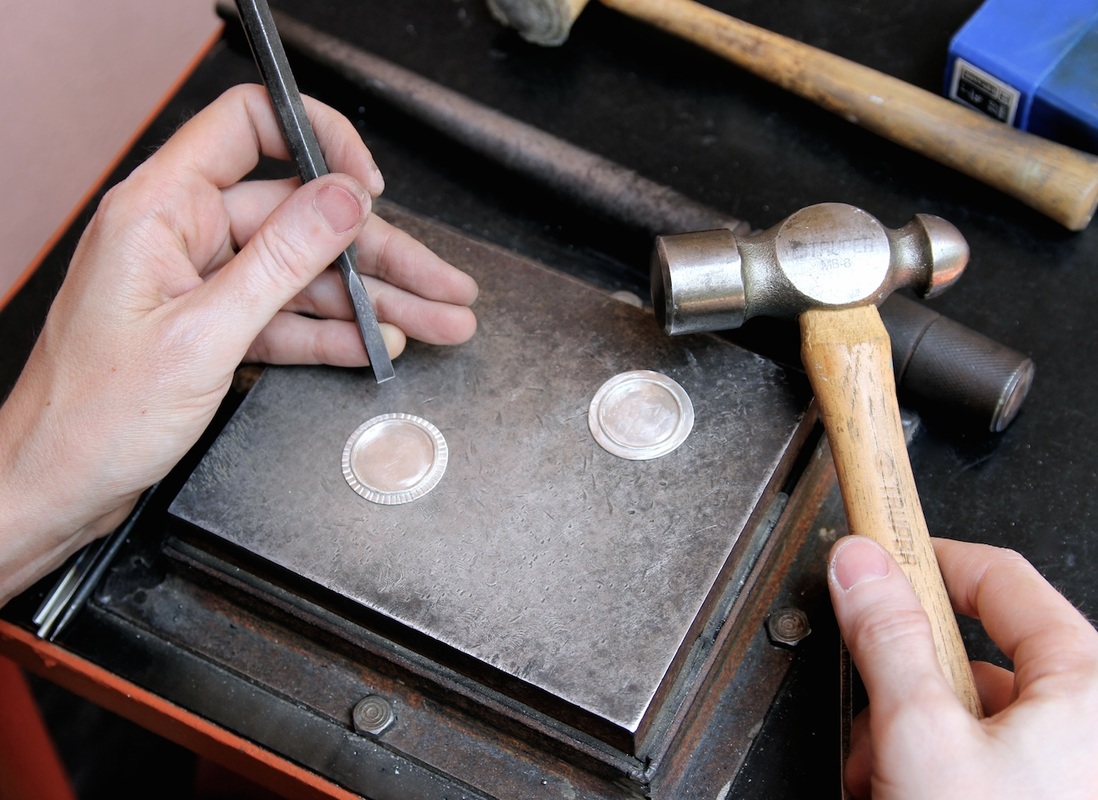
I flatten each silver ball with a hammer. Then I use tiny bits of solder (a silver and copper alloy that melts at a lower temperature than sterling silver) to fuse each silver ball to the surface of the ring, using my torch.
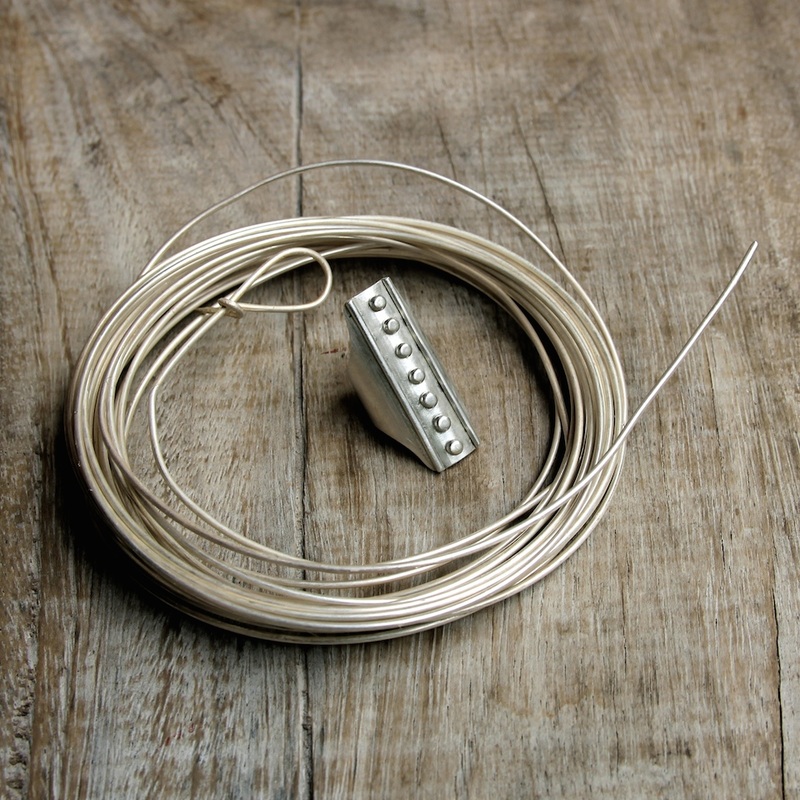
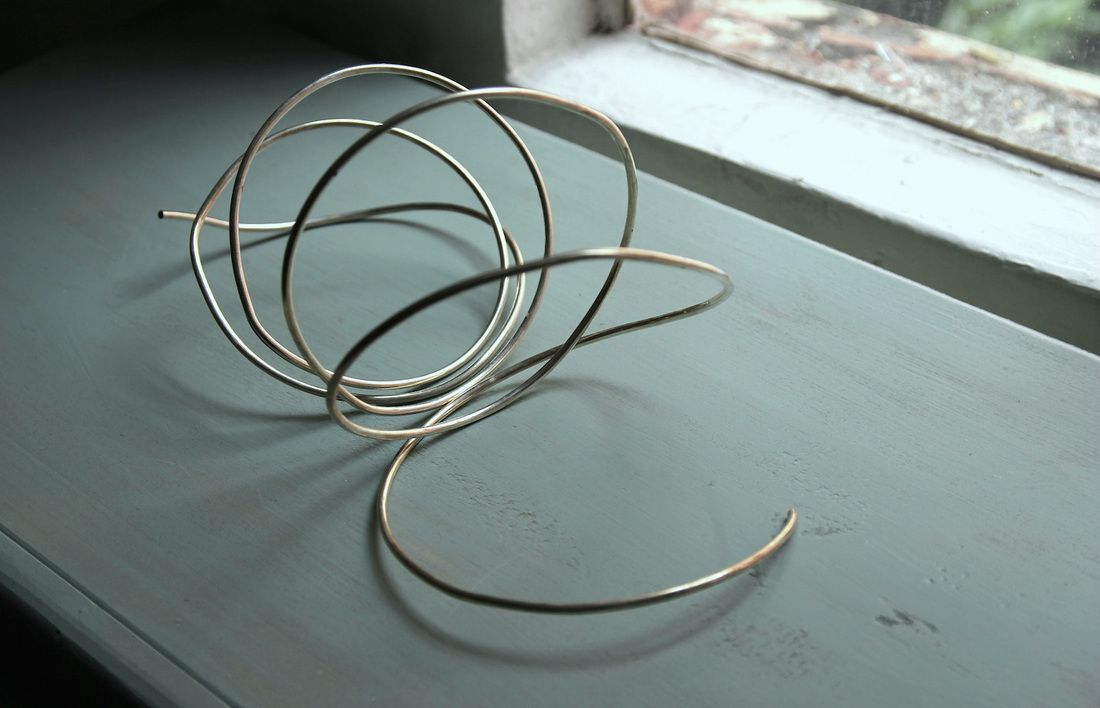
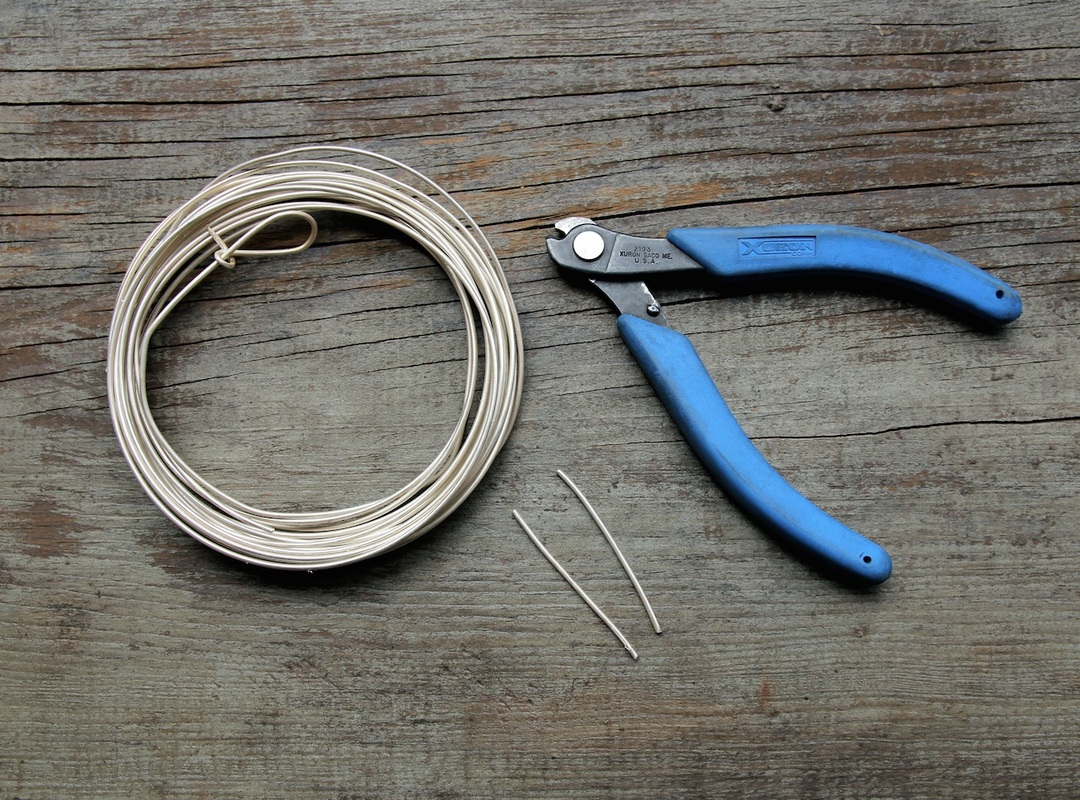 To complete my design, I cut two strips of sterling silver wire that I will solder alongside the central row of silver balls.
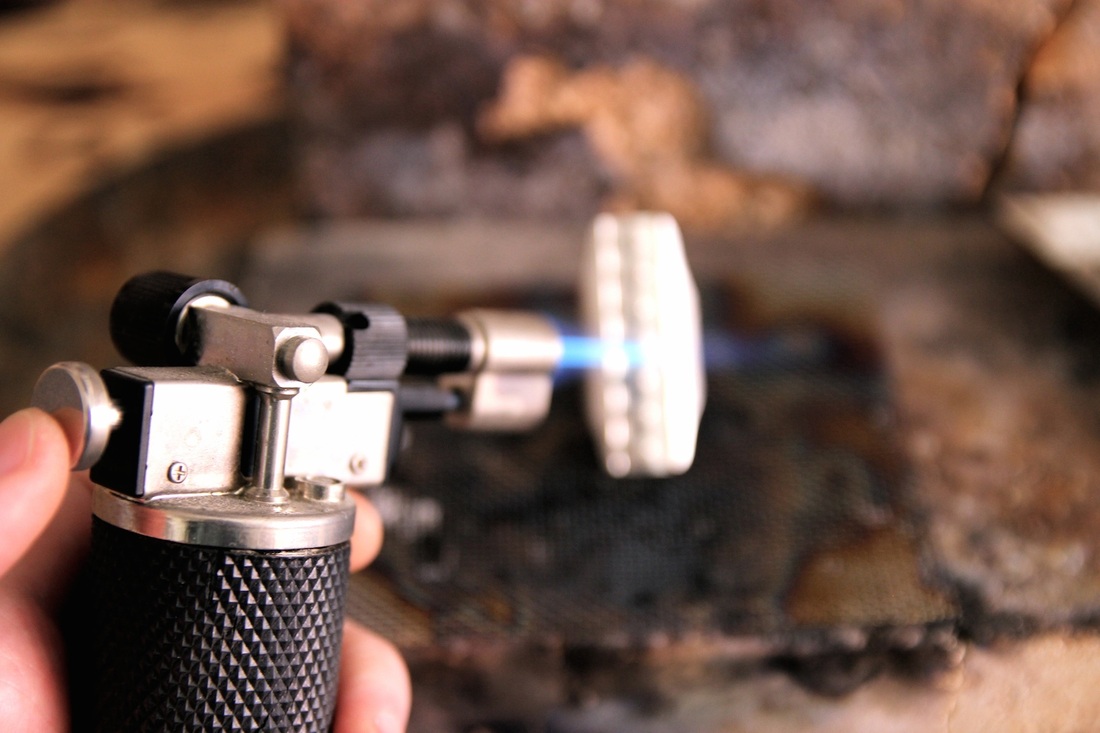
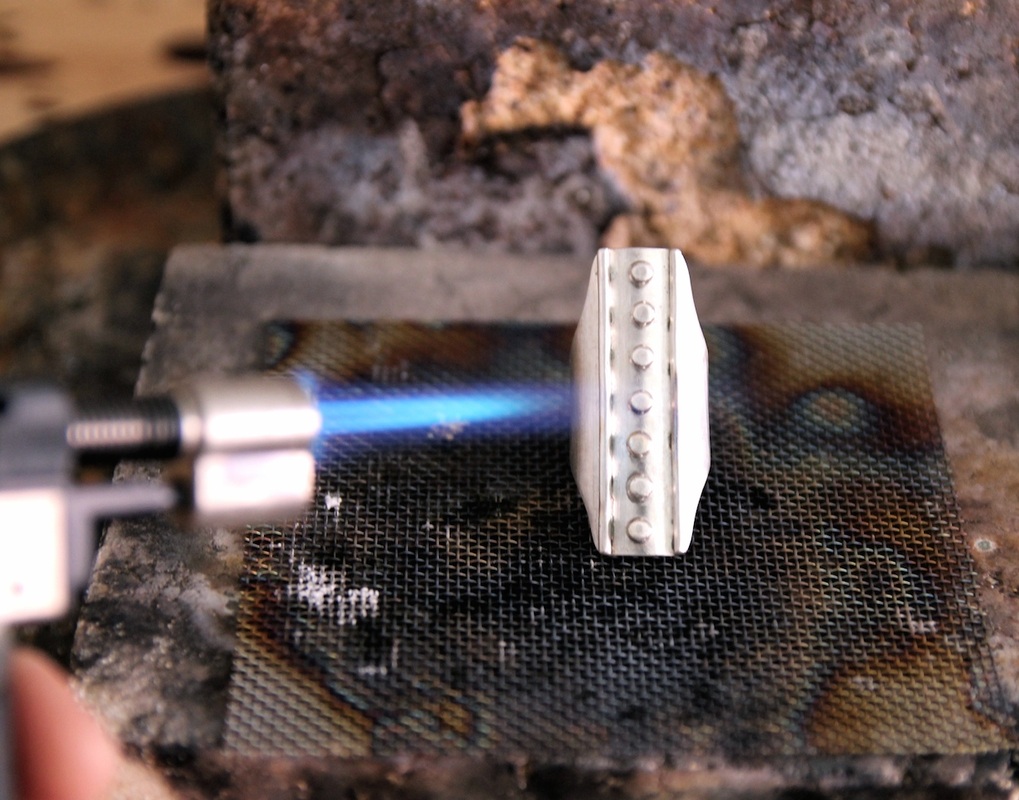
I place the ring band on a heat resistant firebrick surface, and carefully solder each ball and length of wire using my torch.
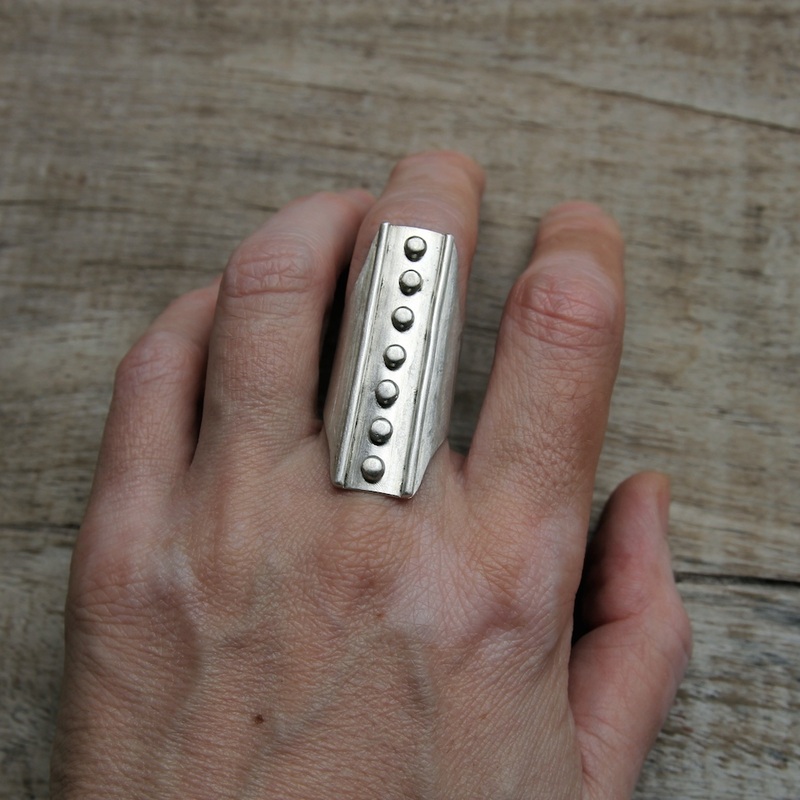
The soldered ring, before I give it its final patina.
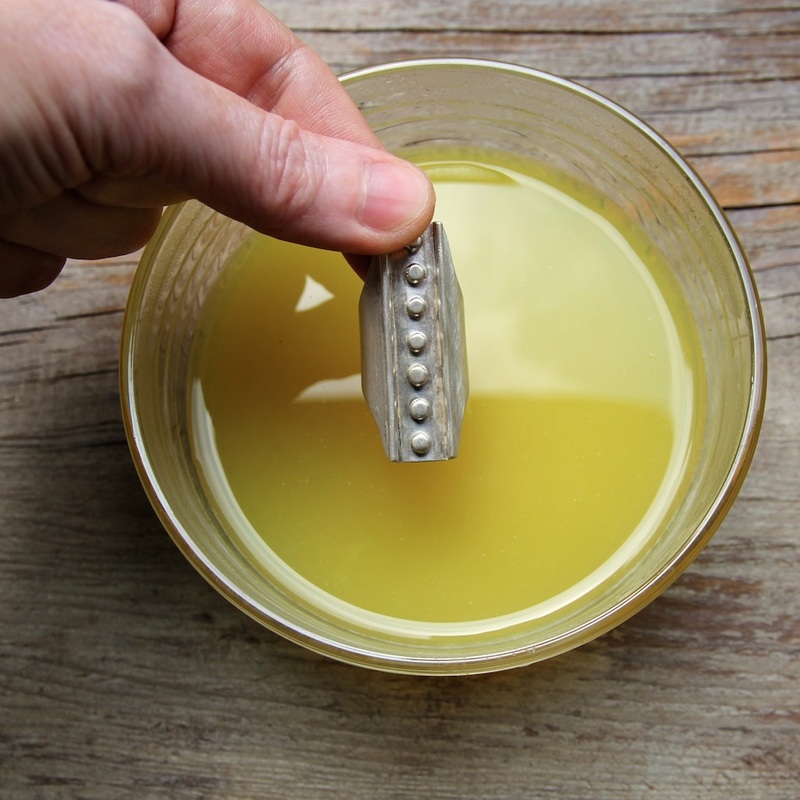
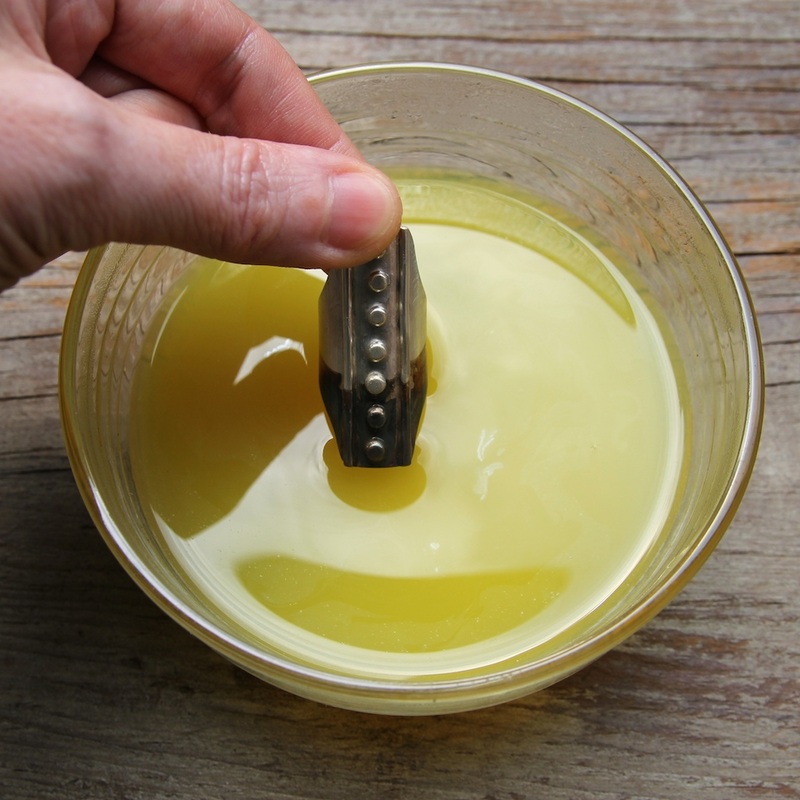
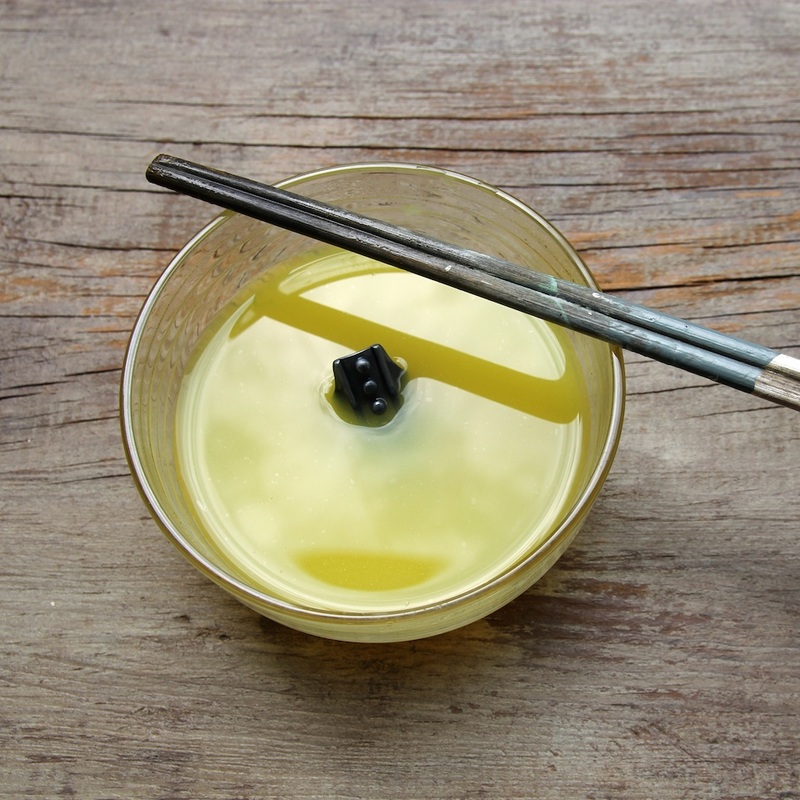
To darken or oxidize the ring, I soak it in liver of sulphur diluted in hot water. This smells like rotten egg, and is my boyfriend's least favorite part of my work, since my studio is inside our apartment. 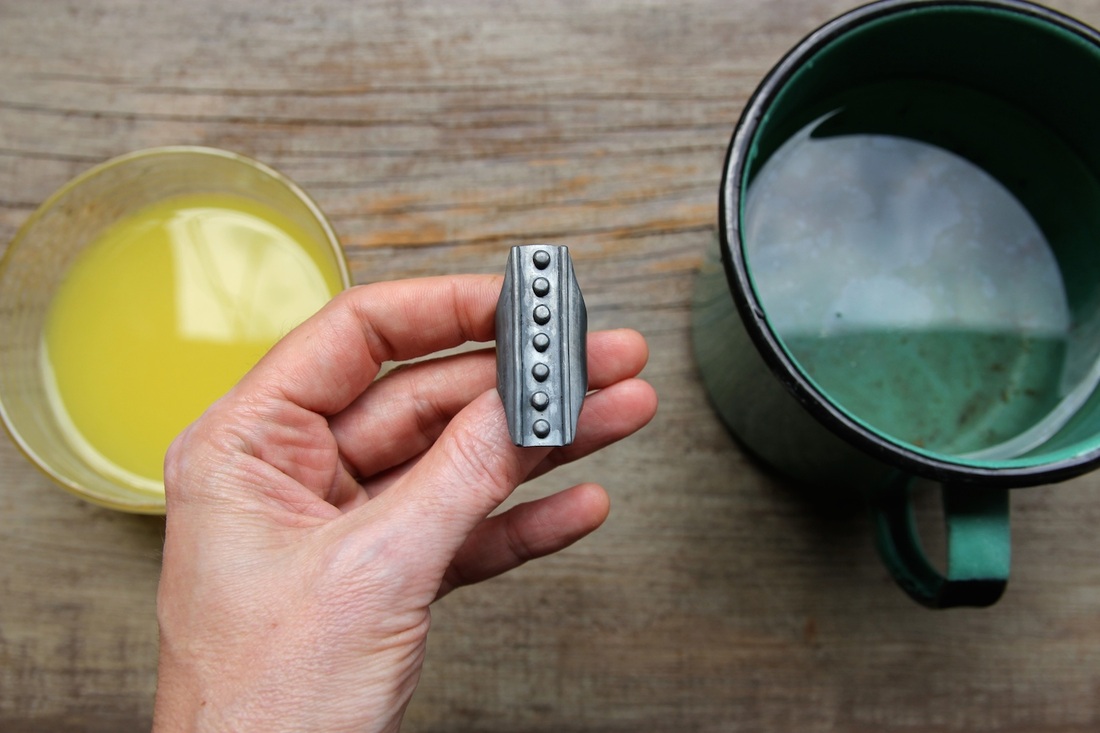 I rinse the darkened ring in cold water mixed with sodium bicarbonate to stop the oxidation process. 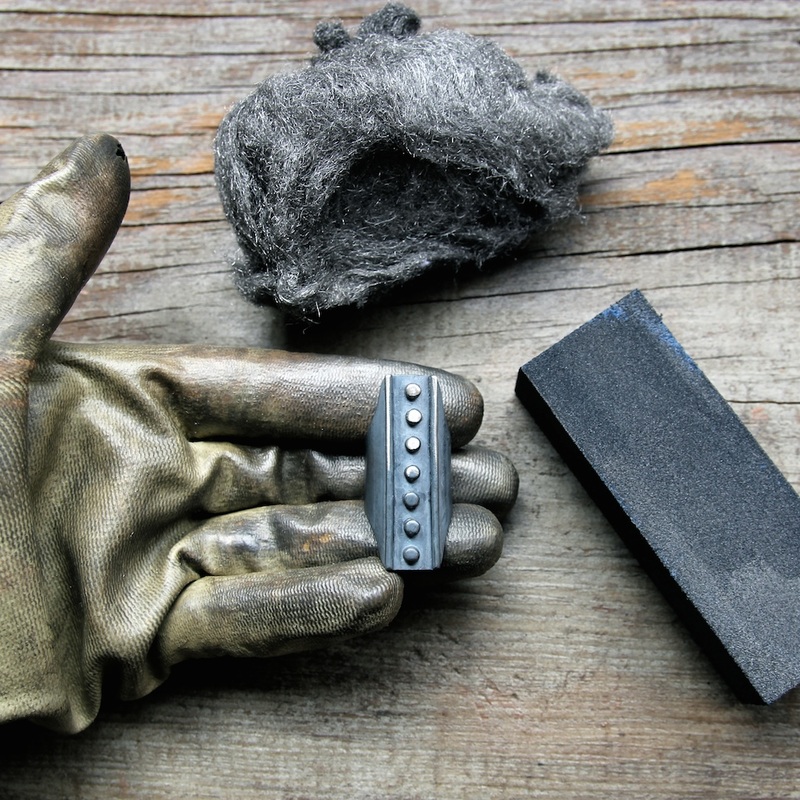 To finish the ring, I polish the raised design with fine steel wool and a file board. I leave the rest of the ring dark. With wear, the ring band will eventually abrade and lighten, but the recessed areas will always remain dark.
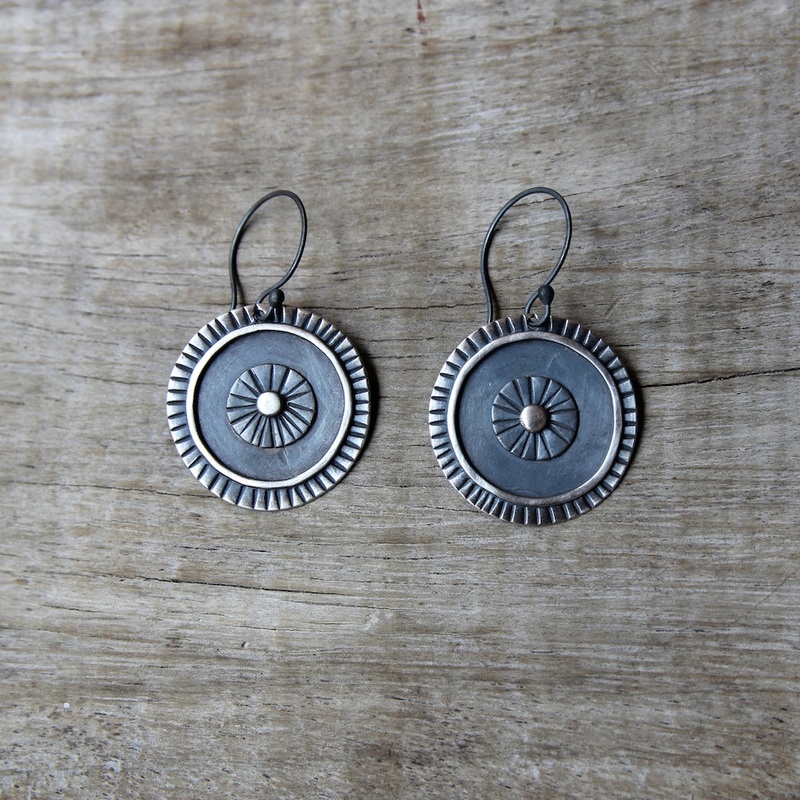
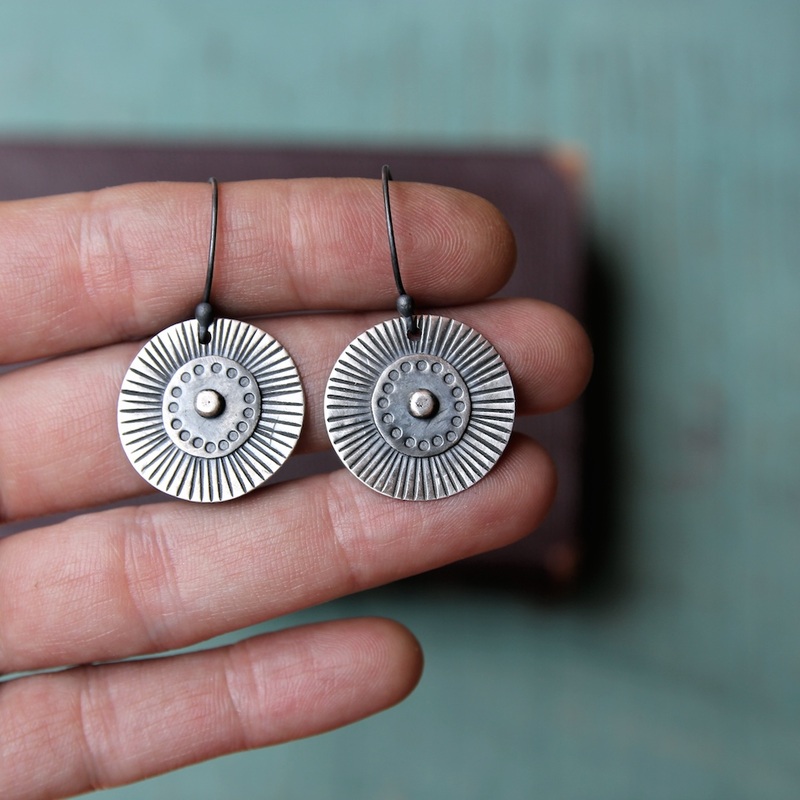
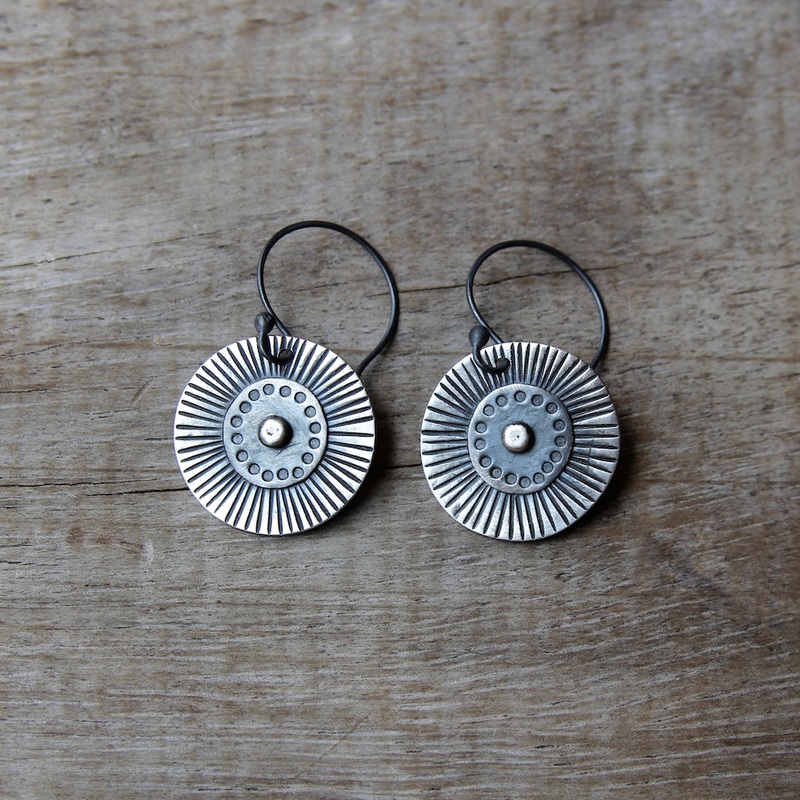
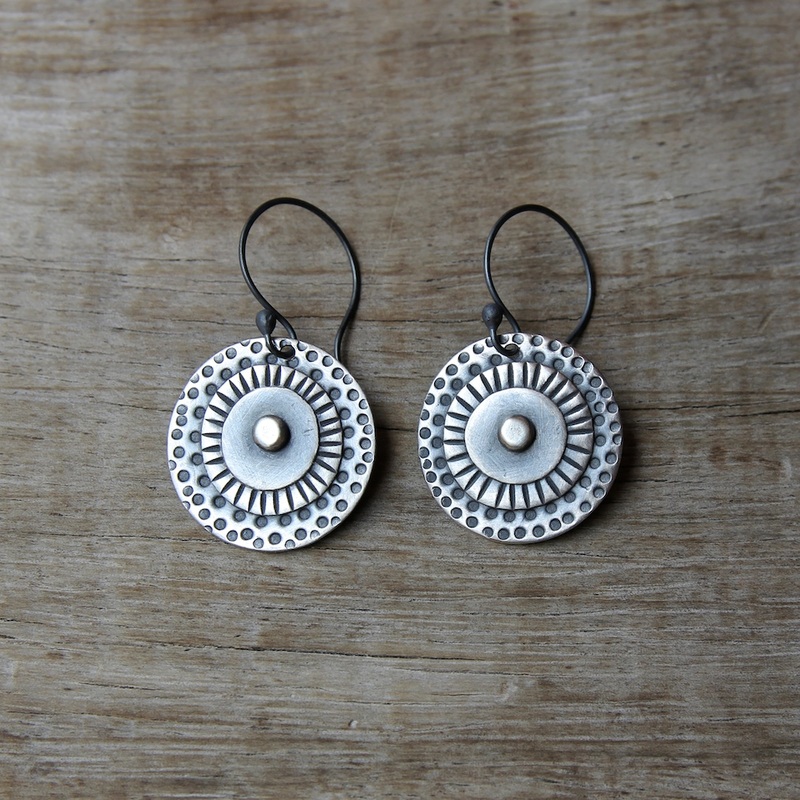
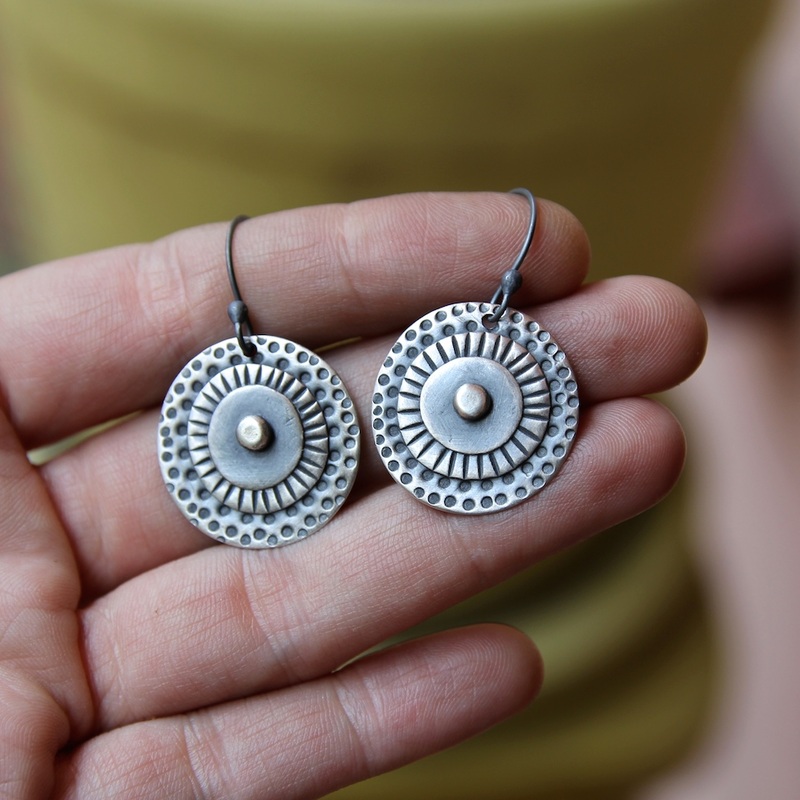
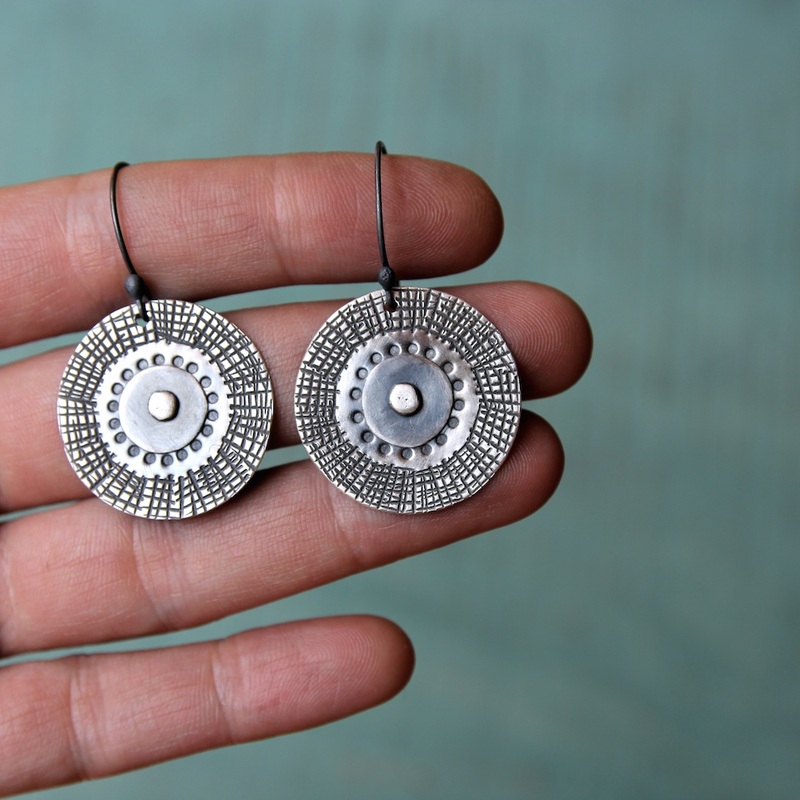
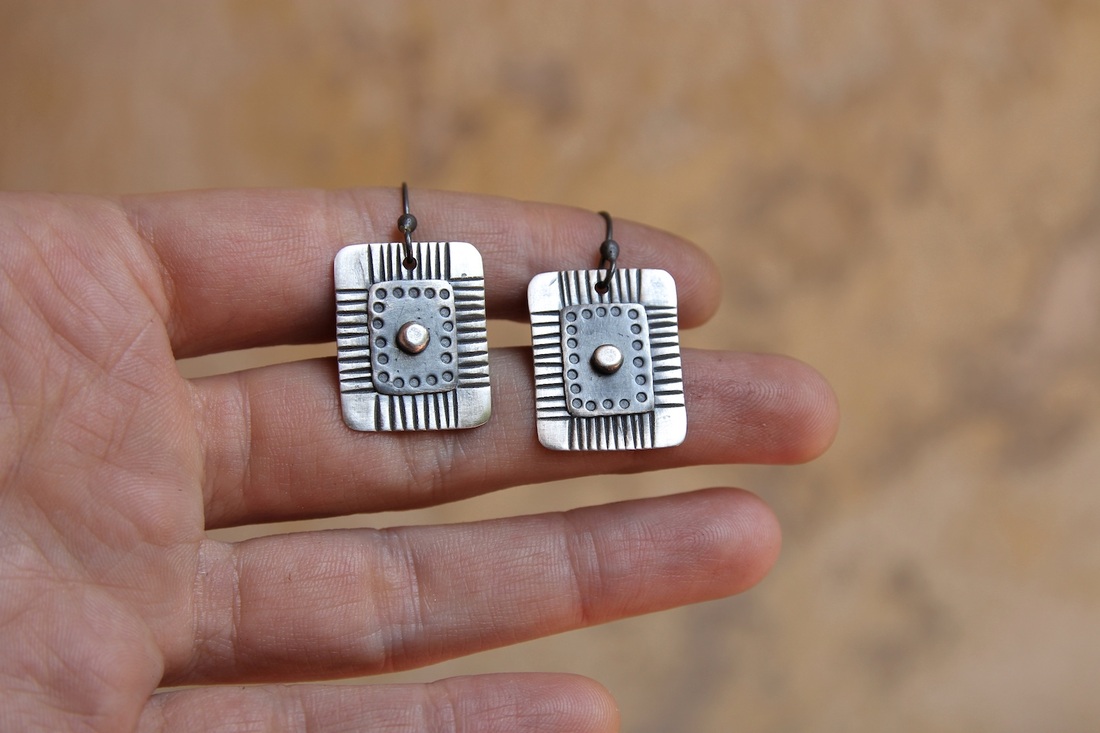
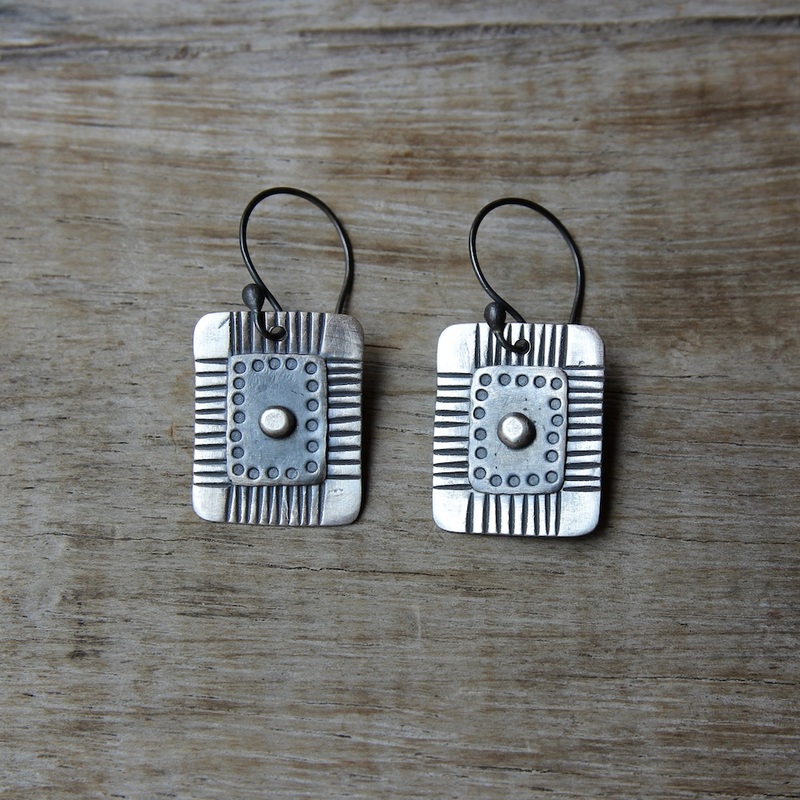
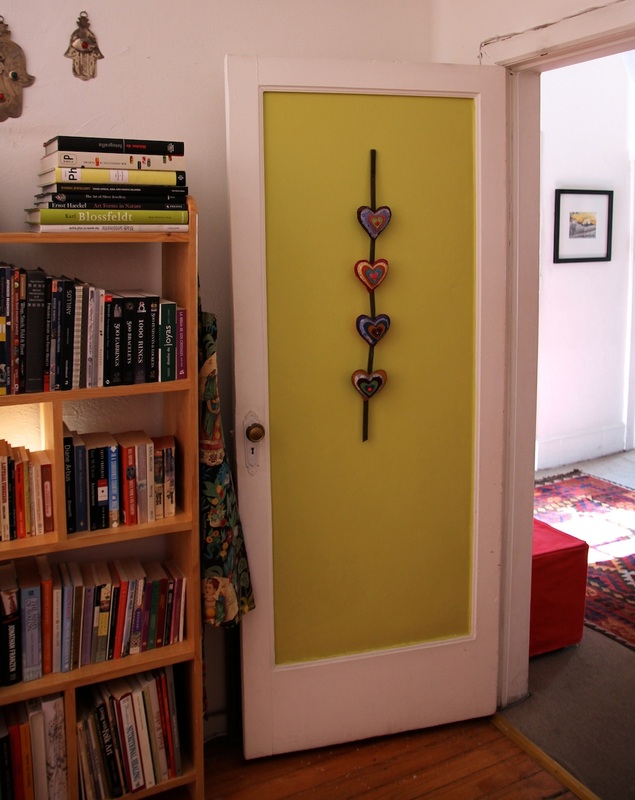
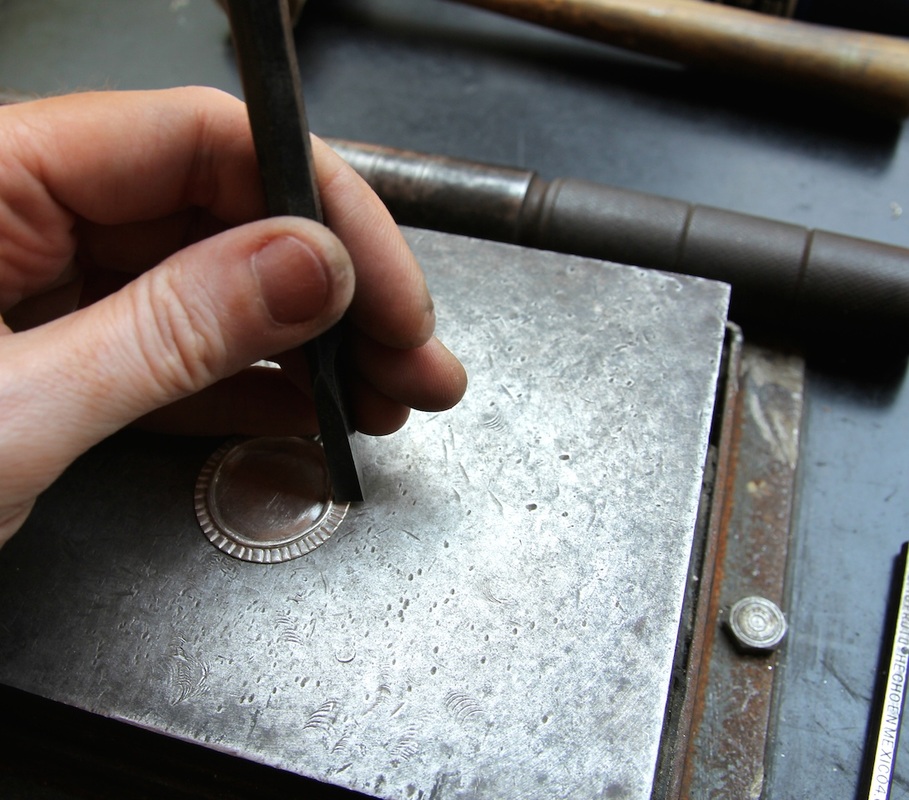
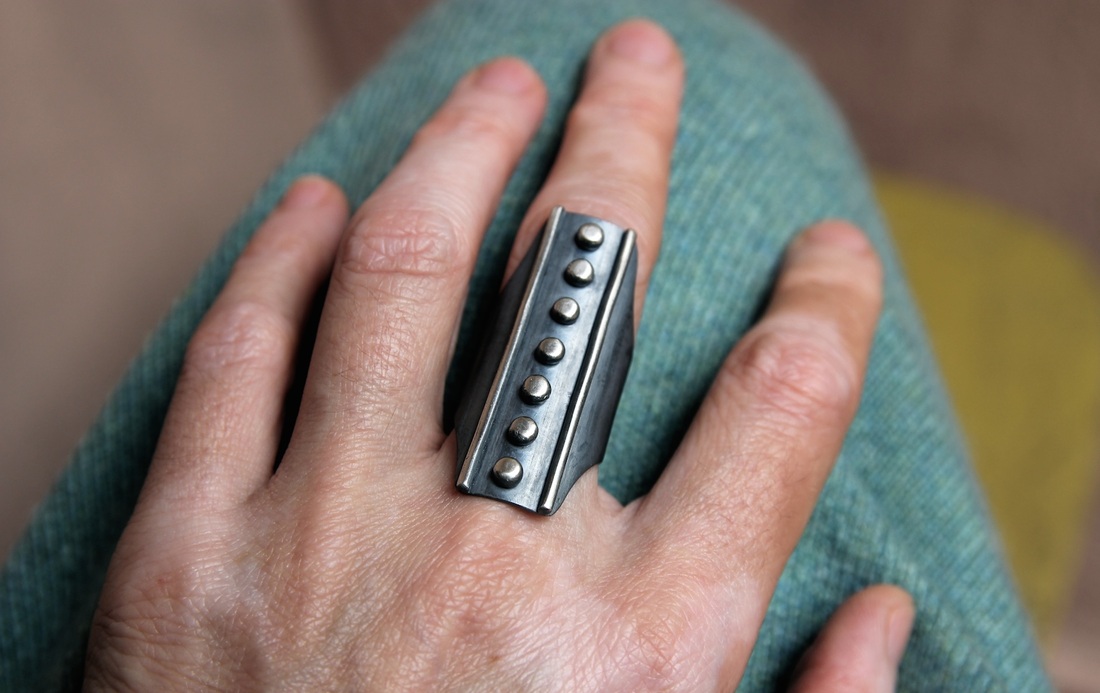 The ring is now complete. When my boyfriend and I moved in together seven years ago, we purchased several beautiful woven straw mandala mats from an old man on the street. They now hang in almost every room of our home, and whenever I observe them I always feel calm and centered. I think it is their order and symmetry that transforms my agitated mind. 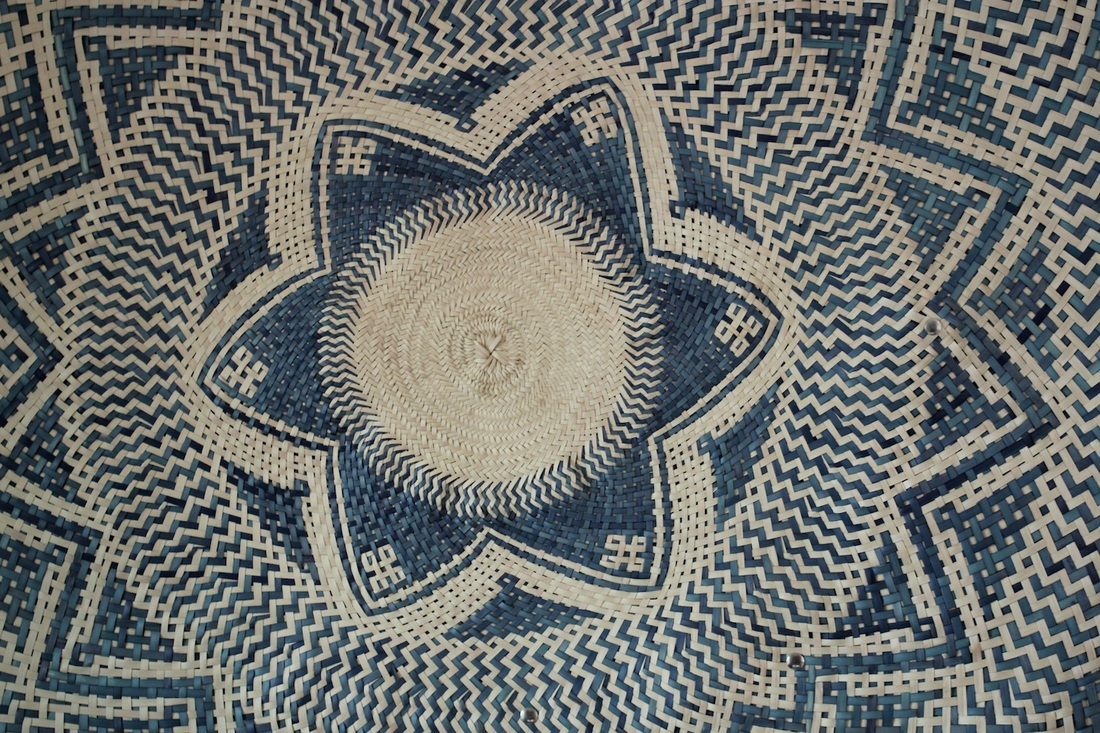 Inspired by these wall pieces, I began a new series of sterling silver Mandala earrings. To show you how I made them, my boyfriend, Abhaya, took pictures while I was at work. As you can see by the images, each piece has a chiseled design that radiates from the center. 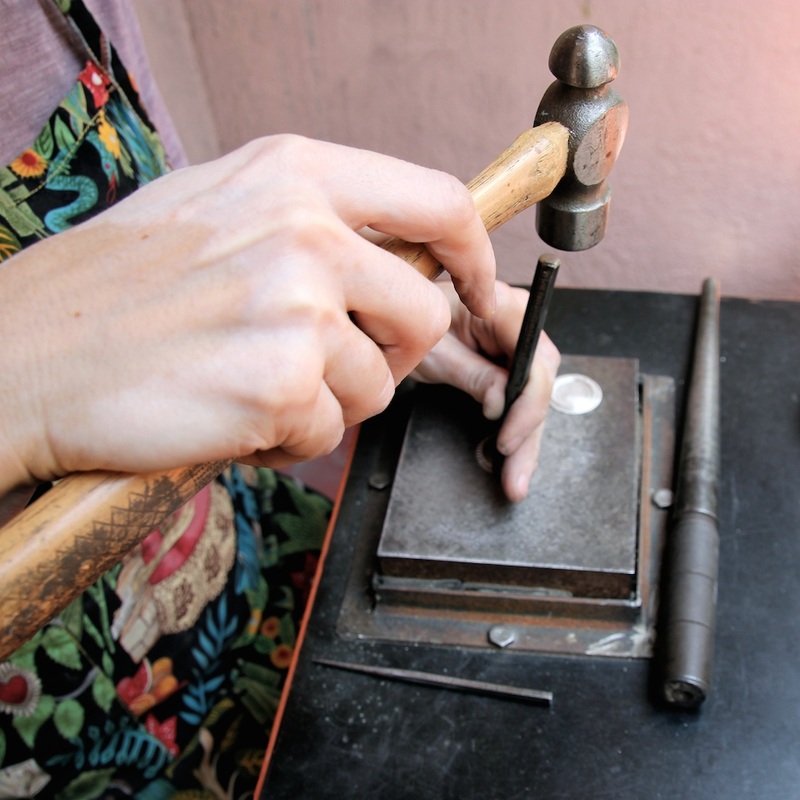
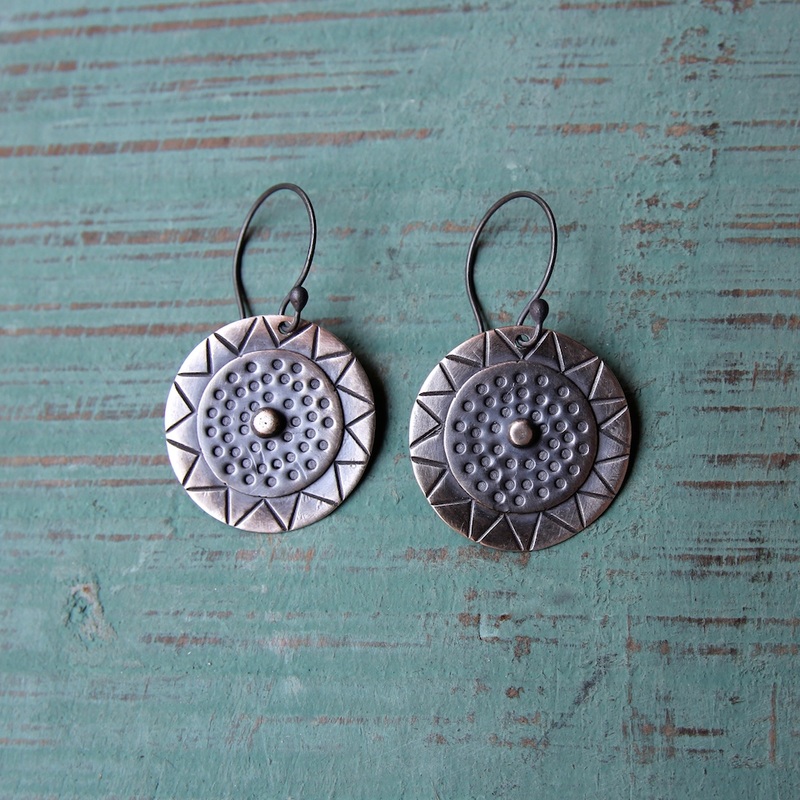 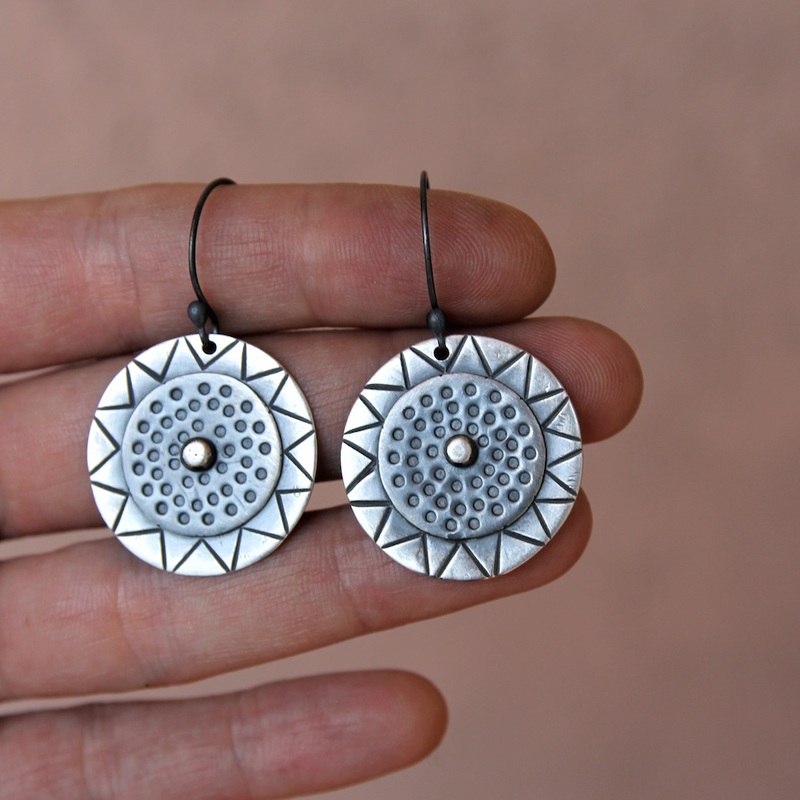
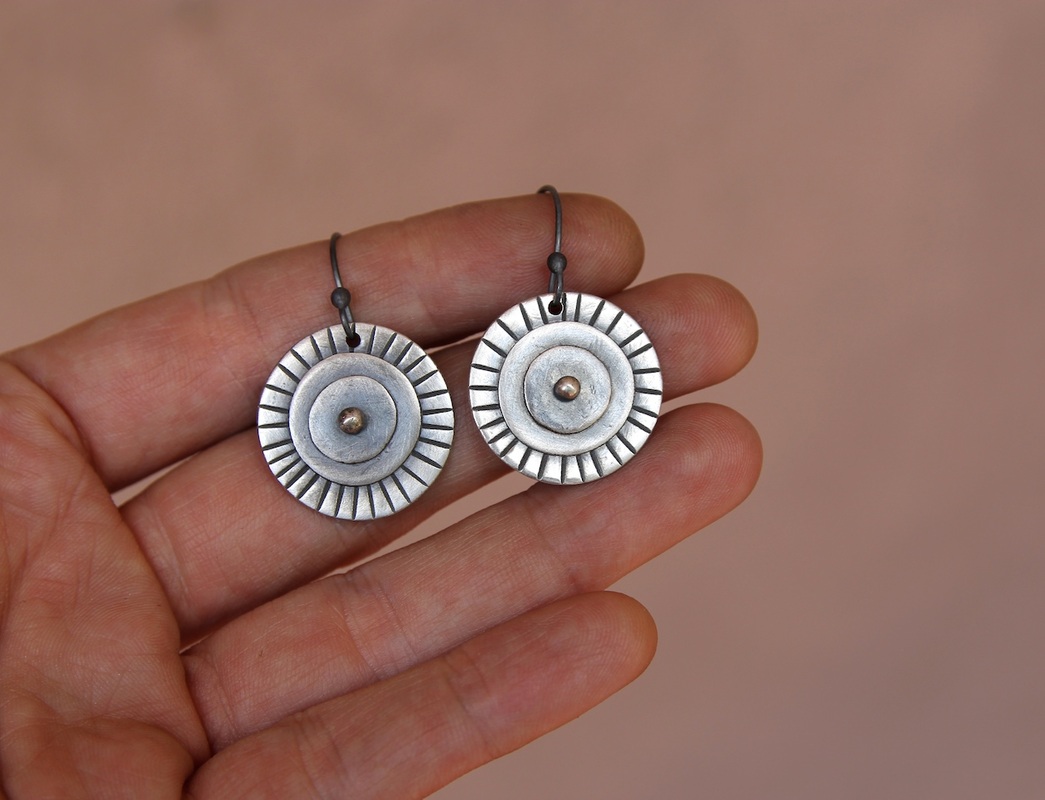 
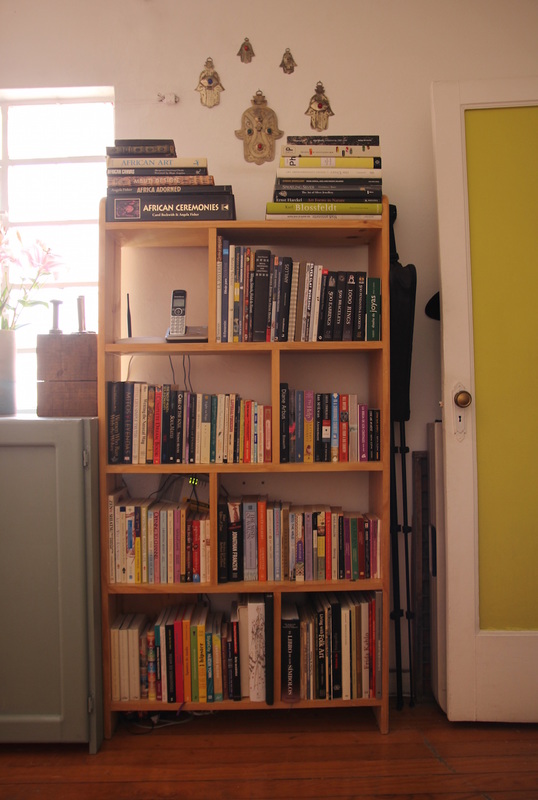
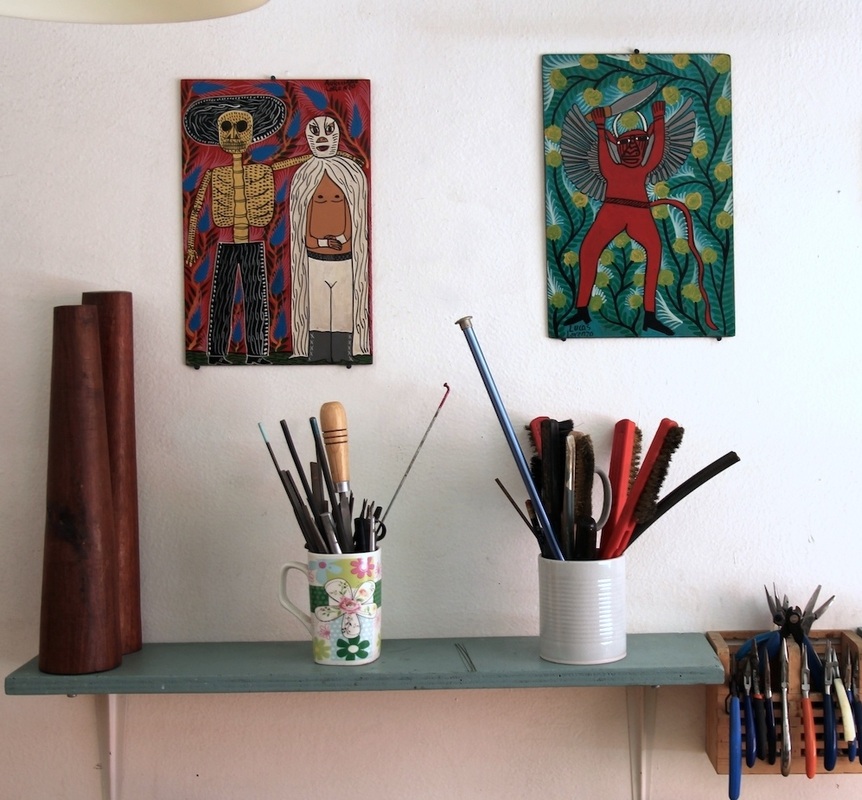
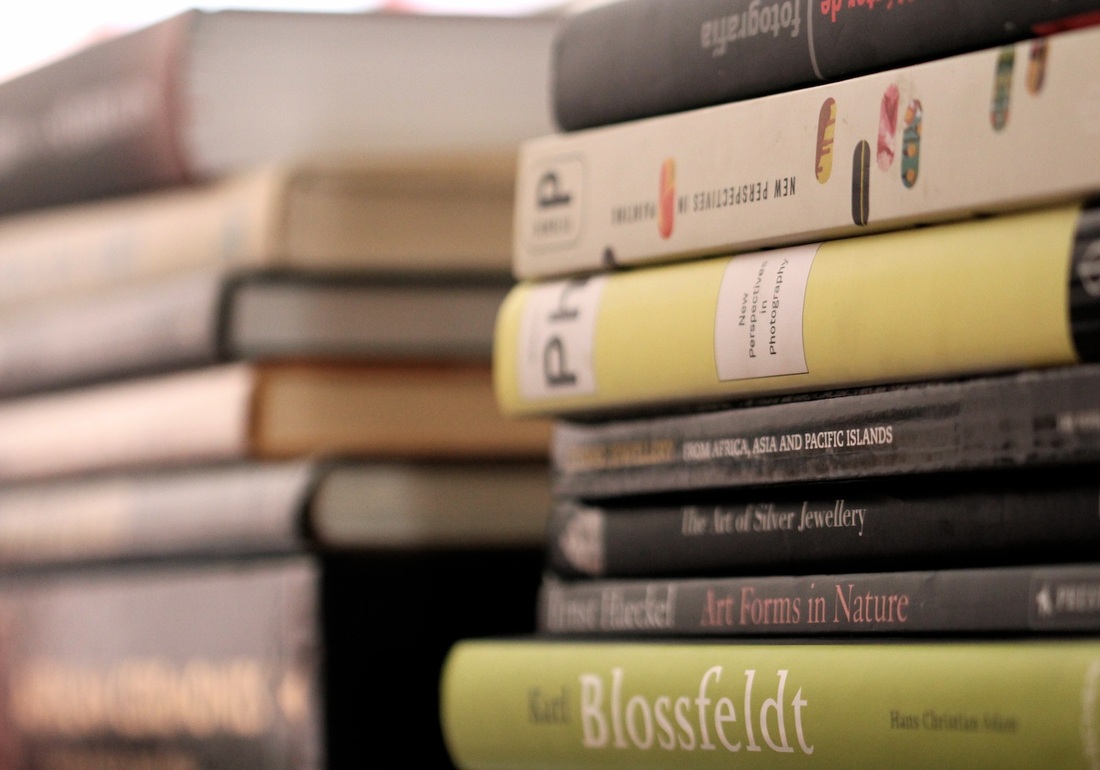
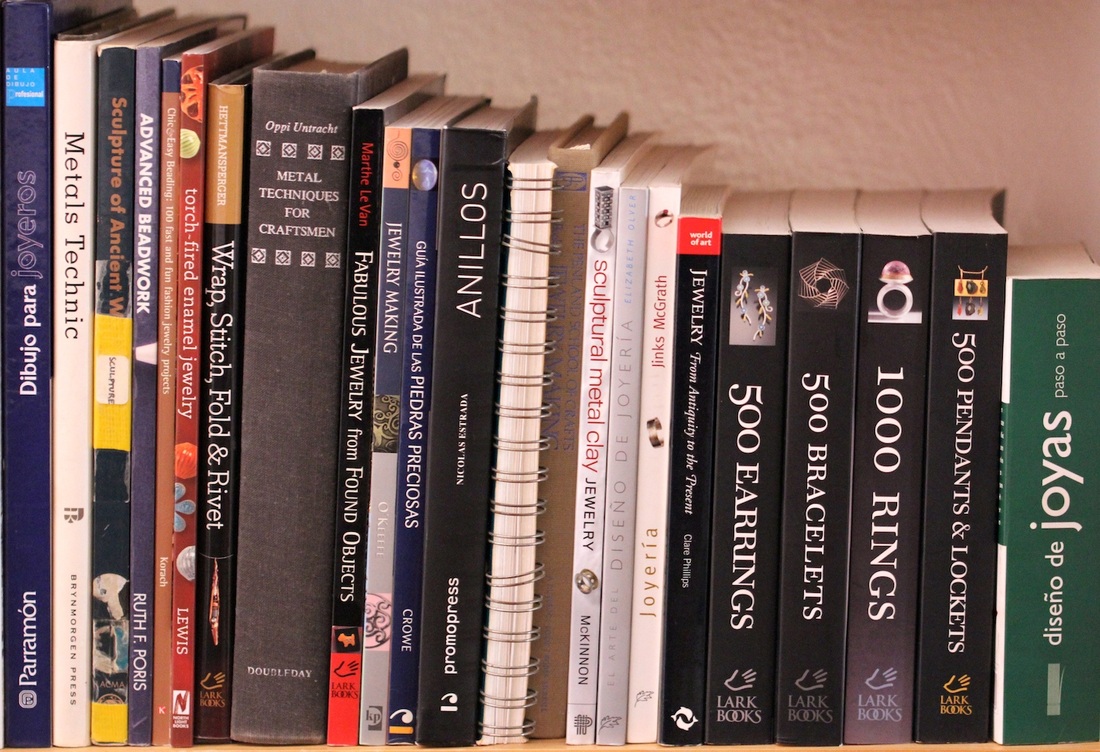
The Mandala earrings are for sale here. I feel whole again now that I am back in my studio. I am blessed to start the year in a new space, the biggest room in our apartment. This was my gift for the New Year. It is filled with light, and fits everything I need: a desk for my computer; a couch to read on with all my books in sight; a large work bench to cut, solder and forge; and a long furniture to study the pieces I am currently working on. 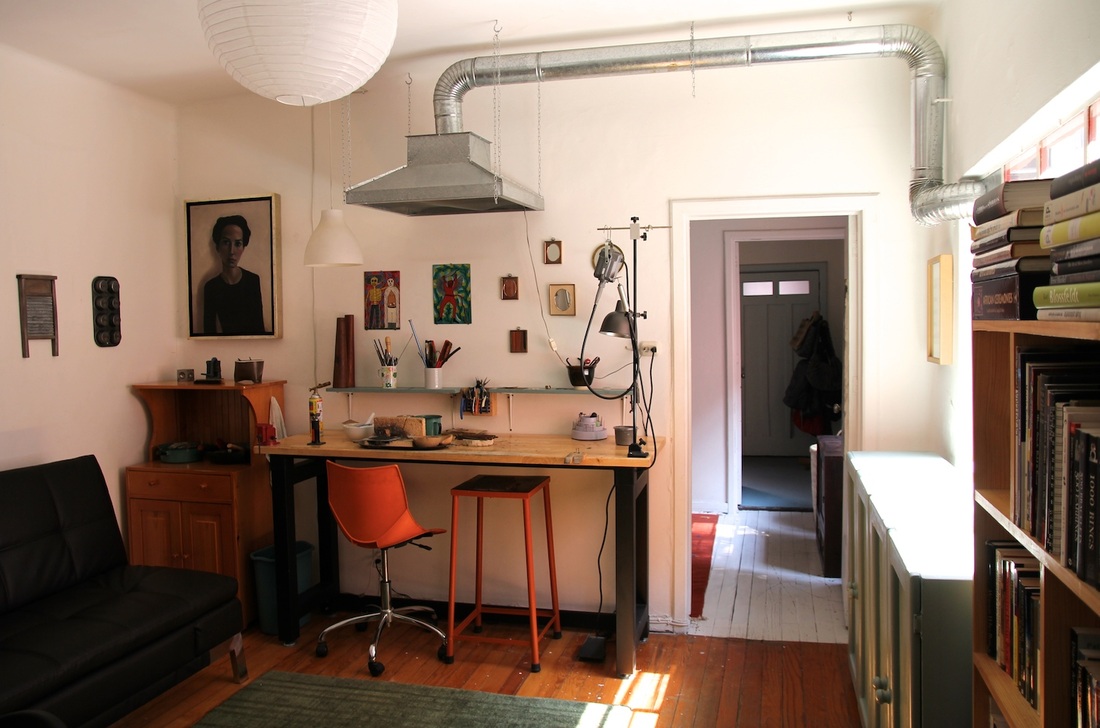
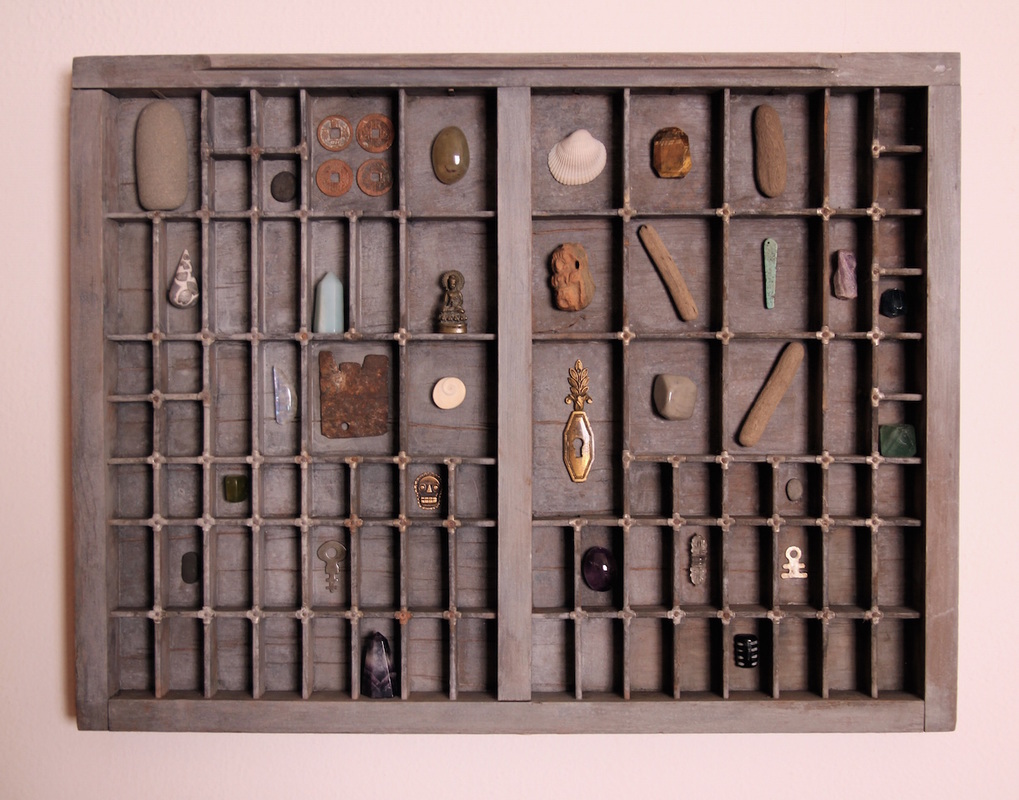
A powerful portrait of me, painted by Pedro Bonnín when I was twenty years old, hangs in a corner. The colorful paintings are by Lucas and Aureliano Lorenzo. 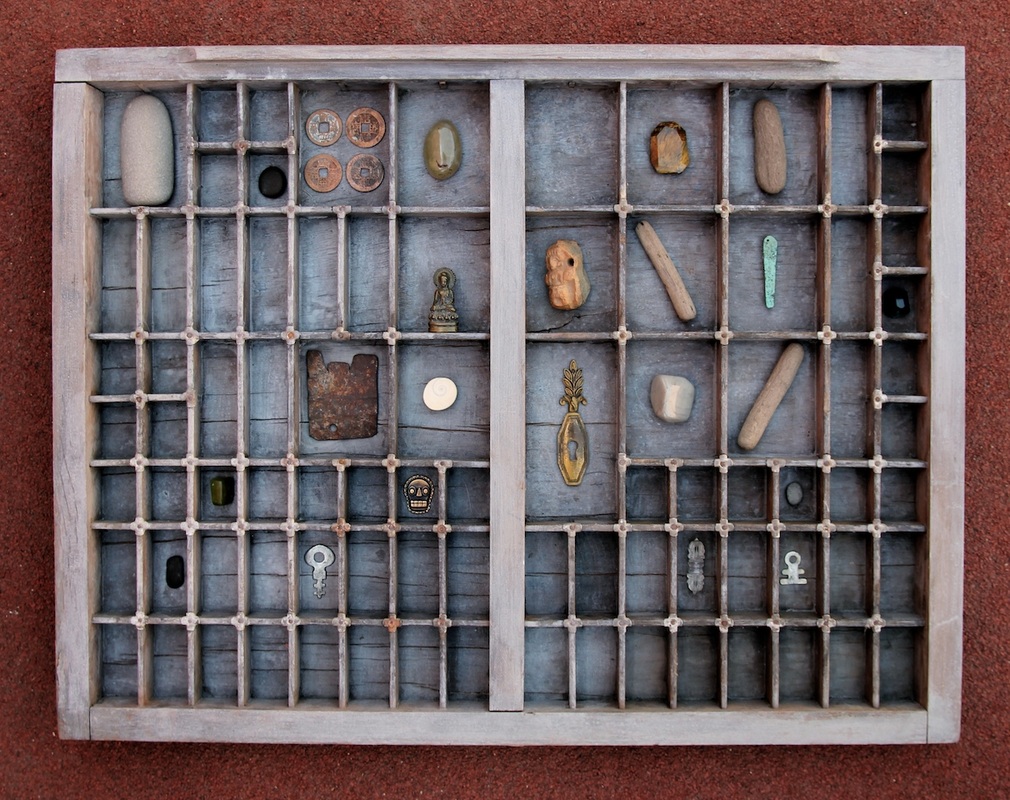 Inspired by my friend Esther, I decided to place objects I have been collecting in an old letterpress drawer I found at the Lagunilla, my favorite flea market in Mexico City, and hang it on my studio wall. 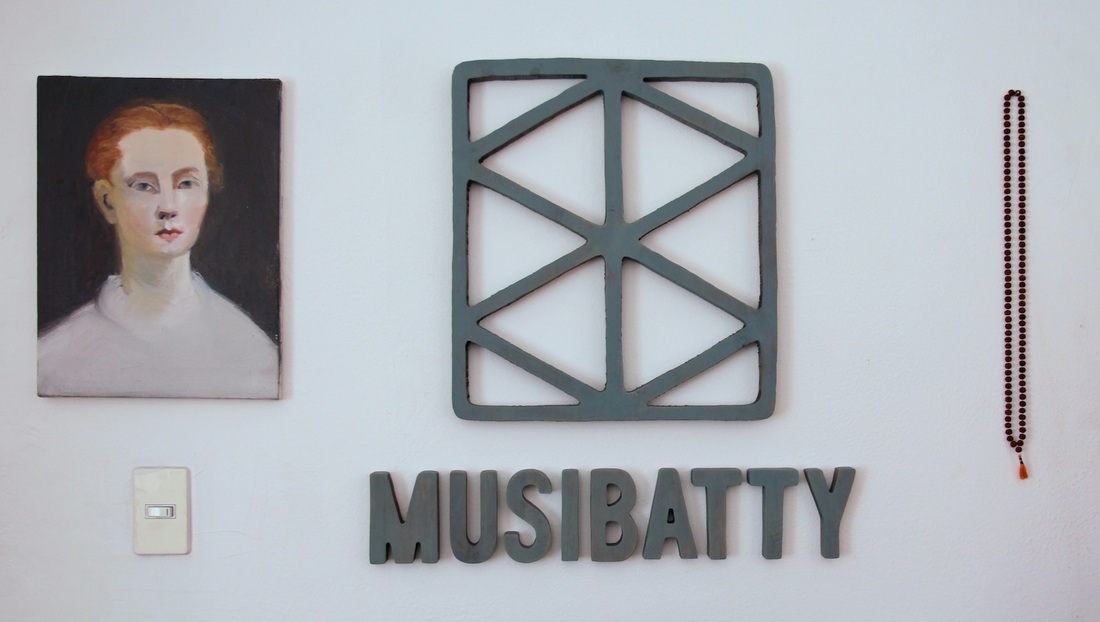 My logo carved in wood, a rudraksha mala from India, and a thrifted painting.
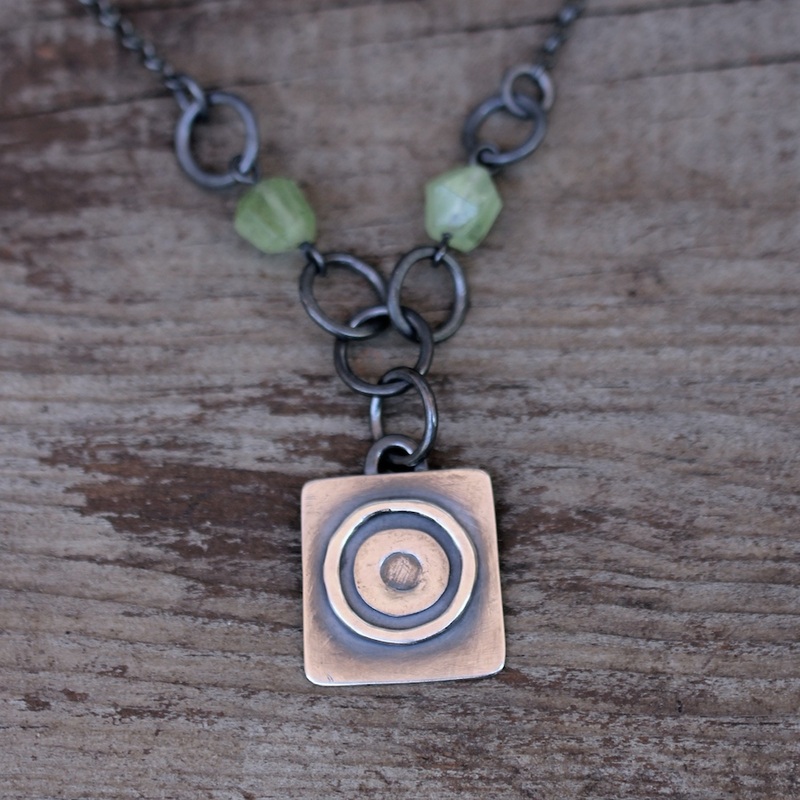
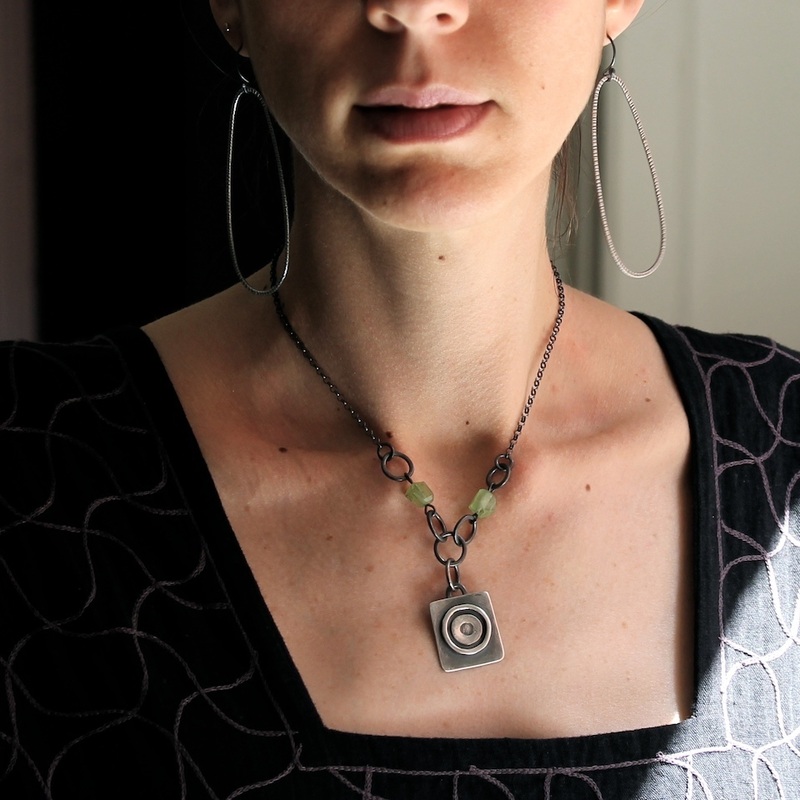
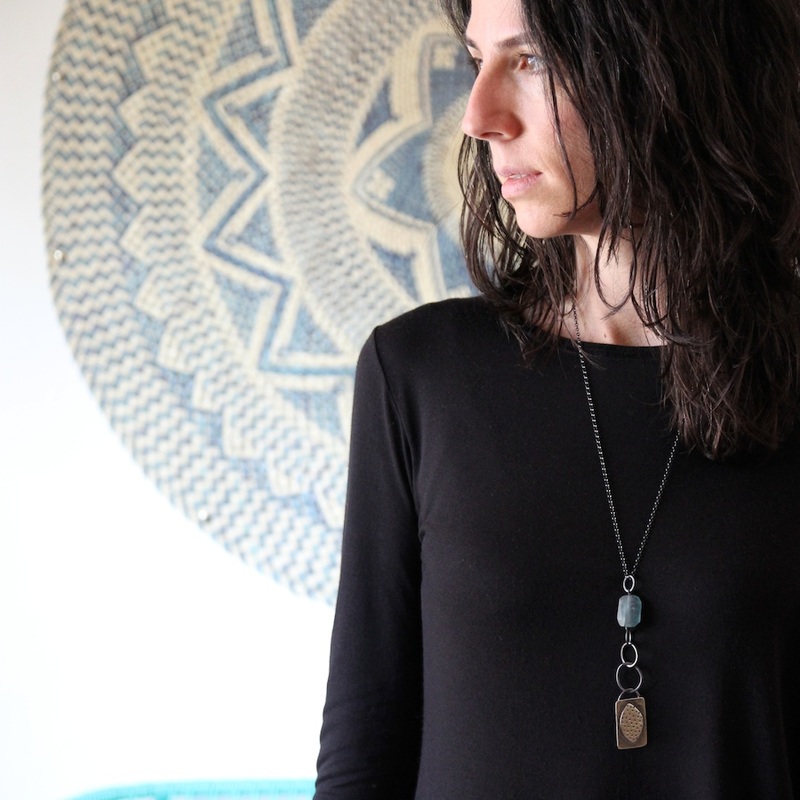
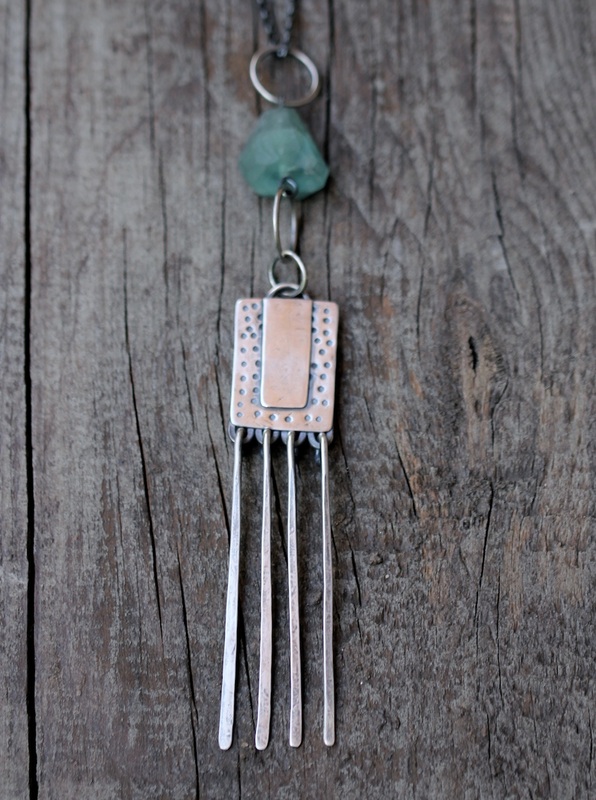
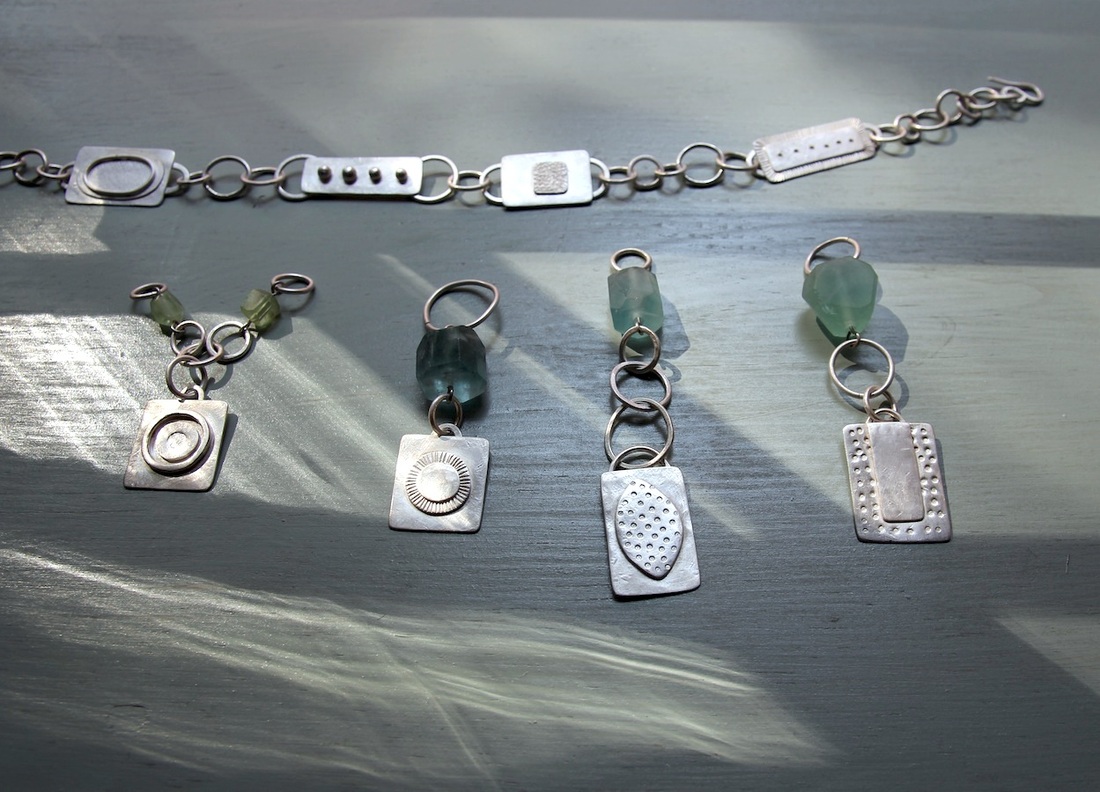 Sterling silver amulets, my first jewelry pieces of the year. 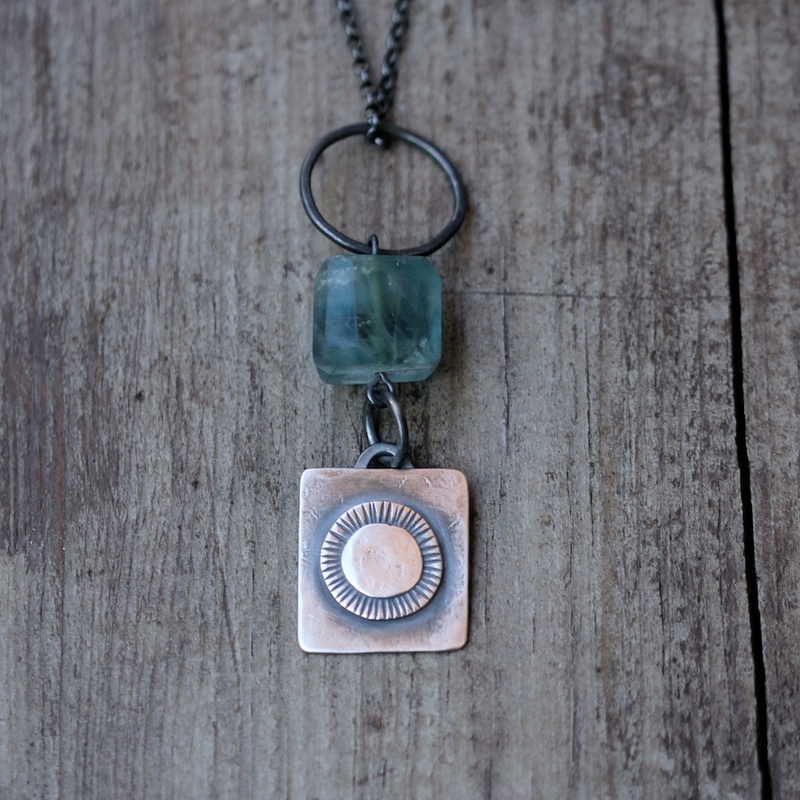
Each amulet necklace has powerful blue fluorite or green peridot stones from Afghanistan.
You can find these pieces for sale here. |
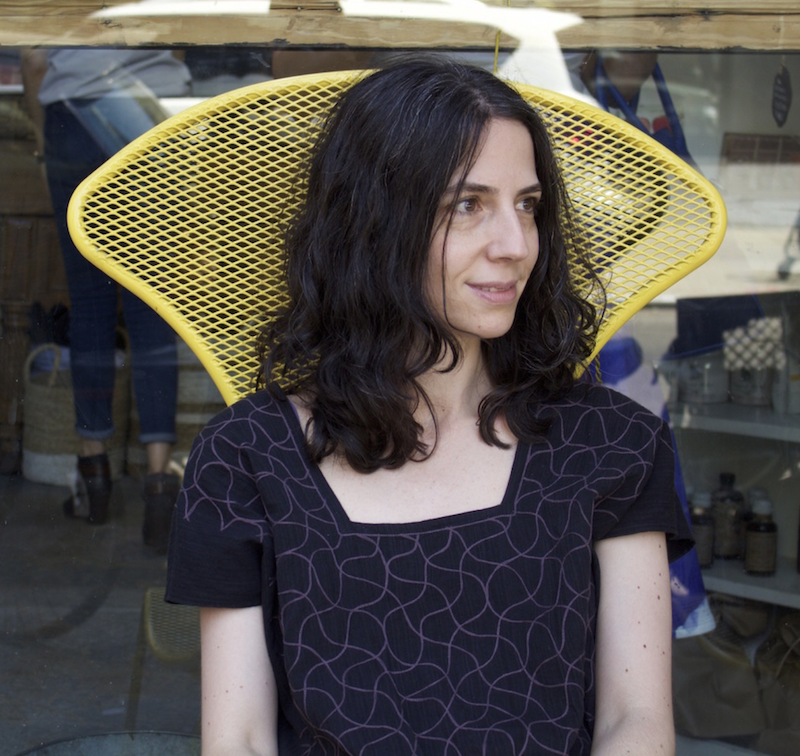
welcomeI am Jennifer Musi, the jewelry artist behind MUSIBATTY, and this is my blog archive.
Here you can find posts from December 2013, to May, 2016. I will no longer update this site. Please click on the link below to see my recent work. 
@musibattyOn Social Media
ConnectRespectI made this blog to share my work with you. I believe in generosity and I want to live in a world where we all inspire each other.
All of my designs and photographs are copyrighted. If you would like to reproduce them in any way, please email me first. Archives
May 2016
categories
All
online shop |