A friend of mine came by my studio the other day and excitedly said, show me the machine you make your jewelry with! The machine? I asked, puzzled. You mean these? I replied, and showed her my hands. Her visit made me realize that in sharing my process, I have been guilty of the curse of knowledge. In their book, Made to Stick: Why Some Ideas Survive and Others Die, authors Chip and Dan Heath describe this curse by saying that the more you know about a specific subject, the harder it is to explain it to someone who knows nothing about it.
Since I too enjoy learning how others do what they do, I decided to document each step of my jewelry making process for those of you who have never seen it before. My method for making a ring is simple and probably medieval, but I love how immediate it is, and how anyone who wants to learn to make jewelry can do it with simple tools and a small investment.
Since I too enjoy learning how others do what they do, I decided to document each step of my jewelry making process for those of you who have never seen it before. My method for making a ring is simple and probably medieval, but I love how immediate it is, and how anyone who wants to learn to make jewelry can do it with simple tools and a small investment.
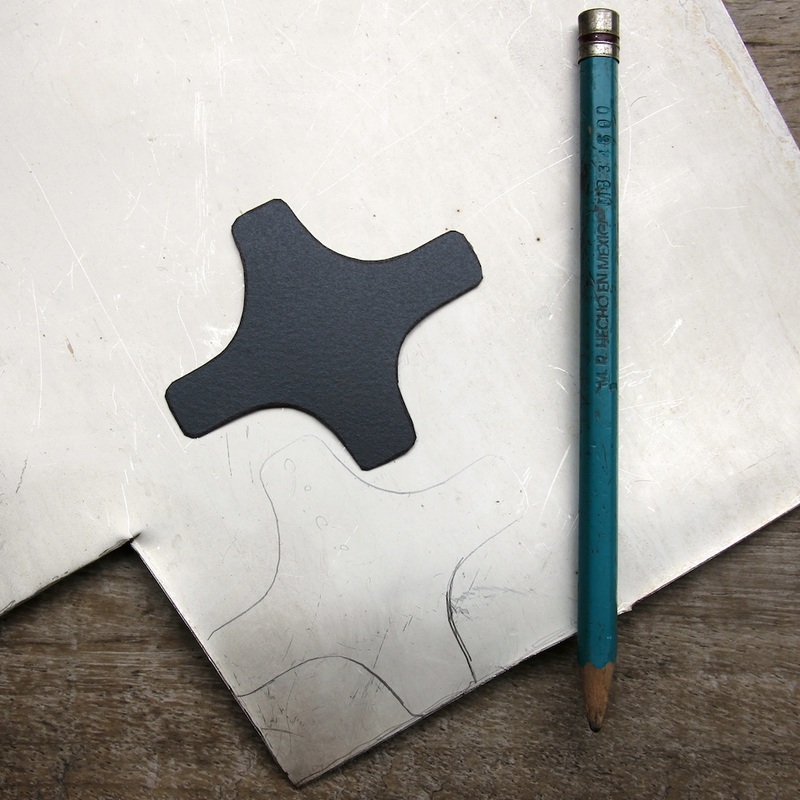 |  |
I begin by drawing the outline of a ring pattern I previously made on a sheet of 100% recycled sterling silver. To discourage toxic mining, I only use silver that is extracted from photographic proceses.
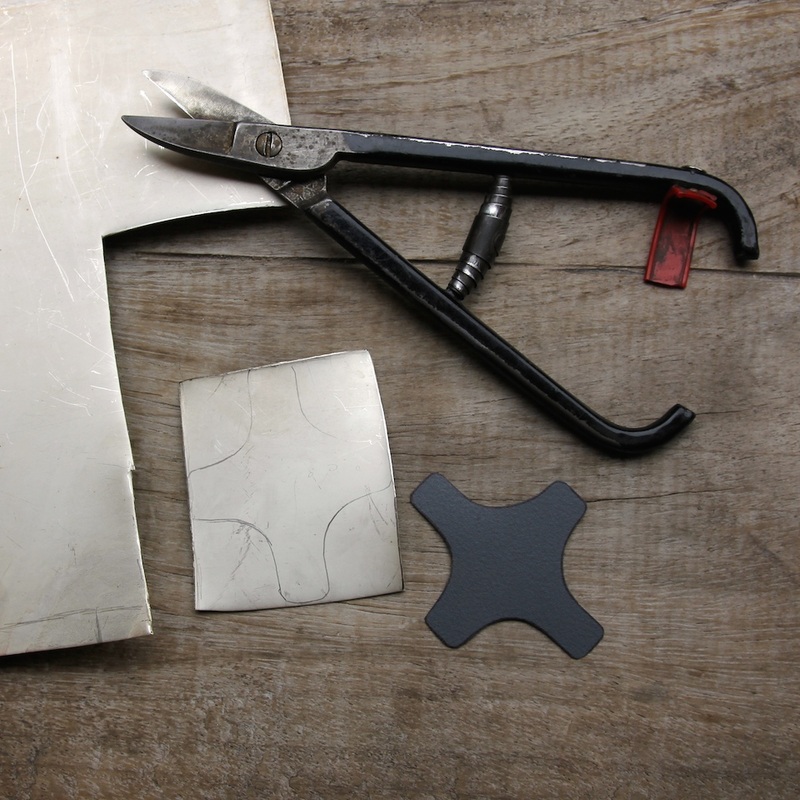 | 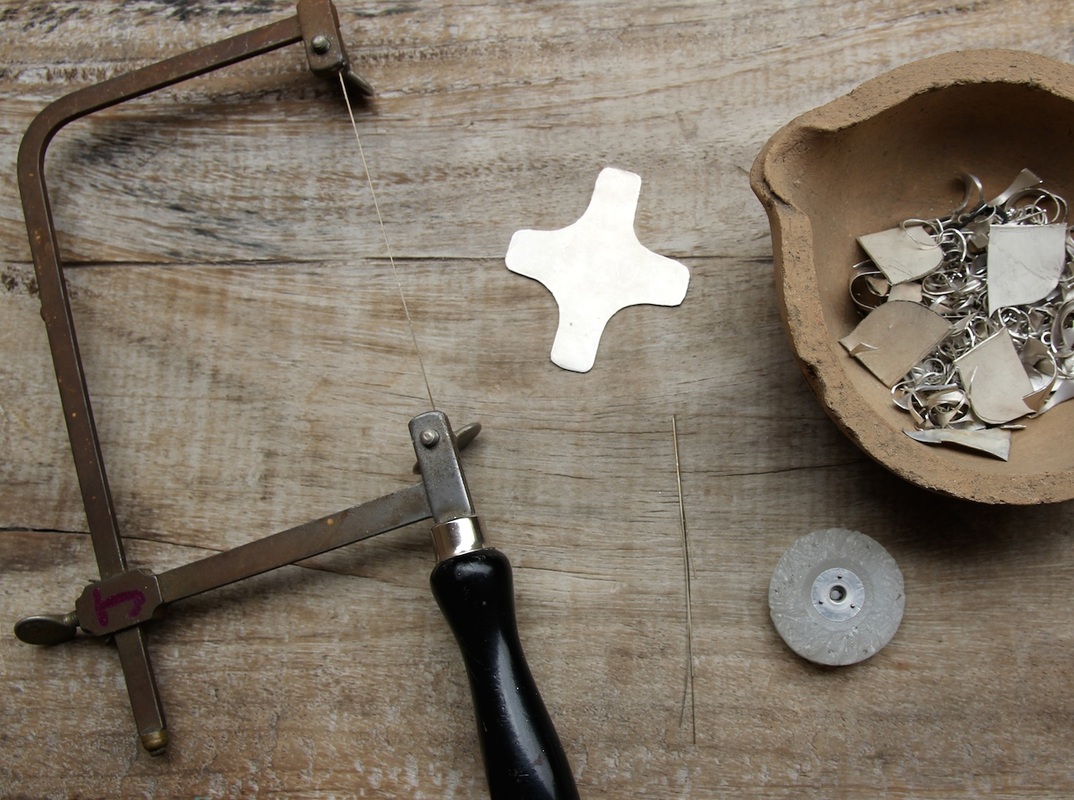 |
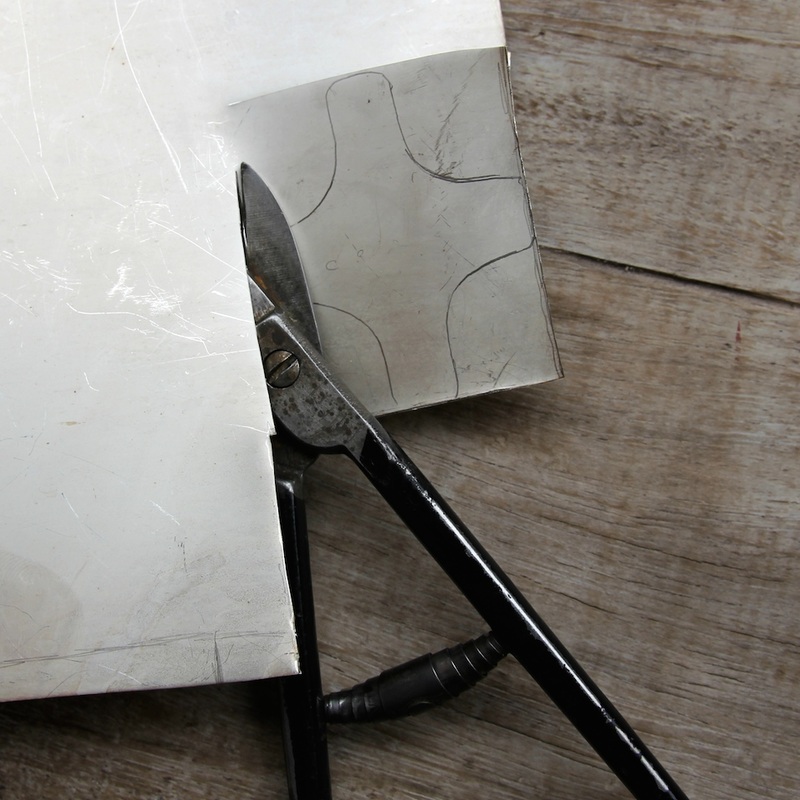
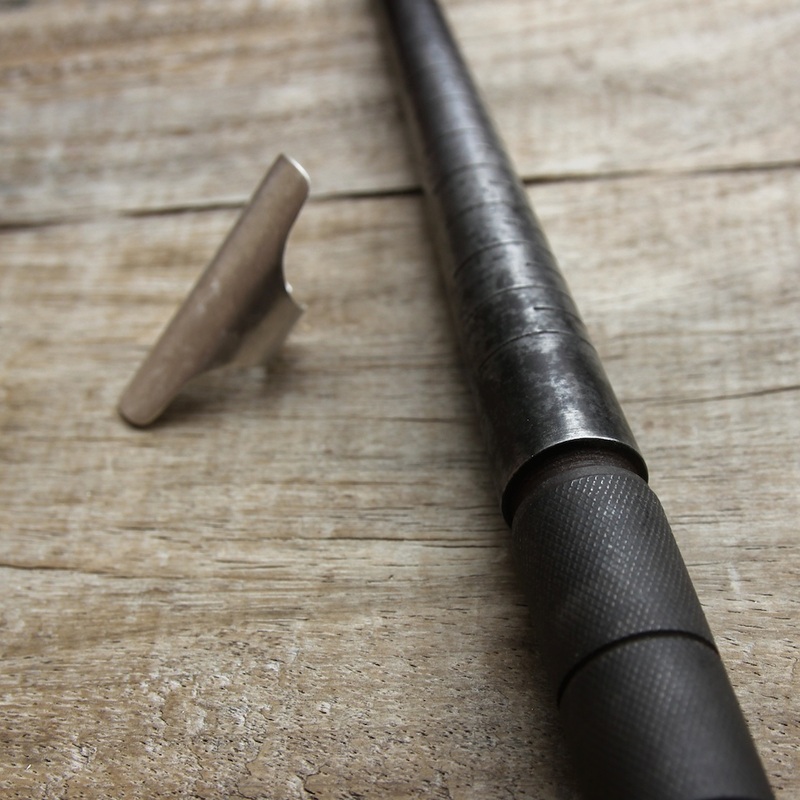
After I cut the basic outline with metal shears, I saw the final shape of the ring using a blade that is so thin, it usually breaks. You can see the delicate broken blades to the right of the adjustable saw frame. As I saw, I pass the blade through candle wax to ease cutting.
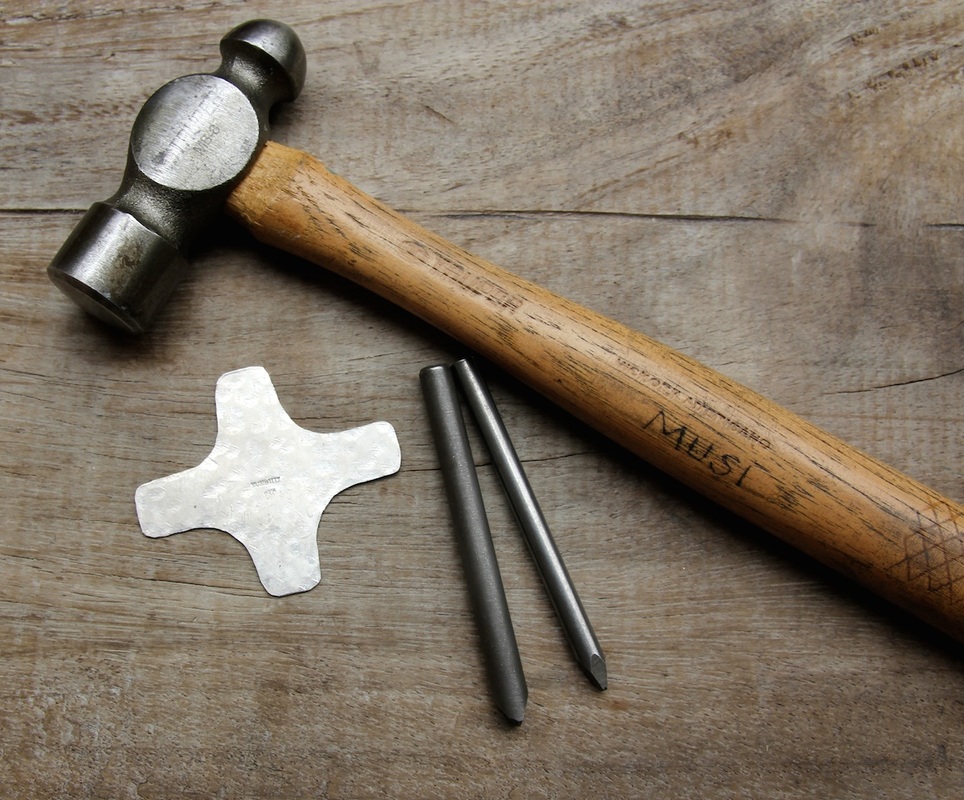 | 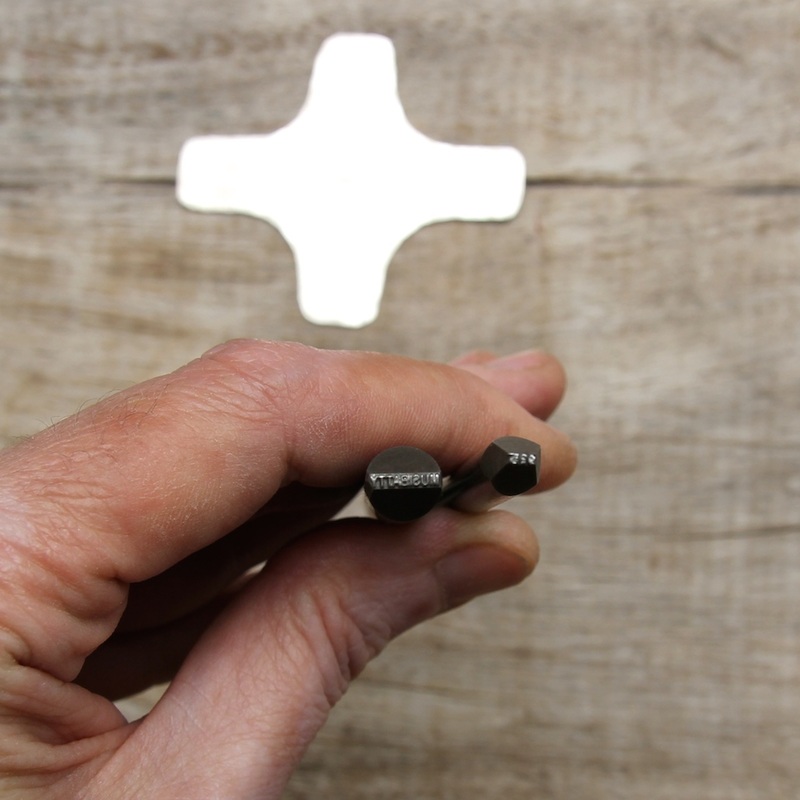 |
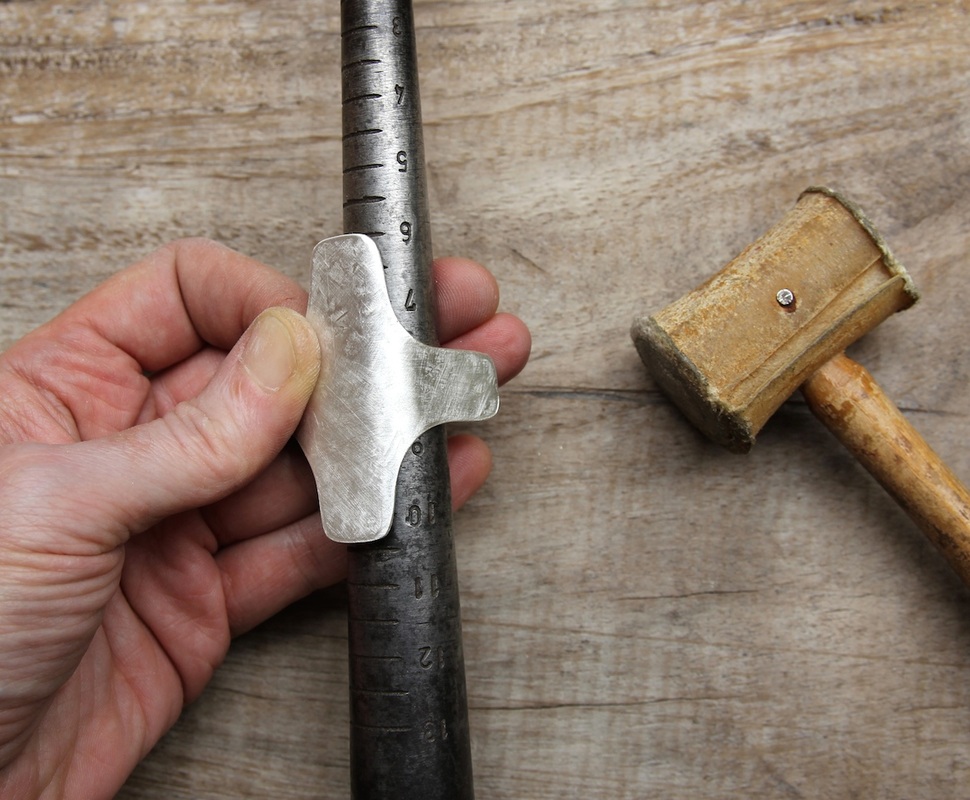
I use my hammer to give texture to the silver sheet, and to stamp my logo and sterling silver mark in the center, using custom steel punches.
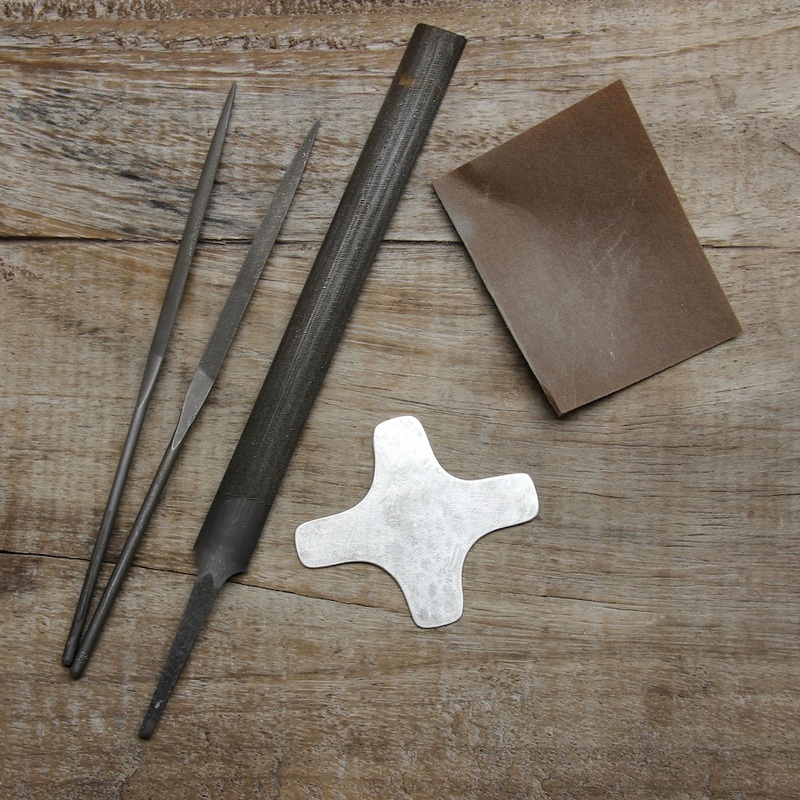 |  |
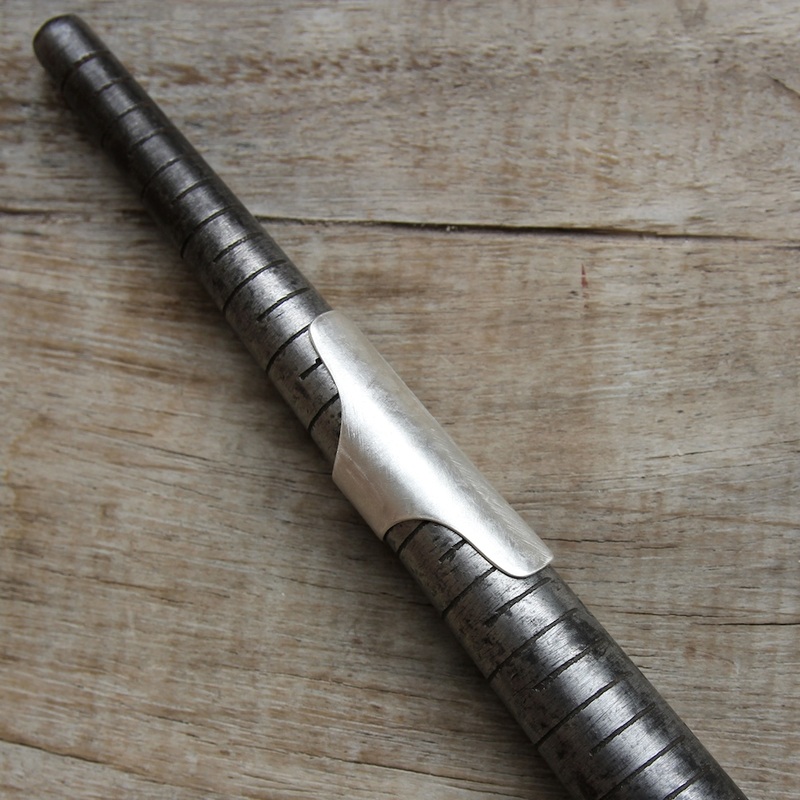
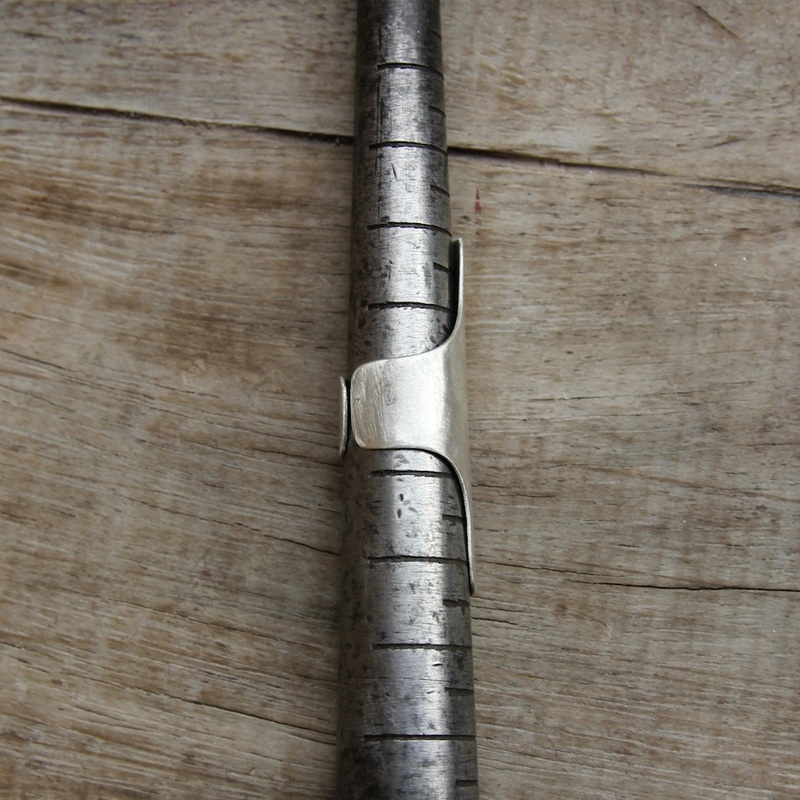
I smooth the rough edges of the cut-out ring using files and sand paper. I then re-heat it with my torch, to make it maleable enough to wrap around a cone-shaped metal tool, called a ring mandrel. I use a rawhide mallet to help me hammer and shape the ring without damaging its surface.
 |  |
 |  |
The ring mandrel has measurements that help me determine the ring size.
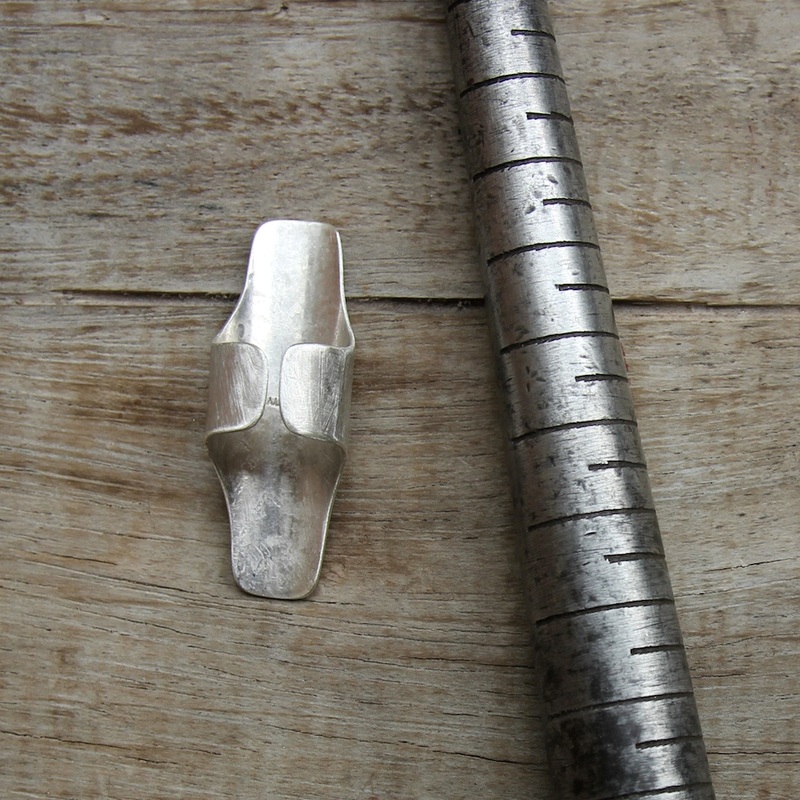
Once the ring is fully formed, I continue to work on the design elements that will be soldered on the front of the ring.
Once the ring is fully formed, I continue to work on the design elements that will be soldered on the front of the ring.
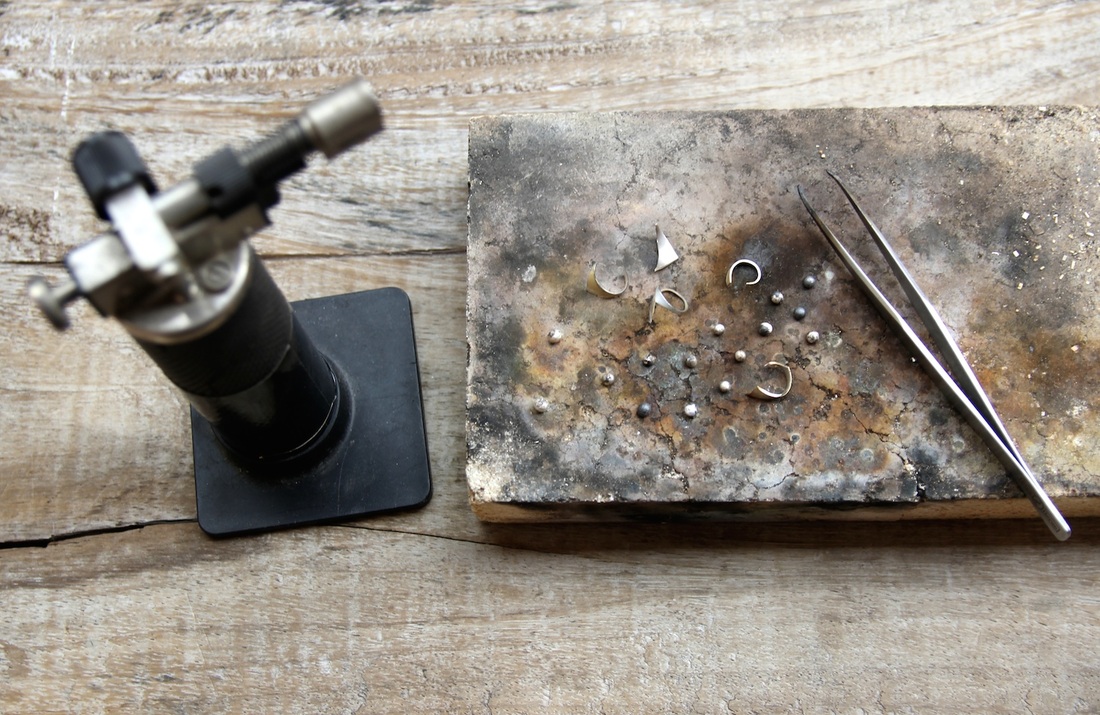 |  |
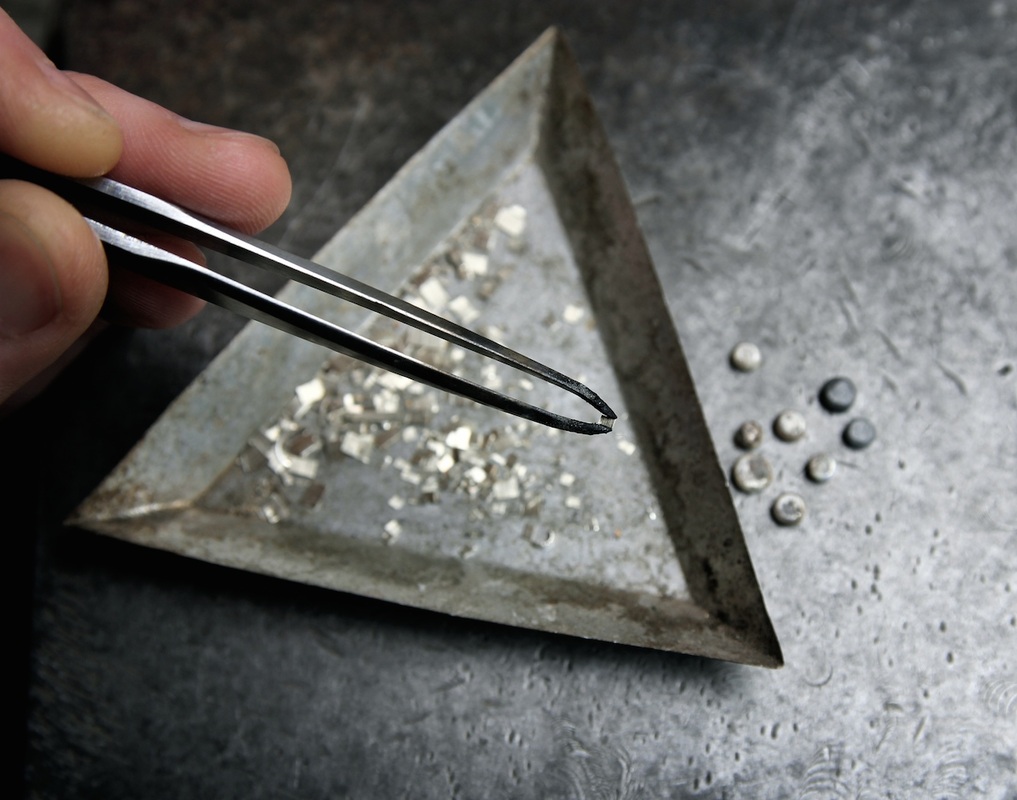
To heat silver, I use a small butane torch like the one used by Chefs to make crème brûlée. Sterling silver always fuses into a ball whenever you heat it long enough. I use scraps of sterling silver sheet to make small balls which I will then individually solder onto the ring band.
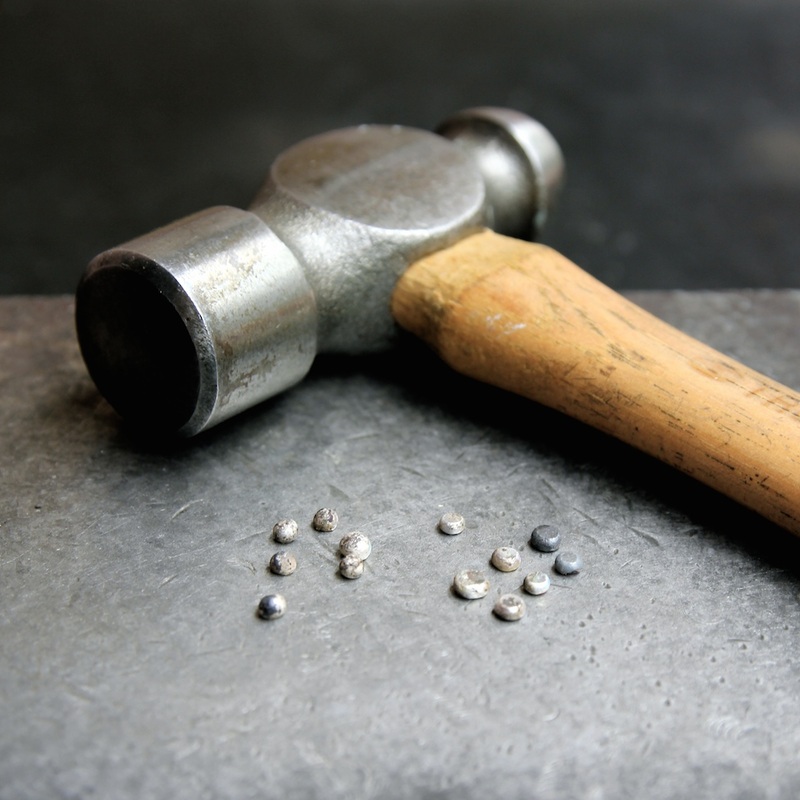 |  |
I flatten each silver ball with a hammer. Then I use tiny bits of solder (a silver and copper alloy that melts at a lower temperature than sterling silver) to fuse each silver ball to the surface of the ring, using my torch.
 | 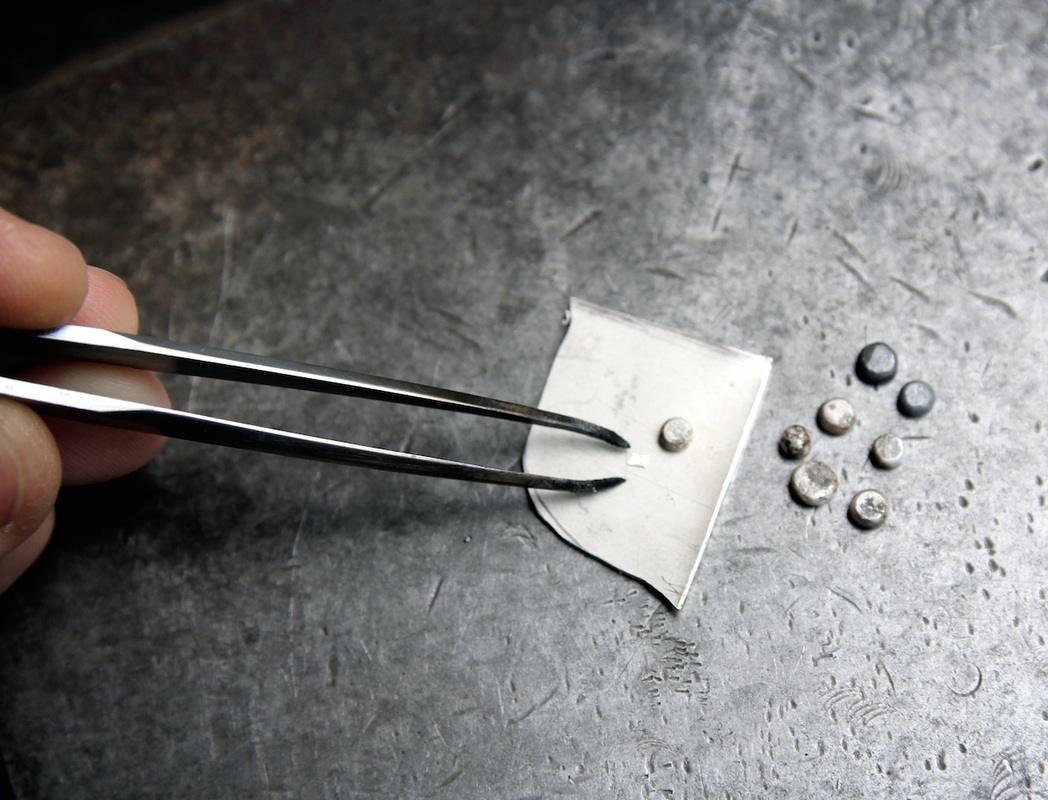 |
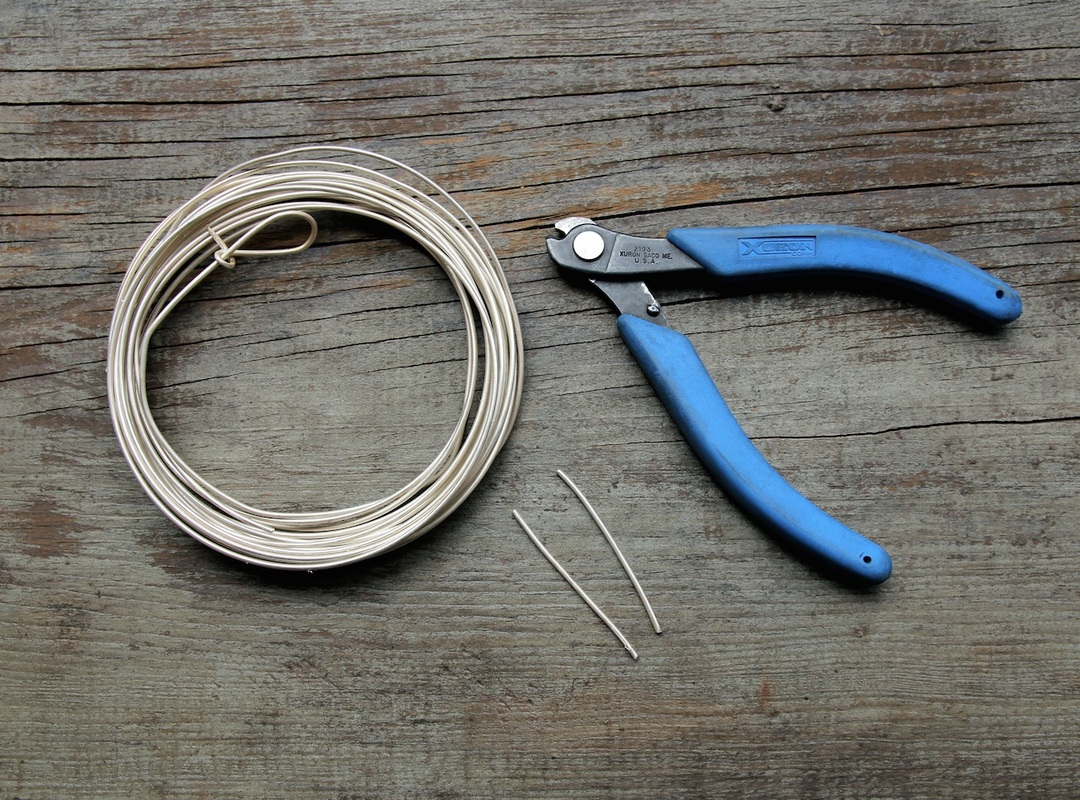
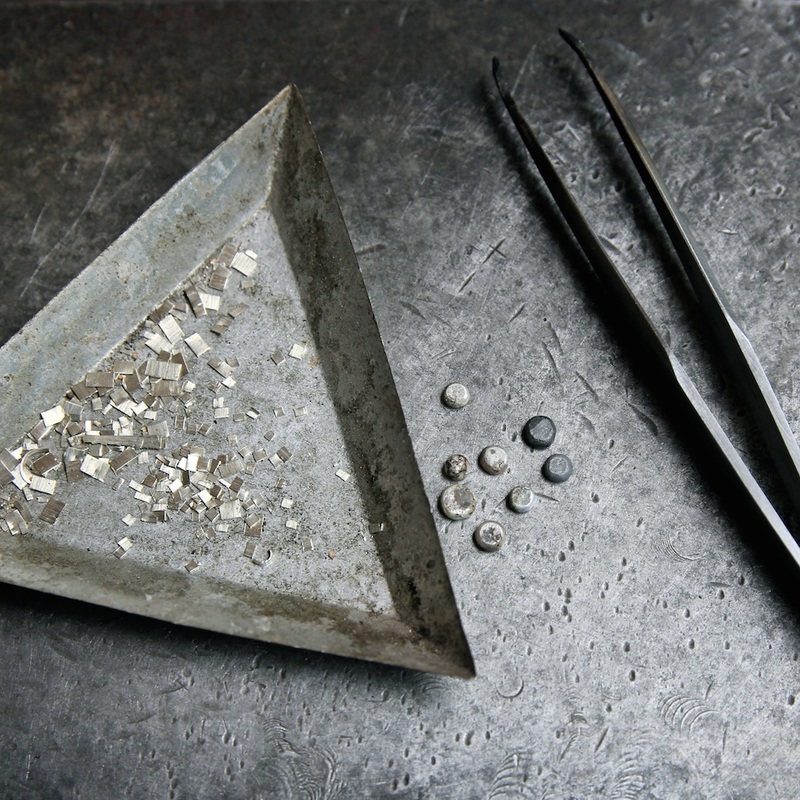
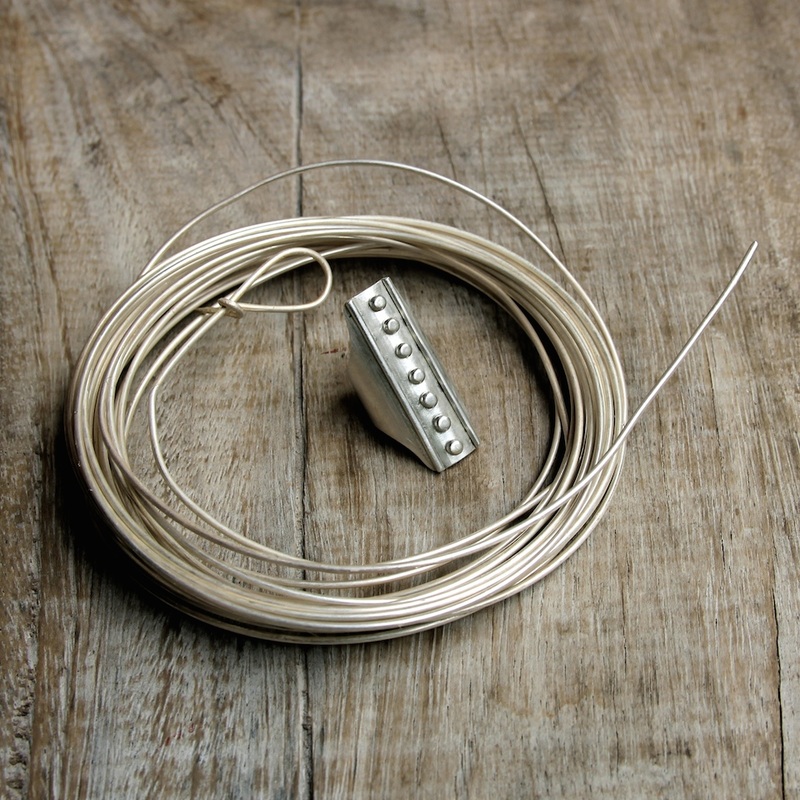
To complete my design, I cut two strips of sterling silver wire that I will solder alongside the central row of silver balls.
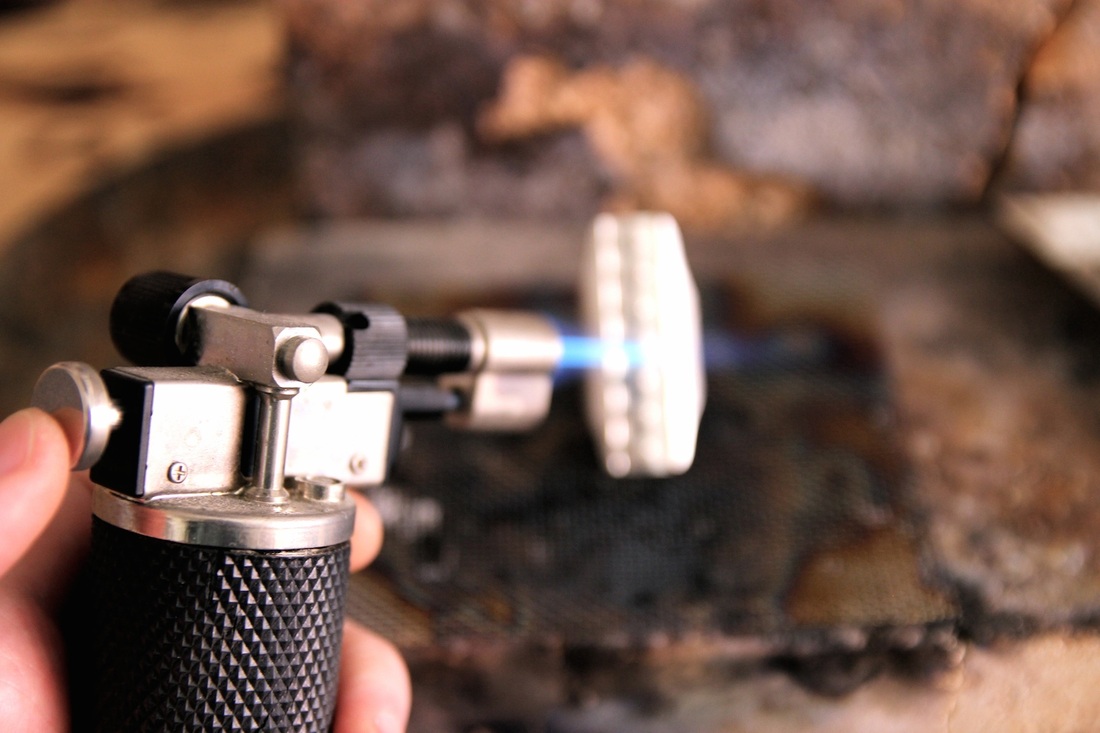 | 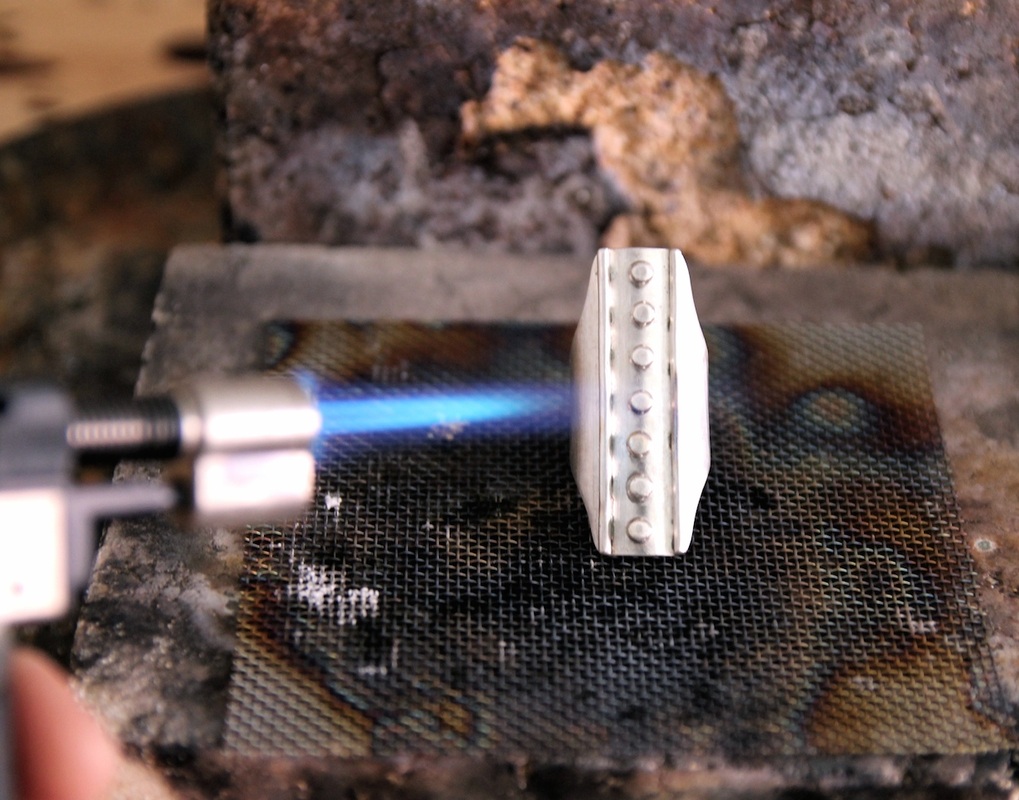 |
I place the ring band on a heat resistant firebrick surface, and carefully solder each ball and length of wire using my torch.
 |  |
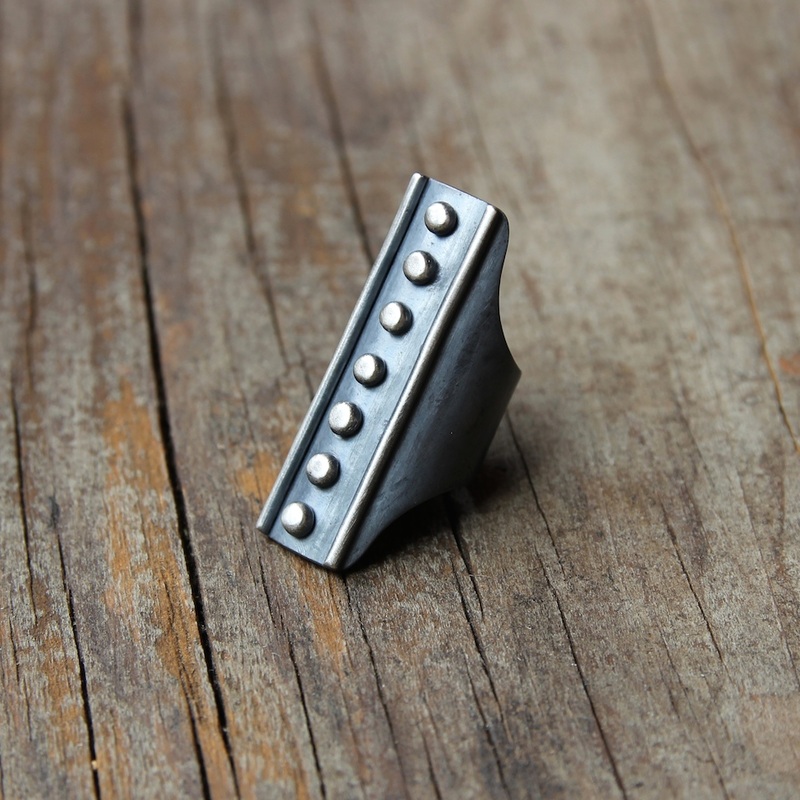
The soldered ring, before I give it its final patina.
 |  |
 |  |
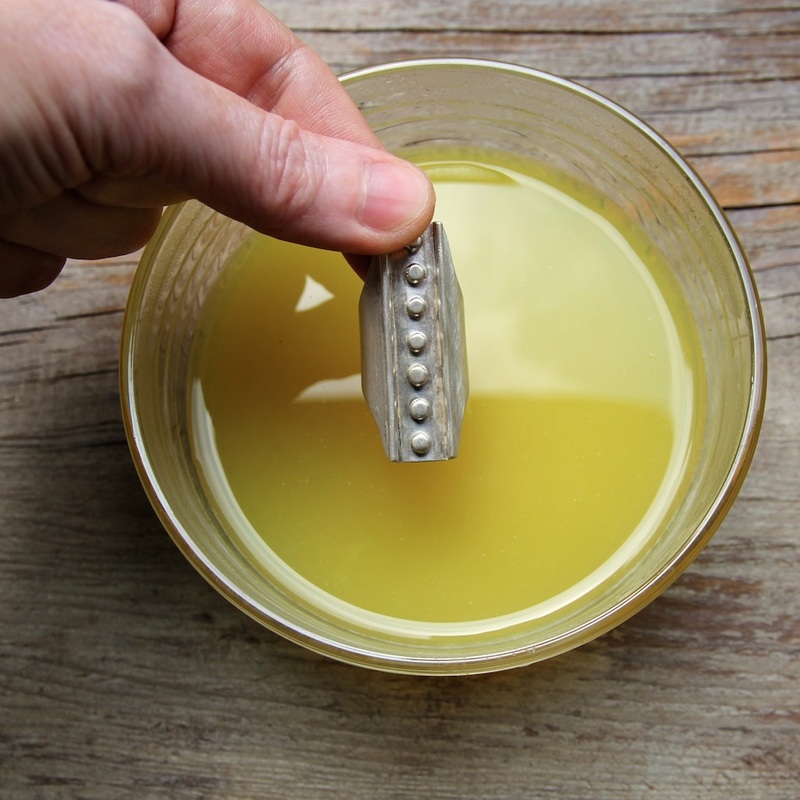
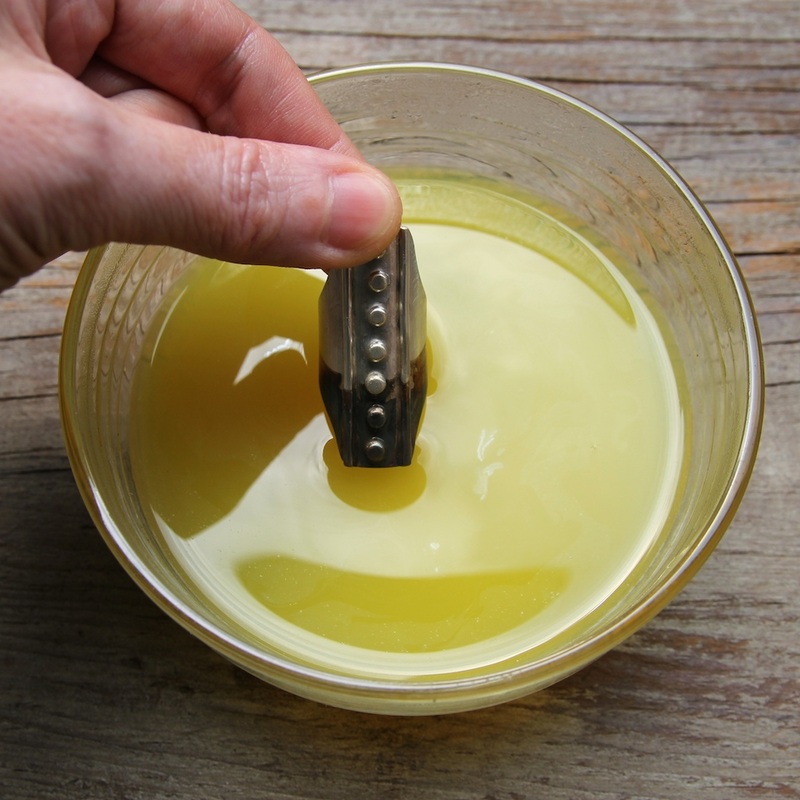
To darken or oxidize the ring, I soak it in liver of sulphur diluted in hot water. This smells like rotten egg, and is my boyfriend's least favorite part of my work, since my studio is inside our apartment.
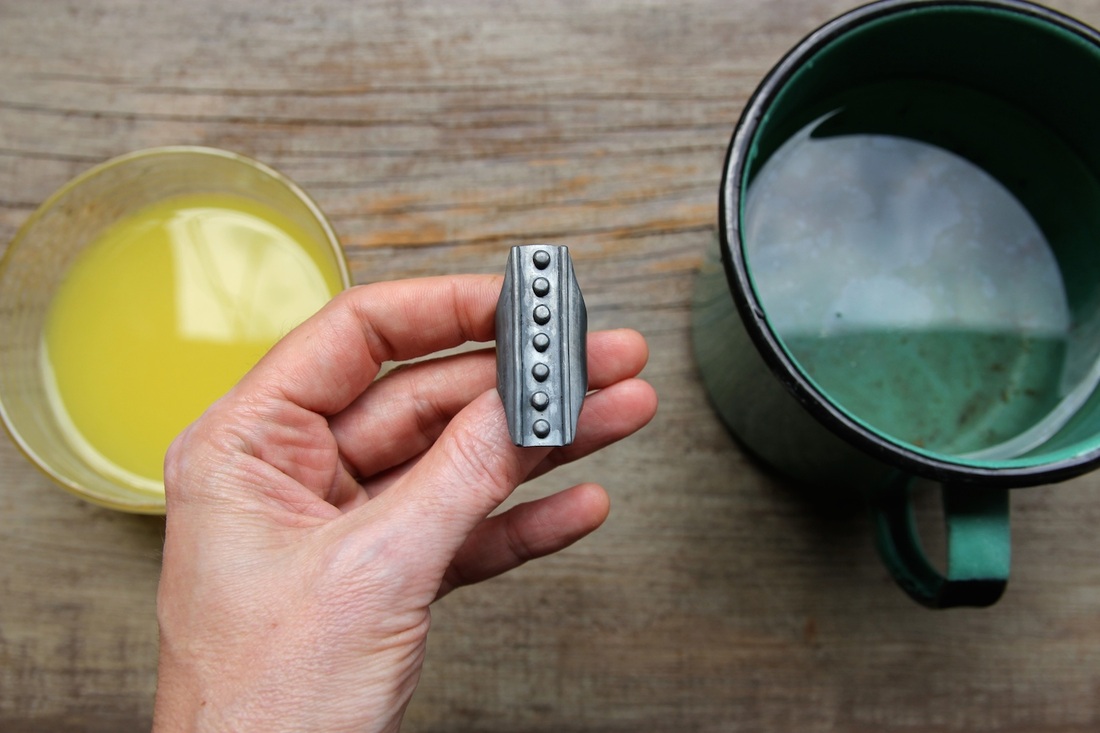
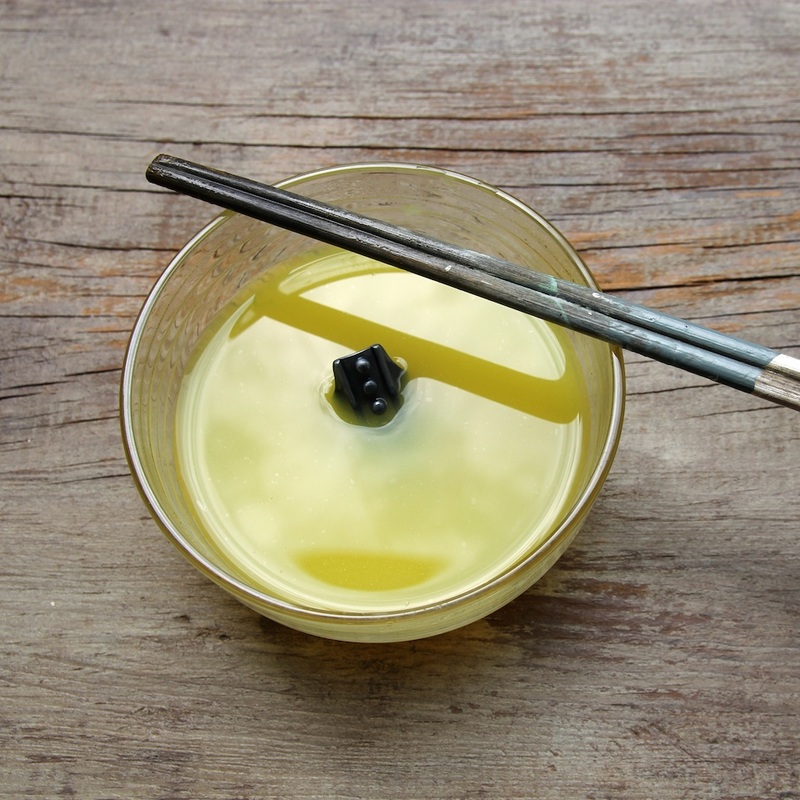
I rinse the darkened ring in cold water mixed with sodium bicarbonate to stop the oxidation process.
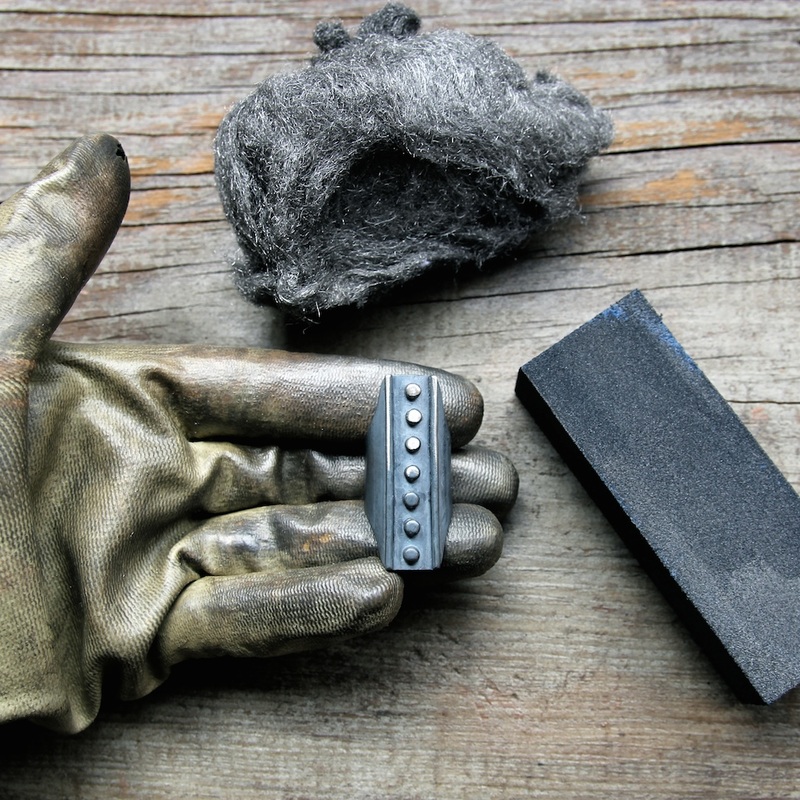
To finish the ring, I polish the raised design with fine steel wool and a file board. I leave the rest of the ring dark. With wear, the ring band will eventually abrade and lighten, but the recessed areas will always remain dark.
 |  |  |
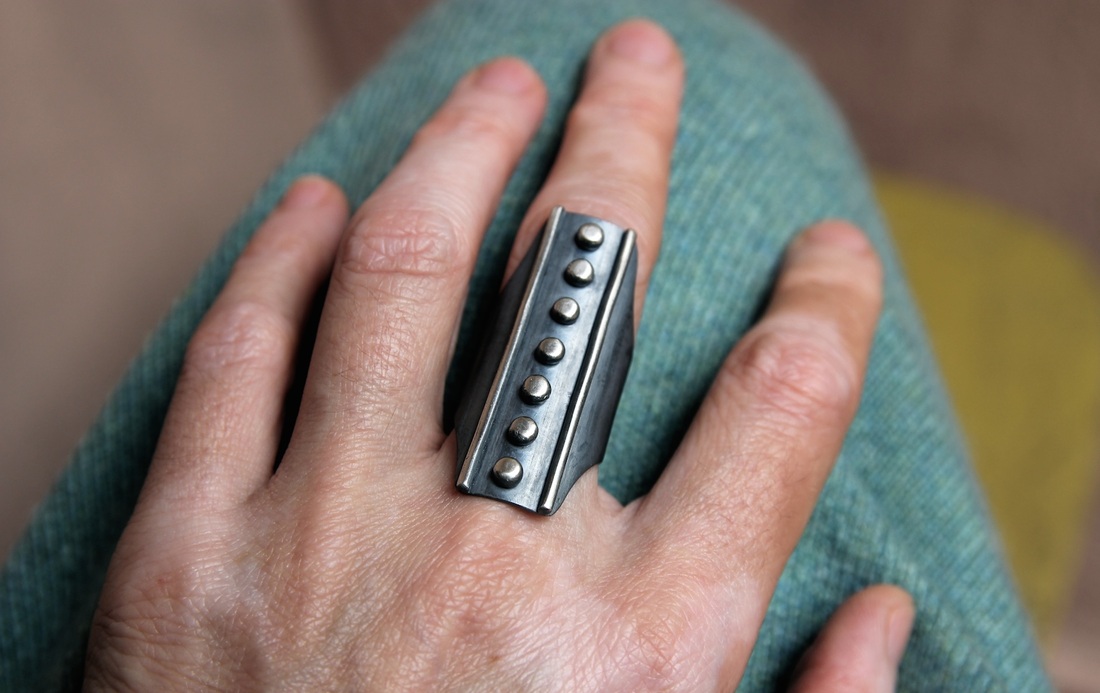
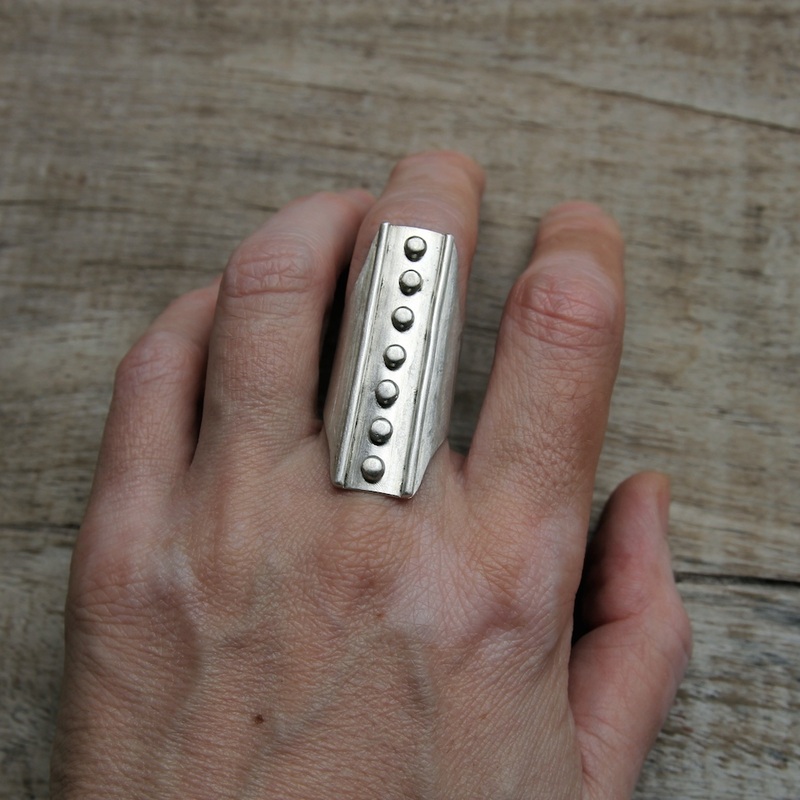
The ring is now complete.