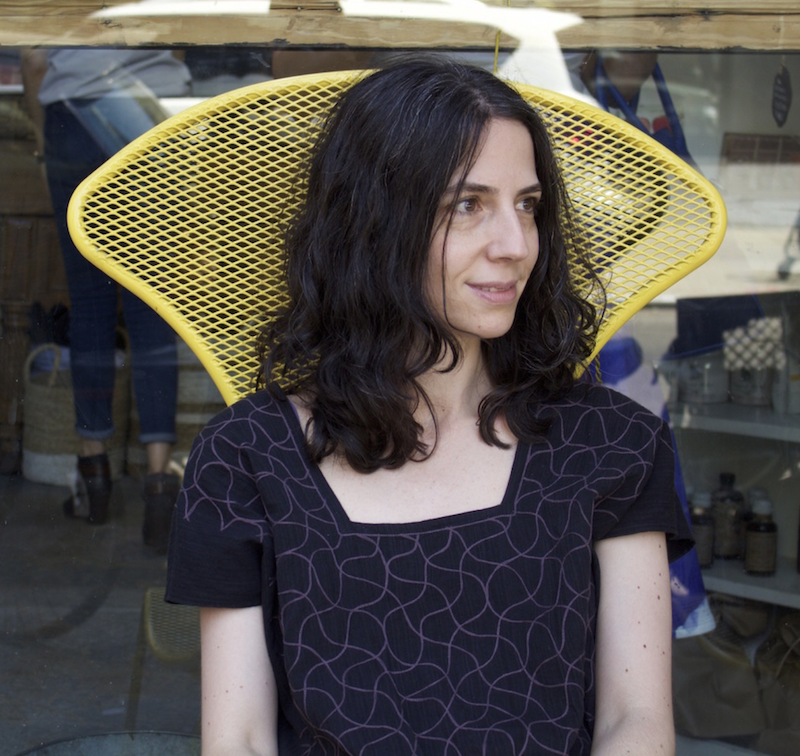
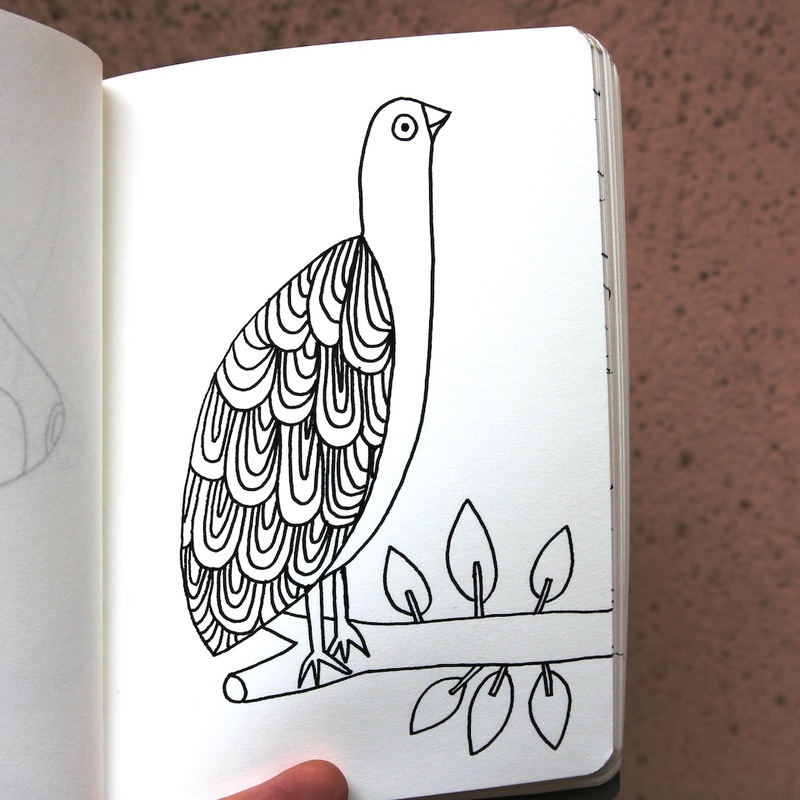
After working on my jewelry for most of the day, I find it relaxing to draw in the evenings. On weekends, I love visiting bookstores and drawing anything that catches my eye from the books I find.
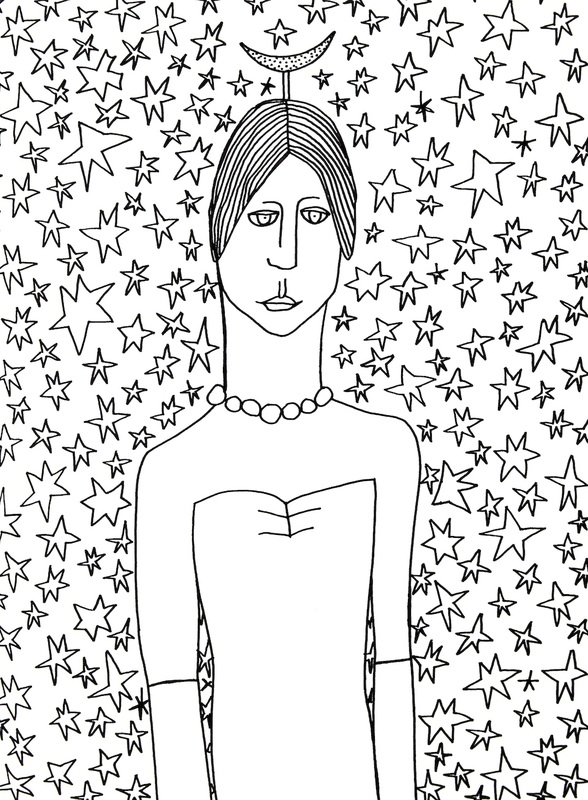
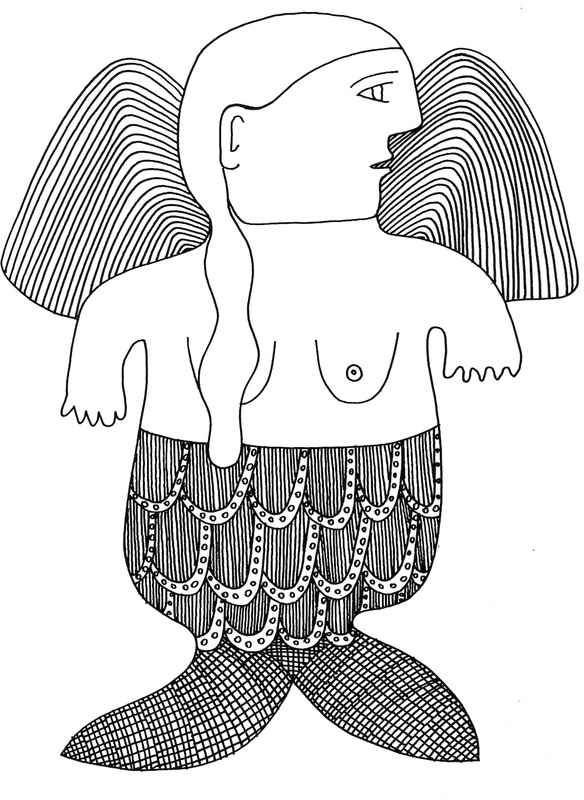
Rather than just sketching ideas for jewelry, I notice that lately my drawings are becoming more elaborate and storied. There is something physical and primal about making marks with a pen, and I find my mind quickly becomes attentive to each line as it appears on the surface of the paper.
Rather than just sketching ideas for jewelry, I notice that lately my drawings are becoming more elaborate and storied. There is something physical and primal about making marks with a pen, and I find my mind quickly becomes attentive to each line as it appears on the surface of the paper.

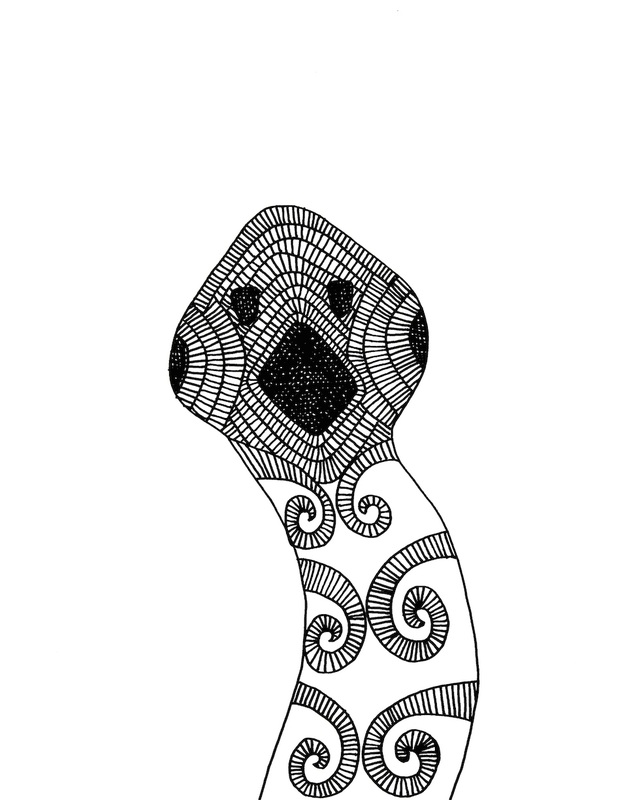
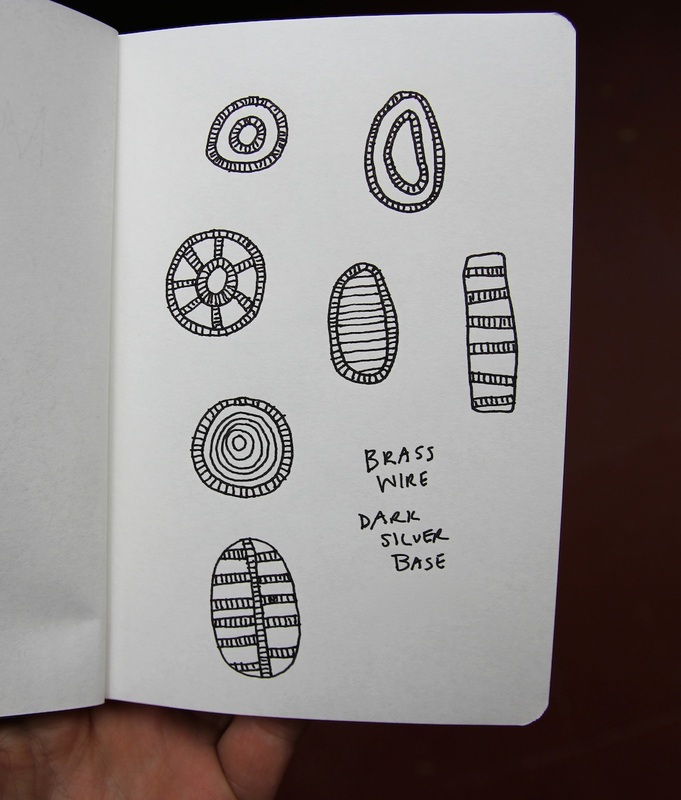
I always carry a notebook wherever I go. I never know when an idea will come, and if I don't catch it when it arrives, it will go find someone else who will.
 |  |
 |  |
 |  |
 |  |